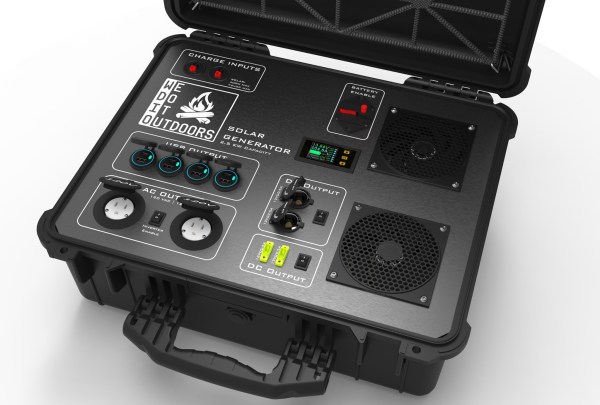
Hackaday Prize 2021 entrant [Philip Ian Haasnoot] has been building a well-polished power bank. But this is no ordinary little power bank the like you would throw in your rucksack for a day out. No, this 2.5 kW luggable power bank is neatly encased in a tough, waterproof Pelican 1550 case, and is suitably decked out with all the power sockets you could possibly need for a long weekend of wilderness camping and photography.
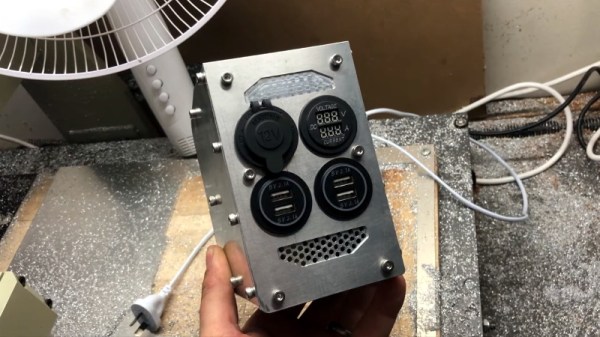
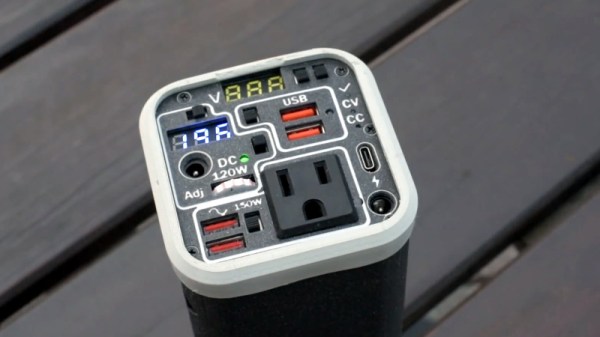
This box sports USB-C and USB 3.0 connectors for gadget charging, as well as 12 VDC cigarette lighter and XT-60 ports for high-drag devices. Also it provides a pair of 120 VAC sockets via an integrated inverter, which at 1.5 kW could run a small heater if you were really desperate, but more likely useful to keep your laptop going for a while. Now if only you could get Wi-Fi out in the desert!
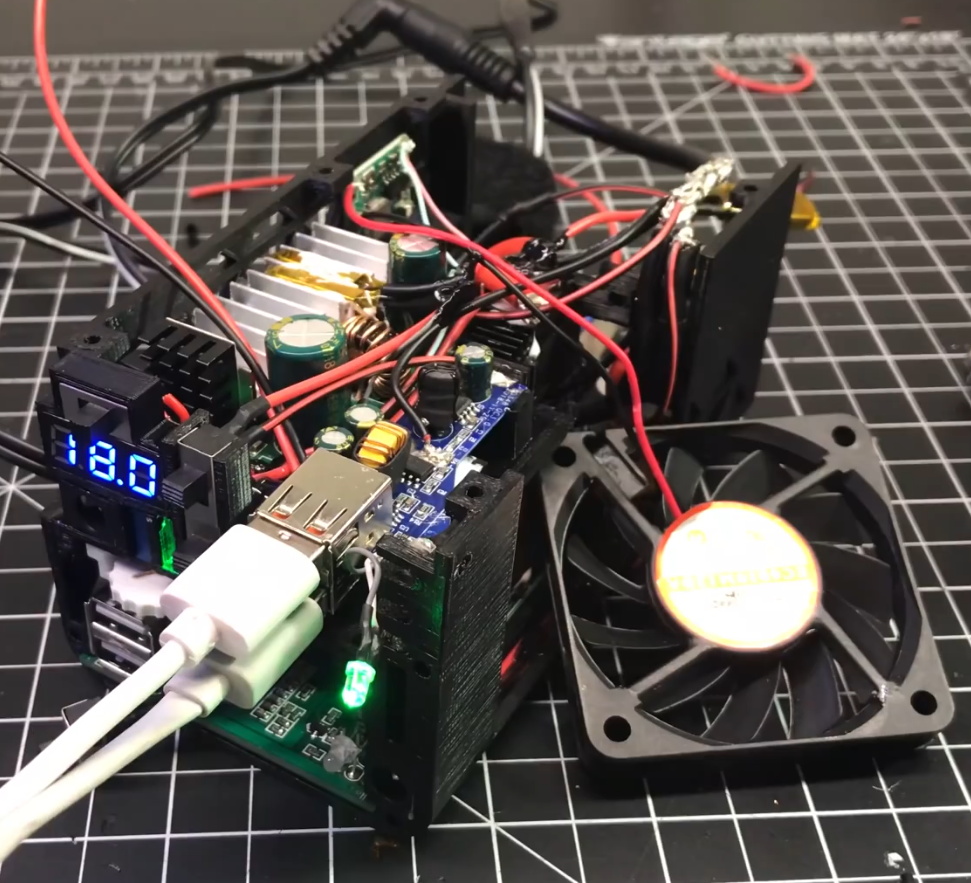
[Philip] doesn’t actually talk much about the solar panels themselves, but we know the box contains a 600 W MPPT boost converter to take solar power in, and feed the LiPo battery pack in the correct manner.
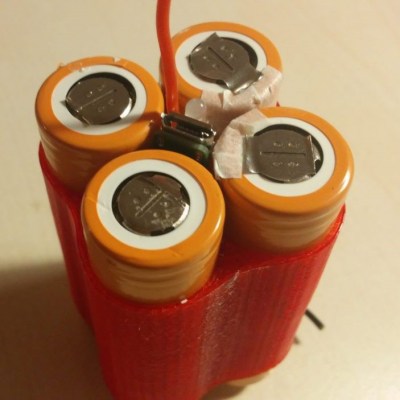
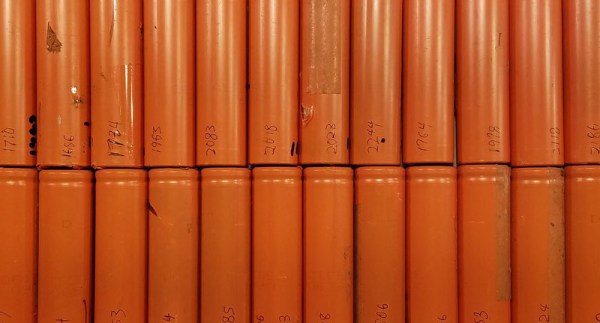
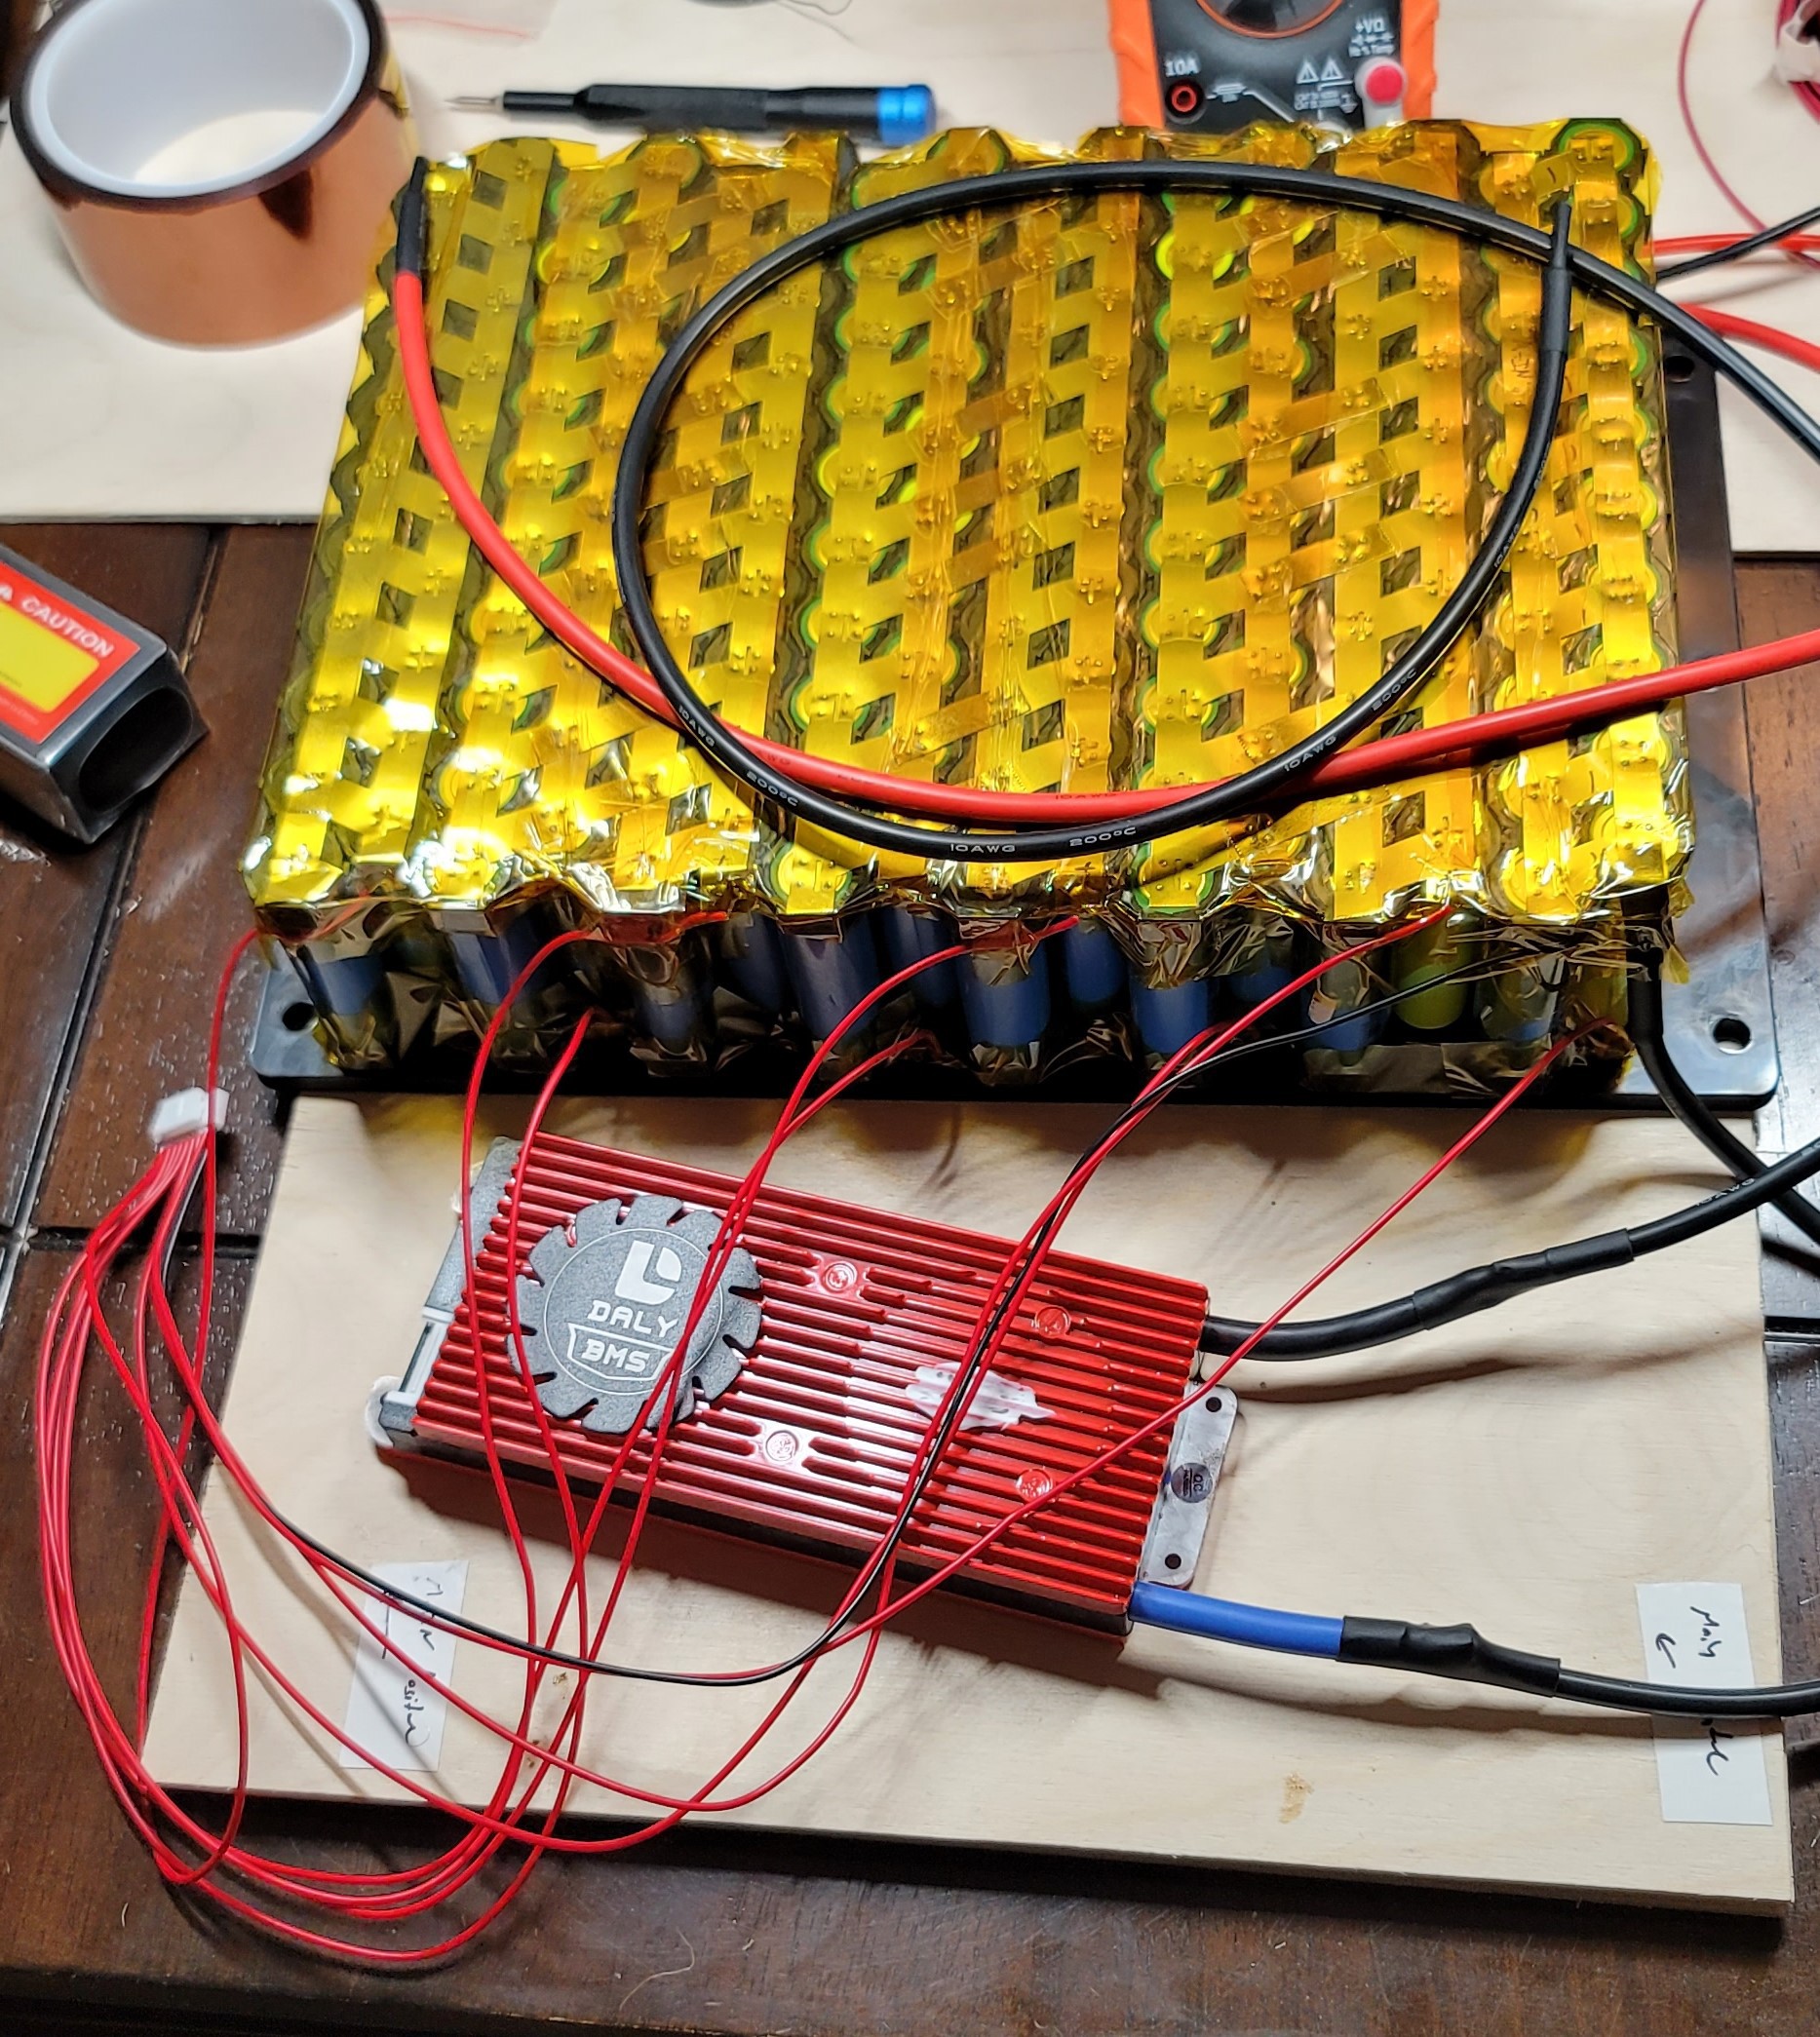
The battery pack is custom-made from salvaged and tested 18650 cells, as you would expect, which we reckon took an absolute age to make by hand. The whole project is nicely finished, and looks like something we’d be happy to throw in the back of the car before heading out into our local wilderness.
As [Philip] says in the project description, it’s a tough job to carry enough power and keep all his drones, cameras and lighting equipment charged, not mention helping prevent the campsite occupants from freezing overnight during the chilly Arizona nights.
Many power bank designs have graced these fair pages over the years, like this rather polished build, and long may they continue to do so.