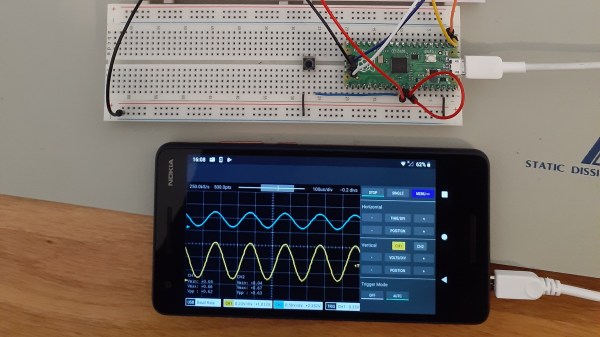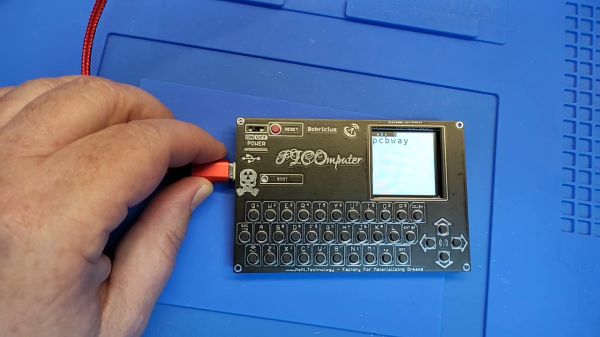
In case you’ve been living under a rock that doesn’t have internet access, the Raspberry Pi Foundation got into the silicon sales and microcontroller game all at once this year with the Raspberry Pi Pico. It’s small, it’s capable, and it costs a measly $4. Surely you have one or two of them by now, right? But how much do you know about what it can do?
Or maybe you don’t have one yet, but it’s on your list. In either case, you can get started learning about them right away because [Uri Shaked]’s Raspberry Pi Pico and RP2040 Deep Dive course has recently been freed from the hallowed halls of HackadayU. He even built an emulator to go with it. [Uri] is a great instructor, and we’re sure that goes double if you ever need a salsa dance teacher, which he has also mastered.
This class was held for five weeks beginning in May 2021, with each session being roughly an hour long. The only prerequisite is a basic understanding of bitwise math, but there are resources for that on the class IO page linked above.
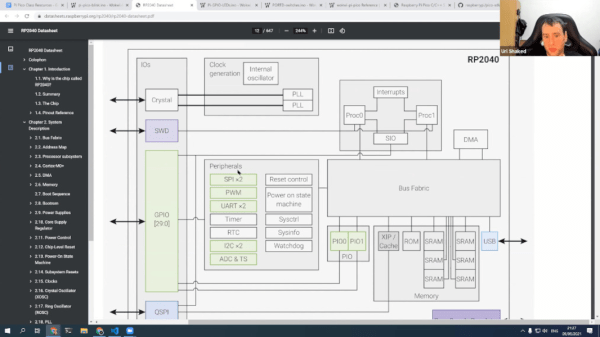
Each class is incredibly well-organized and informative. In the first class, [Uri] begins building a living document that includes the class agenda, links to all resources used and mentioned, code examples, and assembly instructions where applicable. It’s basically a syllabus plus a whole lot more. [Uri] also spends a lot of time in the incredibly thorough 649-page data sheet for the RP2040, and a little bit of time in the much shorter Getting Started guide. If you think the data sheet is inaccessible, you’ll likely change your tune by the end of the first class after you’ve seen [Uri] use and peruse it.
Continue reading “New Video Series: Raspberry Pi Pico And RP2040 Deep Dive With Uri Shaked”