In 2008, the then German interior minister, [Wolfgang Schäuble] had his fingerprint reproduced by members of the German Chaos Computer Club, or CCC, and published on a piece of plastic film distributed with their magazine. [Schäuble] was a keen proponent of mass gathering of biometric information by the state, and his widely circulated fingerprint lifted from a water glass served as an effective demonstration against the supposed infallibility of biometric information.
It was reported at the time that the plastic [Schäuble] fingerprint could fool the commercial scanners of the day, including those used by the German passport agency, and the episode caused significant embarrassment to the politician. The idea of “spoofing” a fingerprint would completely undermine the plans for biometric data collection that were a significant policy feature for several European governments of the day.
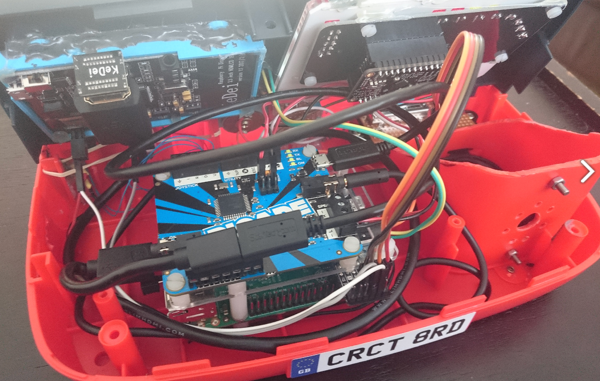
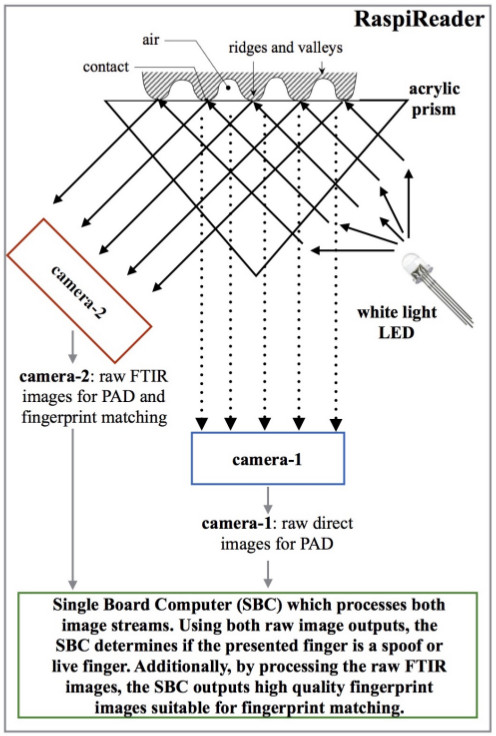
It is interesting then to read a paper from Michigan State University, “RaspiReader: An Open Source Fingerprint Reader Facilitating Spoof Detection” (PDF downloadable from the linked page) by [Joshua J. Engelsma], [Kai Cao], and [Anil K. Jain] investigates the mechanism of an optical fingerprint reader and presents a design using the ever-popular Raspberry Pi that attempts to detect and defeat attempts at spoofing. For the uninitiated is serves as a fascinating primer on FTIR (Frustrated Total Internal Reflection) photography of fingerprints, and describes their technique combining it with a conventional image to detect spoofing. Best of all, the whole thing is open-source, meaning that you too can try building one yourself.
If [Cao] and [Jain] sound familiar, maybe it’s from their Samsung Galaxy fingerprint hack last year, so it’s neat to see them at work on the defense side. If you think that fingerprints make good passwords, you’ve got some background reading to do. If you just can’t get enough fingerprints, read [Al Williams]’ fundamentals of fingerprint scanning piece from earlier this year.
Via Hacker News.