In the old days of the 1970’s, the only way to get your own computer was to build one from scratch. Thanks to an army of hackers like [Woz], PC’s are no commodity objects that can be bought for a couple of hundred dollars. The magic of building your own still is there though – especially when we’re talking about portable machines. Laptops, notebooks, netbooks take quite a bit of skill to assemble. Stuffing a keyboard, screen, and battery into a small clamshell case takes a bit of planning. Our last look at DIY laptops was exactly 100 Hacklets ago, so it’s time for a refresh. This week we’re checking out some of the best DIY laptops and portable computers on Hackaday.io!
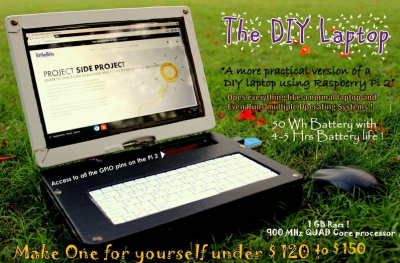 We start with [Sahas Dinesh Chitlange] and Pi-Berry Laptop. [Sahas] found just the right mix of simple and elegant with this build. A Raspberry Pi 2 is the brains of the operation. The Pi sits in a case built from a mix of MDF and regular wood. The display is a 10.1″ HDMI LCD. The keyboard was pulled from a tablet case. Power was easy — a USB power bank provides enough for 4-5 hours of runtime. [Sahas] covered his laptop in Italian leather for a polished look. He planned out his parts layout well enough that the power-hungry Pi stays cool without a fan.
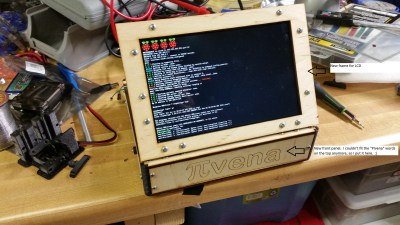 Next up is [Tim] with PIvena. [Tim] took his inspriation from [Bunnie Huang’s] Novena open laptop. Rather than roll his own ARM board, [Tim] went with a Raspberry Pi. His original design was for the Raspberry Pi model B. Last time we looked at PIvena, the model B+ was still pretty new. As we hoped, [Tim] modified his design to accept the new Pi layouts. This means it will physically work with the B+, Pi 2, and Pi 3 boards. [Tim] didn’t stop there though. He also upgraded from an 800 x 480 LCD to an 1200 x 800 LCD. He managed to do that while keeping the same bolt pattern on the travel cover. Nice work [Tim]!
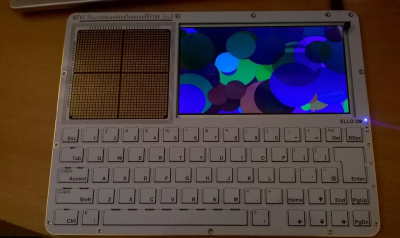 Next we have [KnivD] with ELLO 2M. The most striking thing about ELLO 2M is the construction. The entire laptop is made from 6 PCBs which sandwich all the other parts. The keyboard is PCB material with keys routed out. The processor is a Microchip PIC32MX470-120. Software is loaded from one of 3 microSD cards. The 7 inch touchscreen LCD and 4500 mAh LiPo battery are nestled in between PCB layers. A true hacker, [KnivD] included a generous pin grid for debugging add-on circuits. The whole setup looks great with white silkscreen. As [Mark Sherman] mentioned in the comments, this machine reminds us of a modern-day TRS-80 Model 100.
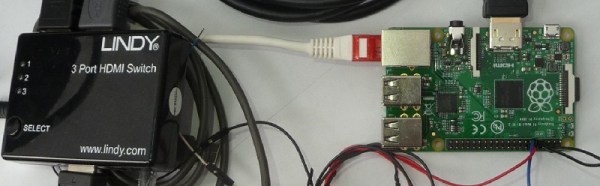
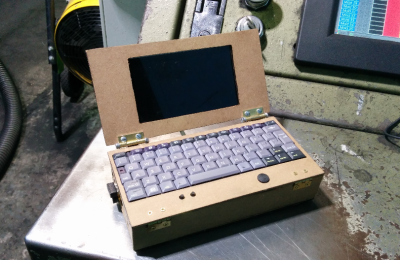 Finally we have [pdrift86] with Mini rpi2 laptop. Palmtop might be a better name for this. [pdrift86] took his inspiration (and his keyboard) from the old HP Jornada Personal Digital Assistant (PDA). The housing is Masonite, cut from a clipboard. A Raspberry Pi 2 hides inside, along with a 4 cell 18650 Li-Ion battery. The screen is a 5″ LCD with a composite input. The display isn’t a touchscreen, so a Playstation Portable analog stick is on-board, and will eventually be connected for mouse control. [pdrift86] even managed to sneak the Pi camera on the back of his machine, so it can take pictures cellphone style.
If you want to see more DIY laptop projects, check out our new DIY Laptops notebooks, and portables list. Notice a project I might have missed? Don’t be shy, just drop me a message on Hackaday.io. That’s it for this week’s Hacklet, As always, see you next week. Same hack time, same hack channel, bringing you the best of Hackaday.io!