Every week there’s new a new website that has been compromised and the passwords of a few hundred thousand accounts have been leaked to a pastebin. To protect yourself you can change your passwords often, not reuse passwords, and use long compilcated strings; all of these techniques are far beyond the capacity for human memory, or even a Post-it note. Thus the age of electronic password keepers began.
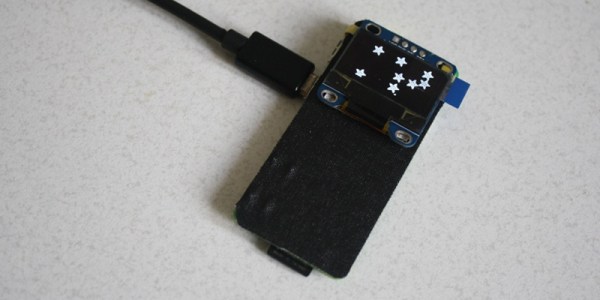
Electronic password keepers are simple devices that save your passwords and can recall them over a USB connection. The Raspberry Pi Zero functions perfectly fine as a USB device, leading [gir] to build the Raspi Zero WiFi Enable Hardware Password Manager for the Hackaday Prize.
This USB gadget uses pass, the ‘standard unix password manager’ to store all the passwords. Everything is controlled by a few buttons, a small OLED display, and of course the Raspi’s ability to become a USB HID device. This allows the Pi Zero to type passwords in just like a USB keyboard.
It’s a great project, and since the Pi Zero actually exists now, much to the surprise of its many detractors, the perfect entry for the Hackaday Prize.