You own it, you should be able to fix it. So much equipment on sale today has either been designed to be impossible to maintain, unnecessarily too complex to maintain, maintainable only with specialist tooling only available to authorised service agents, or with no repair parts availability. It’s a hot-button issue in an age when sustainability is a global concern, so legislators and regulators worldwide now finally have it in their sights after years of inaction and it’s become a buzzword. But what exactly is the right to repair, and what do we want it to be?
Is It Designed For Repair?
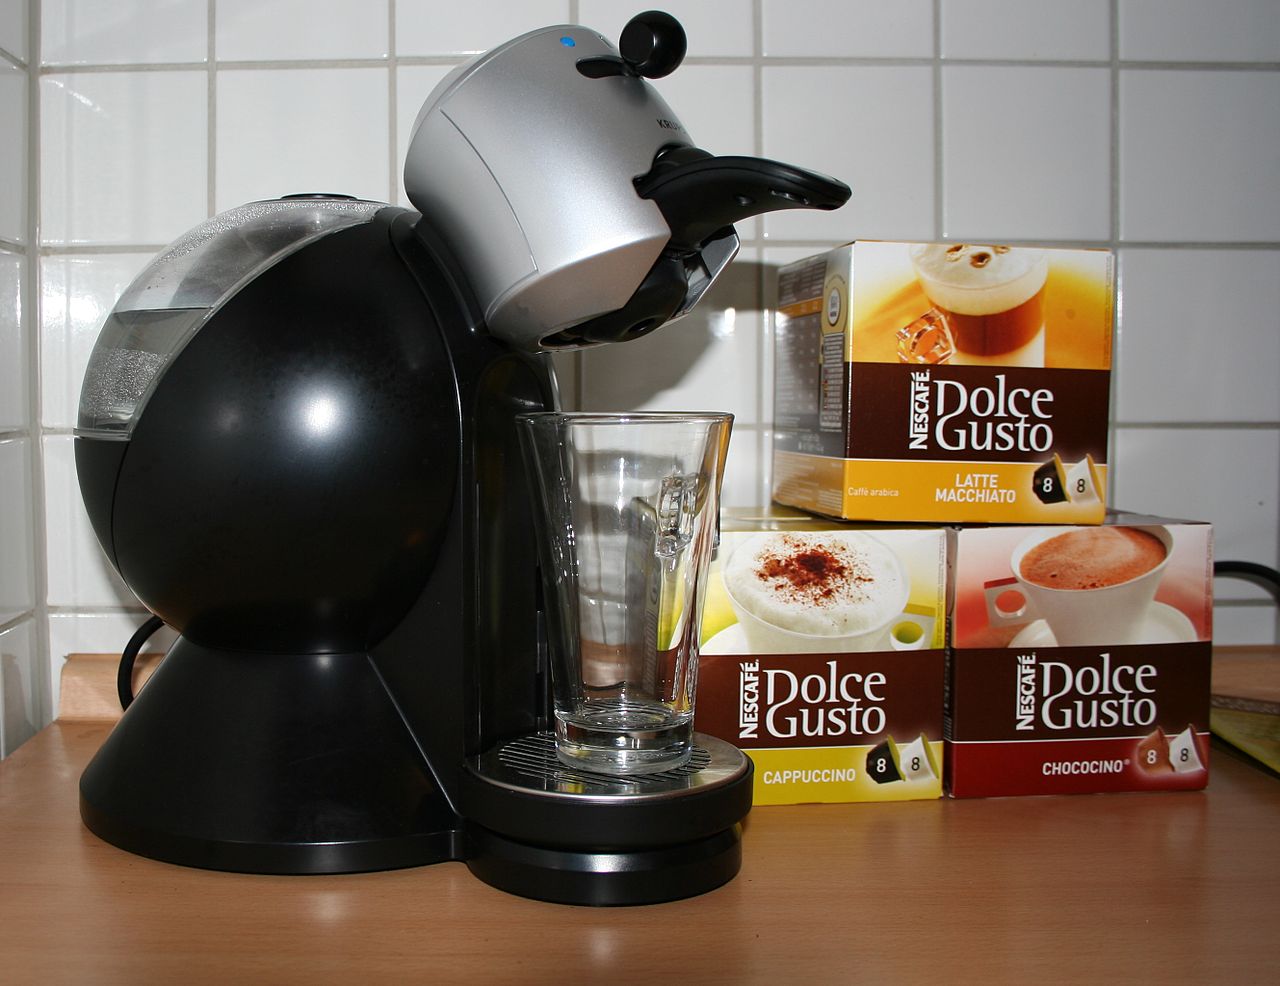
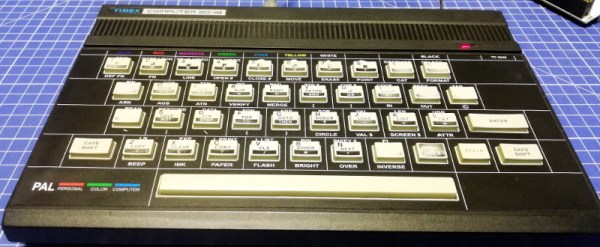
The first question to consider is this: does it matter whether or not you have the right to repair something, if it’s designed specifically with lack of repairability in mind? Consider a typical domestic pod coffeemaker such as a Tassimo or similar: despite being physically quite a simple device, it is designed to be especially complex to dismantle and reassemble. You just can’t get into it when something goes wrong.
Should it be the preserve of regulators to require design for easy repair? We think so. There are other forces working on the designers of home appliances; design-for-manufacture considerations and exterior appearance concerns directly affect the firm’s bottom line, while the end users’ repair experience is often at the bottom of the list, even though the benefit at a national level is obvious. That’s what laws are for.
Continue reading “Should You Be Able To Repair It? We Think So.”