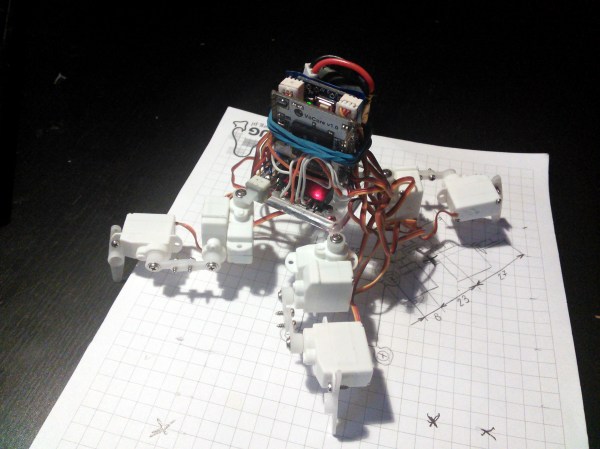
Most of the legged robots we see here are of the hexapod variety, and with good reason. Hexapods are very stable and can easily move even if one or more of the legs has been disabled. [Radomir] has taken this a step farther and has become somewhat of an expert on the more technically difficult quadruped robot, building smaller and smaller ones each time. He has been hard at work on his latest four-legged creation called the Pico-Kubik, and this one will fit in the palm of your hand.
The Pico-Kubik runs Micropython on a VoCore board, which allows for it to have a small software footprint to complement its small hardware footprint. It accomplishes the latter primarily through the use of HK-282A Ultra-Micro Servos, an Arduino Pro Mini, and a tiny lithium ion battery. It’s still a work in progress, but the robot can already crawl across the tabletop.
This isn’t [Radomir]’s first time at the tiny quadruped rodeo, either. He has already built the Nano-Kubik and the µKubik, all of which followed the first (aptly-named) Kubik quadruped. Based on the use of SI prefixes, we can only assume the next one will be the hella-Kubik!
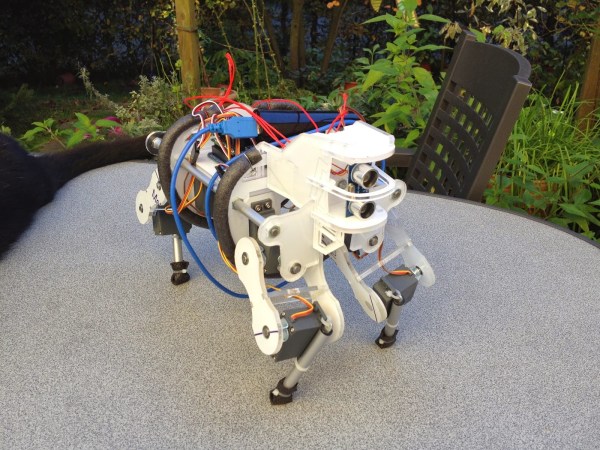
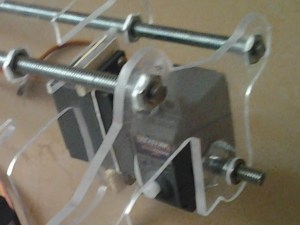 [Max] designed all of the mechanical parts himself. After weighing the advantages and disadvantages of different materials, he decided that the frame would be made from 5mm acrylic sheet. The main body of the robot has acrylic ribs that are spaced apart by threaded rods. Twelve RC servos make up all of the joints, 3 in each leg. Notice in this photo how there is one servo that immediately rotates another servo. To support the other side of the rotating servo, [Max] epoxied on a T-nut, stuck in a short length of threaded rod which is then supported in the frame by a ball bearing. Simple and effective! The upper portions of the legs are also made from acrylic sheet and the lower legs are from a cheap camera tripod. Rubber feet ensure a slip resistant stance.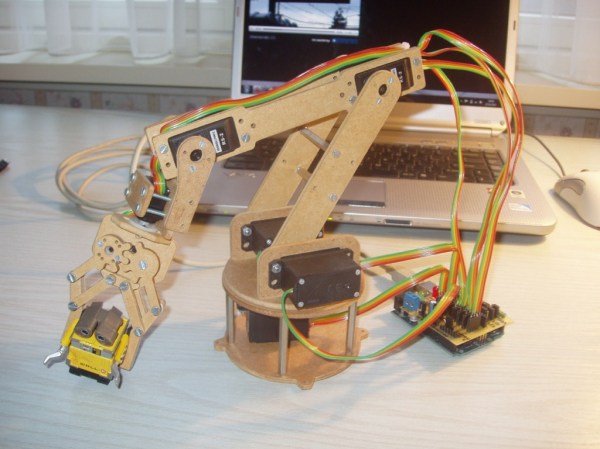
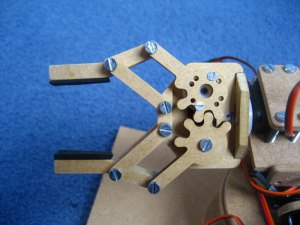 Like any project, there were some hiccups along the way. First, several revisions of the gripper were necessary to get the correct tooth profile that resulted in smooth and tight movement. Also, while making the shield the spacing between banks of headers came out one header too close! On this first board [jjshortcut] just bent the pins so they would fit into the Arduino. You can’t let some minor snafu prevent forward momentum of a project!