The purpose of a Zen garden, those stylized landscapes created by painstakingly placing rocks and raking gravel into perfect patterns, is the doing of the thing. Making sure every line is perfectly formed is no mean feat, and the concentration required to master it is the point of the whole thing. But who has time for that? Why not just build a robot to create the perfect Zen garden in miniature?
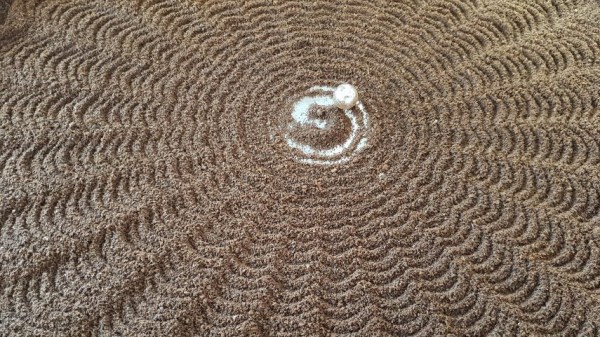
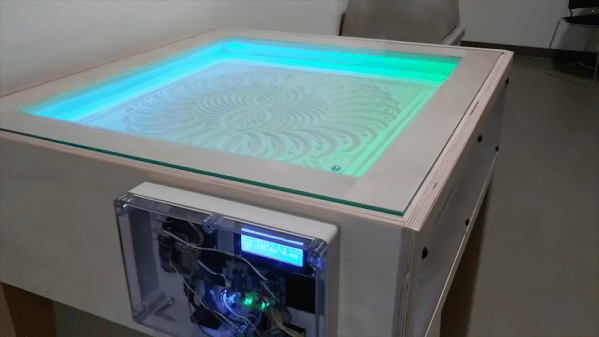
That was what [Tim Callinan] and his classmates did for a semester project, and the “ZenXY” sand plotter was the result. There isn’t a build log for the device per se, although the video below makes it plain how they went about this. The sand table itself is a plywood box whose bottom is layered with fine white sand and contains a single steel ball. Below the table is an X-Y gantry carrying a powerful magnet. A gShield riding on top of an Uno turns G code into slow, stately movement of the ball through the sand. The patterns are remarkably intricate, and while it might not be the same as mastering the body control needed to rake gravel with precision, watching the ball push the sand around is pretty Zen all by itself
This isn’t the first time we’ve seen someone try to automate a traditional Japanese practice. This tea ceremony robot comes to mind, and this nicely crafted sand table is very similar to the ZenXY.