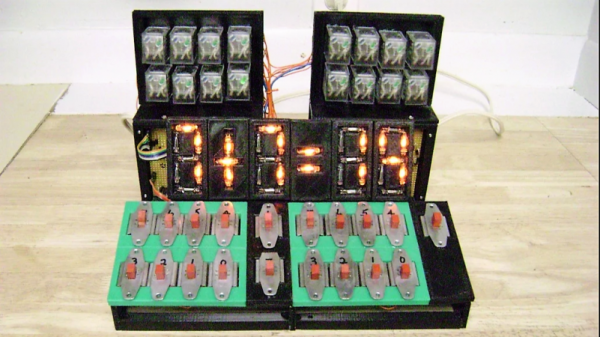
A staple of consumer devices for decades, seven segment displays are arguably one of the most recognizable electronic components out there. So it’s probably no surprise they’re cheap and easy to source for our own projects. But that doesn’t mean there isn’t room for personal interpretation.
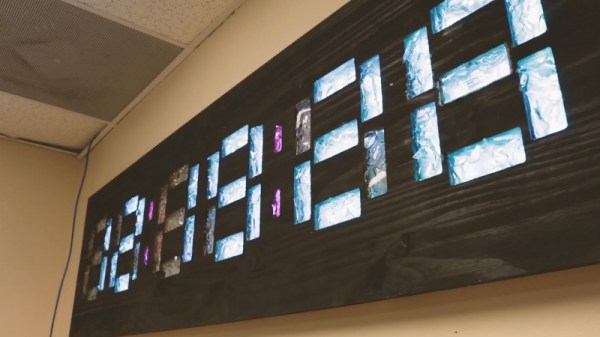
[MacCraiger] wanted to build a wall clock with the classic seven segment LED look, only his idea was to make it slightly larger than average. With RGB LED strips standing in for individual LEDs, scaling up the concept isn’t really a problem on a technical level; the tricky part is diffusing that many LEDs and achieving the orderly look of a real seven segment display.
 All those segments perfectly cut out of a sheet of plywood come courtesy of a CNC router. Once the rectangles had been cut out, [MacCraiger] had to fill them with something that could soften up the light coming from the LEDs mounted behind them. He decided to break up a bunch of glass bottles into small chunks, lay them inside the segments, and then seal them in with a layer of clear epoxy. The final look is unique, almost as though the segments are blocks of ice.
At first glance the use of a Raspberry Pi Zero to control the LED strips might seem overkill, but as it turns out, [MacCraiger] has actually added in quite a bit of extra functionality. The purists might say it still could have been done with an ESP8266, but being able to toss some Python scripts on the Linux computer inside your clock certainly has its appeal.
The big feature is interoperability with Amazon’s Alexa. Once he tells the digital home assistant to set an alarm, the clock will switch over to a countdown display complete with digits that change color as the timer nears zero. He’s also written some code that slowly shifts the colors of the digits towards red as the month progresses, a great way to visualize at a glance how close you are to blowing past that end of the month deadline.
We’ve seen something of a run on custom multi-segment displays recently. Just last month we saw a clock that used some incredible 25-segment LED displays, complete with their own unique take on the on epoxy-filled diffusers.
Continue reading “Huge Seven Segment Display Made From Broken Glass”

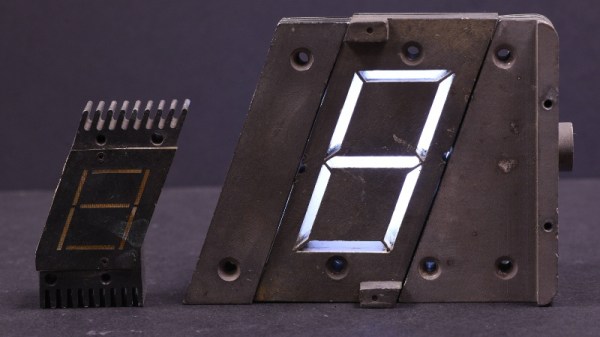
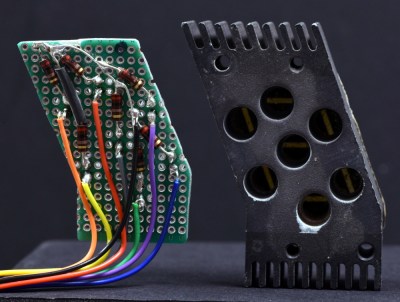
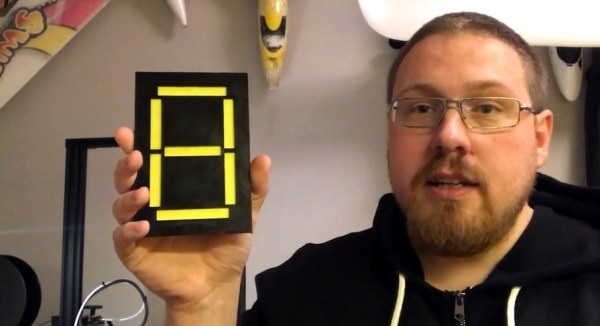
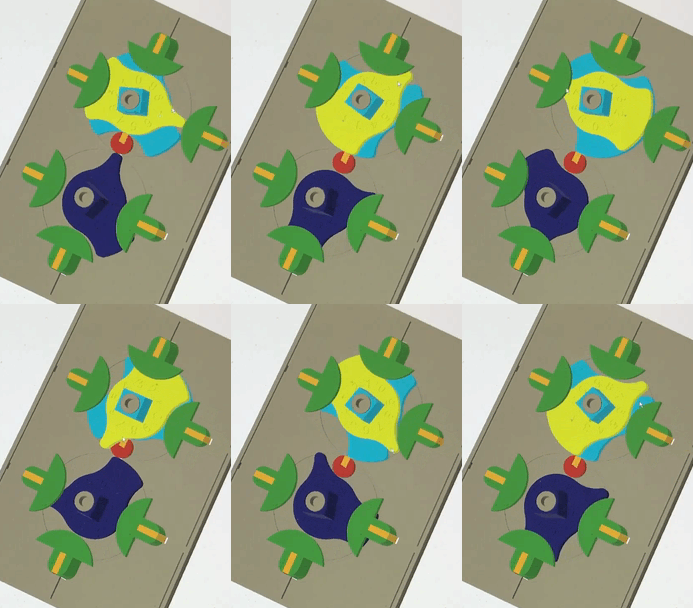 We find the nomenclature of these displays to be a bit confusing so let’s do a quick rundown. You may be most familiar with flip-dot displays, basically a dot-matrix grid of physical pixels that are black on one side and brightly colored (usually chartreuse) on the other. We saw