[Julez] wanted another soldering station, so he decided to build one himself using a Hakko 907 soldering iron (or a clone). Of course, he could have bought a station, but anyone who reads Hackaday doesn’t require an explanation for why you would build something you could buy.
The station has two switchable outputs so you can use two different irons (perhaps with different tips) although you can only use one at a time. [Julez] bought a case with a transparent top from eBay and also got a digital temperature controller from eBay, which is the heart of the project. As for the actual iron, you can find clone versions of the 907 handpiece for well under $10.
Because the station uses a module, the actual wiring isn’t terribly difficult. There’s a pot to control the temperature and the controller directly connects to the iron’s heating element and temperature probe. There’s also a standby switch that reduces the temperature using a fixed resistor in series with the control pot.
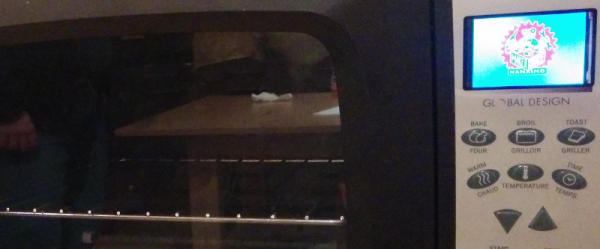
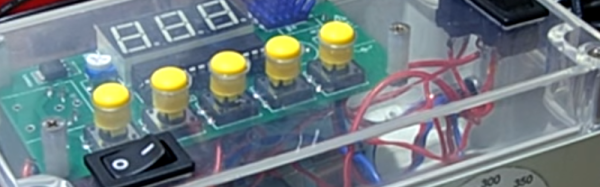
 The controller was a mashup of the existing oven’s keypad and an add-on LCD display (see right). One thing we didn’t see was a schematic. Of course, you can read the code and figure out how it is all connected and (unless you use the exact same oven) you are probably going to need to modify things to suit your particular setup, anyway.