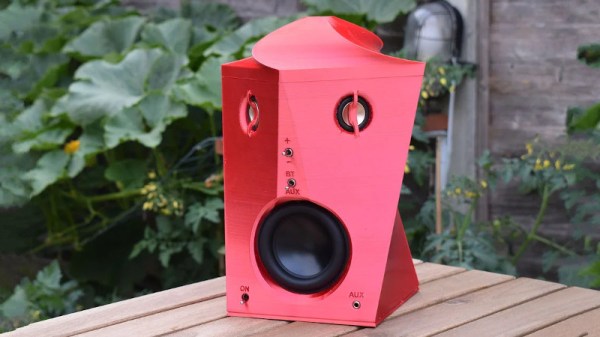
Speaker design used to be as much about woodwork as it was about advanced acoustic mathematics. In recent decades, technologies such as digital signal processing and 3D printing have changed the game significantly. Leaning heavily on these techniques, [ssashton] developed a design called Mr. Speaker.
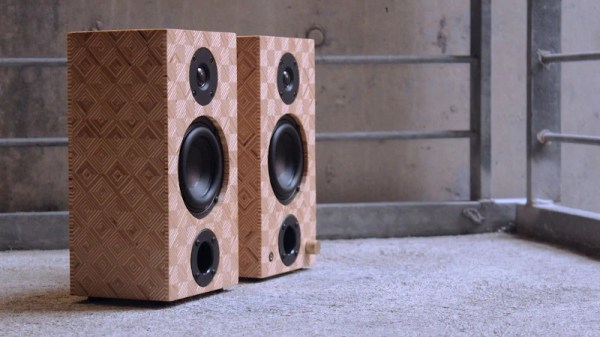
The speaker contains a 3″ woofer for good bass response, and twin tweeters to deliver stereo audio. Using WinISD to help do the requisite calculations on porting and volume, [ssashton] designed a swooping 3D printed enclosure with a striking design. Sound comes into the unit through an off-the-shelf Bluetooth module, before being passed to an ADAU1401 digital signal processing unit. From there, it’s passed to a mono amp to drive the woofer and a stereo one for the tweeters.
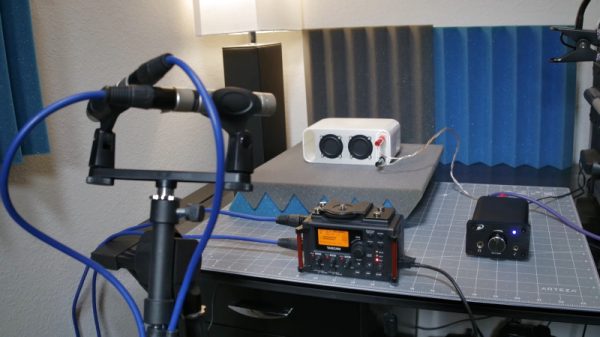
To get the flattest frequency response possible and maintain linear phase, it’s all about DSP in this case. RePhase software was used to design a DSP filter to achieve these goals, helping the speaker to produce the desired output. The ADAU1401 DSP was then programmed using Sigma Studio, which also allows the designer to do things such as split outputs for seperate woofer and tweeter drives.
[ssashton] does a great job of explaining both DSP principles and old-school speaker design tricks, from phase plugs to reflections. The use of 3D printed parts to rapidly iterate the design is impressive, too. We’d love to see the final enclsoure get an acetone smoothing treatment to really take it over the edge.
If you’re into serious speaker design and want more, be sure to check out this advanced transmission line design. For those of you with your own builds with some nifty tricks, drop us a note on the tipline.