A Fully Open Source Raspberry Pi Synthesizer

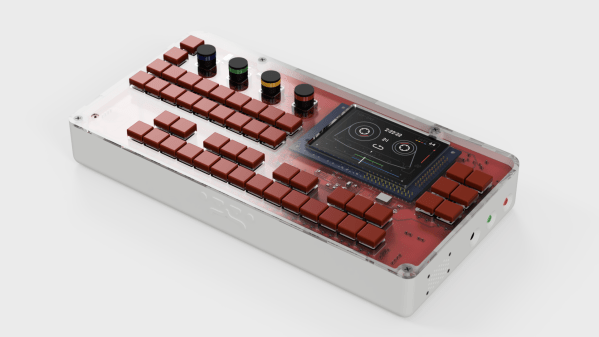
Have you ever seen something and instantly knew it was something you wanted, even though you weren’t aware it existed a few seconds ago? That’s how we felt when we received a tip about Zynthian, a fully open source (hardware and software) synthesizer. You can buy the kit online directly from the developers, or build your own from scratch using their documentation and source code. With a multitude of filters, effects, engines, and essentially unlimited upgrade potential, they’re calling it a “Swiss Army Knife of Synthesis”. We’re inclined to agree.

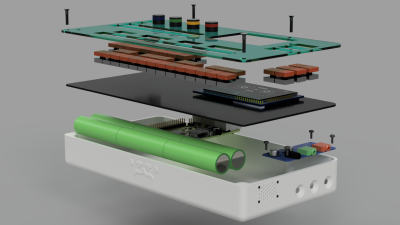
At the most basic level, the Zynthian is a Raspberry Pi 3 with a touch screen, a few rotary encoders, a dedicated sound card, and MIDI support. Software wise the biggest feature is arguably the real-time Linux kernel for the lowest latency possible. There’s also a custom web interface so you can control the Zynthian from another machine on the network if you want. As a matter of course, it also includes a wide array of pre-installed audio packages to experiment and create with.

Kits are offered at various prices from $420 USD for the top of the line model down to unpopulated PCBs for a few bucks. We like that they broke things down this way; allowing users of various skill (and or patience) to pay what they want. If you just want to buy the custom boards and roll your own case and Pi solution, you can do that.

If you want to go all in, you can build one entirely from scratch as well. Everything from the CAD files for the case to their custom rotary encoder library is completely open (most licensed under GPL v3) for anyone to use however they see fit. There’s even a page in the wiki for listing hardware which isn’t officially supported by the project, but remain as options for those looking to cut their own path.

Synthesizers are a fairly popular hacker project, from Google’s AI-powered version to single chip exercises in frugality. If you want to learn even more about the fine line between digital noise and music, check out this fantastic series by our very own [Elliot Williams].

[Thanks to Mynasru for the tip.]

Continue reading “A Fully Open Source Raspberry Pi Synthesizer”

Hackaday Links Column Banner

Hackaday Links: May 13, 2018

The dumbest thing this week is Uber’s flying car concept of the future. The braintrust at Uber envisions a world of skyports, on rooftops or on the ground that will handle 200 takeoffs and landings per hour. That is 4800 per day at a maximum. The record for the number of total takeoffs and landings for any airport was set last year at Mumbai’s Chhatrapati Shivaji airport with 969 takeoffs and landings in a twenty-four hour period. Yes, Uber wants to put the world’s busiest airport in a parking lot or something. Just wait, it gets dumber. Uber’s ‘flying car’ looks like a standard quadcopter, but with stacked, non-contrarotating props, for safety. These aircraft will be powered electrically, although it’s not quite clear if this is a hybrid setup (which could actually be practical now, but without regulatory precedent) or something built around an enormous battery (impractical for anything bigger than a 152 in this decade).

This aircraft is just a render, and Uber expects it to be certified for commercial flight in two to five years. This is nearly impossible. Uber plans to fly these aircraft autonomously. This will never happen. Additionally, Uber will not manufacture or design the aircraft. Instead, they will partner with a company that has experience in aerospace — Bell or Embraer, for instance — making the render a moot point, because ultimately Uber is just going to go with whatever Bell or Embraer have on the drawing board. Uber’s entire business plan is “move fast and break laws”, which will not serve them well with the FAA. The mere mention of Uber’s self-flying car has lowered the level of public discourse and has made us all dumber.

Here’s a great example of how cheap TVs are getting. [tmv22] built a 55 inch, 4k digital photo frame for $400. The TV was one Walmart was blowing out for two hundred and sixty dollars. Add in an Odroid C2 and some various cables and hardware, and you have an absurd digital photo frame for a few benjamins.

Espressif is getting investment from Intel’s venture capital division. Espressif, is, of course, the company behind the incredibly popular ESP8266 and ESP32 chipsets designed for the Internet of Things. Before the ESP8266 module popped up for sale on SeeedStudios, no one had heard of Espressif. Intel, on the other hand, is the largest semiconductor company on the planet and recently exited the maker IoT space because of the complete and utter failure of the Curie, Joule, Edison, and Galileo product lines. I would bet a significant portion of Intel’s failure was due to their inability to release datasheets.

Awesome news for synth heads. Behringer is cloning just about every classic synth and drum machine. At Superbooth 2018, Behringer, manufacturers of the worst mixers on the planet, revealed their clone of the Roland SH-101 synthesizer. It’s called the MS-101, and yes, it has the keytar grip. Also announced is a clone of the TR-808, Odyssey One, the OB-Xa, Arp 2600, and M100 modules. Here’s some context for you: a good Detroit techno show consists of an SH-101, TB-303, TR-808 and TR-909, all made by Roland in the 80s. These vintage synths and drum machines, at current prices, would cost about $10,000, used. The prices for these clone synths haven’t been announced, but we’re looking at a Detroit techno show for $1000. That’s nuts. Here’s a video of the 808.

Synthbike Rolls To The Beat

Modular synthesizers are some of the ultimate creative tools for the electronic musician. By experimenting with patch leads, knobs and switches, all manner of rhythmic madness can be conjured out of the æther. While they may overflow with creative potential, modular synths tend to fall down in portability. Typically built into studio racks and composed of many disparate modules, it’s not the sort of thing you can just take down the skate park for a jam session. If only there was a solution – enter the madness that is Synth Bike.

Synth Bike, here seen in the 2.0 revision, impresses from the get go, being built upon a sturdy Raleigh Chopper chassis. The way we see it, if you’re going to build a synth into a bicycle, why not do it with some style? From there, the build ratchets up in intensity. There’s a series of sequencer modules, most of which run individual Arduino Nanos. These get their clock from either a master source, an external jack, or from a magnetic sensor which picks up the rotation of the front wheel. Your pace dictates the tempo, so you’ll want to work those calves for extended raves at the park.

The features don’t stop there – there are drums courtesy of a SparkFun WAV Trigger, an arcade button keyboard, and a filter board running the venerable PT2399 digital delay chip. It’s all assembled on a series of panels with wires going everywhere, just like a true modular should be.

The best thing is, despite the perplexing controls and arcane interface, it actually puts out some hot tunes. It’s  not the first modular we’ve seen around these parts, either.


Bringing Guitar Synthesis To The Microcontroller

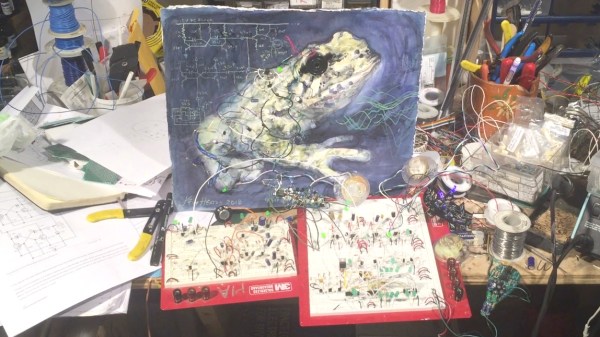
If you’re working with audio in an embedded environment, the best option for years now has been the Teensy 3 microcontroller board. This choice has mostly been due to its incredible power and audio libraries, but until now we really haven’t seen a stompbox-style interface that used the Teensy to its fullest extent. Now we have, in [Wolkstein]’s GitSynth, everything you could want in a synthesizer that processes the signals from an electric guitar.

The core of this build is a Teensy 3, and all the audio goodies that come with that. Also included is a USB MIDI and audio interface, smartly both attached to a panel-mount USB-B connector on the back of the stompbox. Other controls include a single mono in jack for guitars and synths, two mono out jacks for stereo-ish output, a bunch of footswitches for bypass, tap tempo, preset selection, a jack for an expression pedal, and some buttons to move around the LCD user interface.

While putting a powerful microcontroller in a stomp box for is a project we’ve seen many times, this project really shines with the MIDI GUI that’s built for a device with a real display and a mouse. [Wolkstein] built a PyQt-based app for this synth, and it’s a plethora of buttons and sliders that looks similar enough to a real synthesizer. There’s enough configurability here for anyone.

You can check out the demo video (in German, but auto-translate subtitles exist) below.

Thanks [Mynaru] for the tip!

Continue reading “Bringing Guitar Synthesis To The Microcontroller”

Restoring A Piece Of Musical History

Every restoration project involves various levels of grit, determination, gumption and doggedness. But [Darren Glen]’s restoration of a Jupiter-8 is an absolute labor of love. The Jupiter-8,  launched by Roland in 1981, was their flagship “polyphonic analog subtractive” synthesizer and was used by many legendary acts of the ’80’s. The synthesizer was rugged — built to withstand the rigors of travelling everywhere that the bands took it. More importantly, it could produce a wide range of sounds that came from dedicated and independent controllers. These, plus a host of other desirable features, makes the synth highly coveted even today and the rare ones that surface for sale can be quite expensive.

The back story of how he came in possession of this coveted, albeit non-functioning, piece of history is a good read. But the part that makes us all interested is the meticulous restoration that he is carrying out. There is a lot of useful information that he shares which could be handy if you are planning any restoration project of your own.

When he first turned it on, all he got was an “8” on the display — which seemed like an error code. From then onward, he has been carefully stripping away each part and slowly bringing it back to life. All of the linear slide potentiometers and slide switches were de-soldered, dis-assembled, cleaned of rust and the carbon tracks and contacts cleaned with special spray — making them almost as good as new. The transformer and its mounting brackets received a similar treatment of rust cleaning and fresh paint. All of the other internal metal parts, such as the chassis, were restored in a similar fashion.

White plastic buttons and knobs which were faded, were brightened up by spraying them with a generous dose of hydrogen peroxide hair spray, putting them in Ziploc bags and letting them bake in sunlight for a day. [Darren] was satisfied enough with this process and gave the same treatment to all the other colored buttons too, with good results. The other set of plastic parts – the keyboard keys, were cleaned and polished with a scratch and blemish polish cream, and replacements were ordered out from a specialist supplier for the few that were damaged beyond repair.

But by far the greatest challenge for [Darren] has been resurrecting the top metal cover. It was badly rusted and had to be completely stripped of all paint. Repainting it the right shade was relatively easy, but applying the legend and decals took him to every screen printer in town, none of whom could manage the job. He lucked out by locating a screen printer who specialized in custom automotive work and managed to do a pretty good job with the decal work.

The Z80 microprocessor had lost all its magic smoke, so [Darren] has ordered an original Zilog replacement which will hopefully clear the error he noticed when it was first turned on. He’s slowly working his way through all the issues, and it is still work in progress, but we look forward to when it’s all done and dusted. A fully functional, restored Roland Jupiter-8 — one of the first 500 that were built back in 1981 — resurrected with a lot of TLC.

A big shout out to [Tim Trzepacz] for bringing this project to our notice.

Virtual Analog Synth Brings Tunes To The Masses

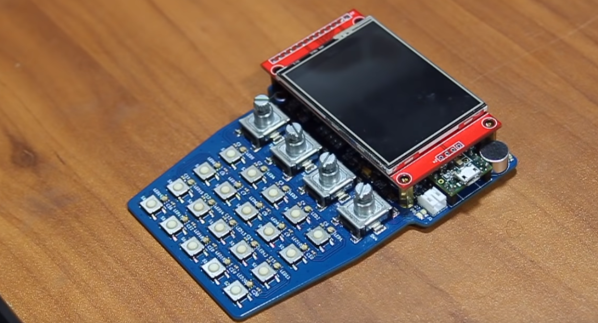
Part of the problem with getting involved in a new hobby is the cost. Whether you’re learning to surf, weld, garden, or program, often the entry cost is several hundred dollars. We’re huge fans of things with low barriers to entry, though, so we were happy to see the latest project from [pappas.chris] which promises to introduce newcomers to the musical hobby of synthesizers for just over $20.

The build revolves around an STM32F7 microcontroller and offers a 6-voice virtual analog synthesizer. The build is expandable, too, so if you want to build on the STM platform with any other add ons the process is relatively simple. This might not be necessary for a while, though; the current iteration offers many features that a typical synthesizer would have. Exhausting the possibilities with this tiny device will take some effort.

Since the synth is built on a common microcontroller platform, it’s easily programmable too, which isn’t often a feature of commercial synthesizers. You can listen to a sample audio file on the project page, and get started building your own as well. If you don’t have your own keyboard to use with it, there are other DIY synths that cover that area as well.

This Synth Is Okay

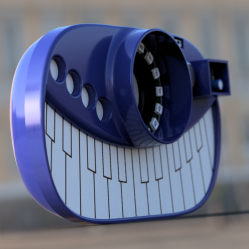
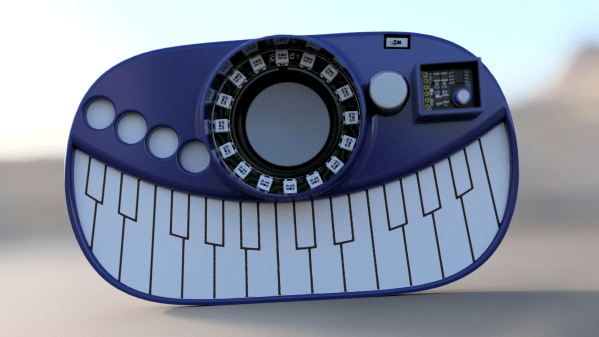
While this 3D printed synthesizer might just be okay, we’re going to say it’s better than that. Why? [oskitone] did something with a 555 timer.

The Okay synth from [oskitone] uses a completely 3D printed enclosure. Even the keys are printed. Underneath these keys is a small PCB loaded up with tact switches and small potentiometers. This board runs to another board loaded up with a 555 timer and a CD4040 frequency divider. This, in turn, goes into an LM386 amplifier. It’s more or less the simplest synth you can make.

If this synth looks familiar, you’re right. A few months ago, [oskitone] released the Hello F0 synth, a simple wooden box with 3D printed keys, a few switches, and a single 4046 PLL oscillator. It’s the simplest synth you can build, but it is something that can be extended into a real, proper synthesizer with different waveforms, LFOs, and envelope generators.

The sound of this chip is a very hard square wave with none of the subtleties of A,S,D, or R. Turn down the octave knob and it makes a great bass synth, or turn the octave knob to the middle for some great chiptune tones. All the 3D models for this synth are available on Thingiverse, so if you’d like to print your own, have at it.

You can check out the demo of the Okay synth below.

Continue reading “This Synth Is Okay”