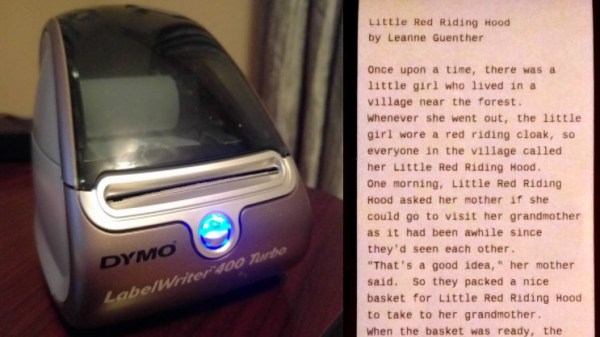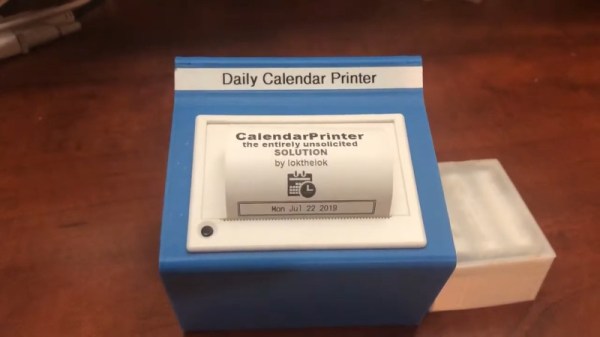
We’re blessed to have cloud-based calendars that store all the relevant data on our hyper-busy lives for easy access anywhere and everywhere. However, sometimes a hard copy is nice for when you’re tired of looking at screens. In this vein, [lokthelok] produced a compact device that prints out your schedule on the daily.
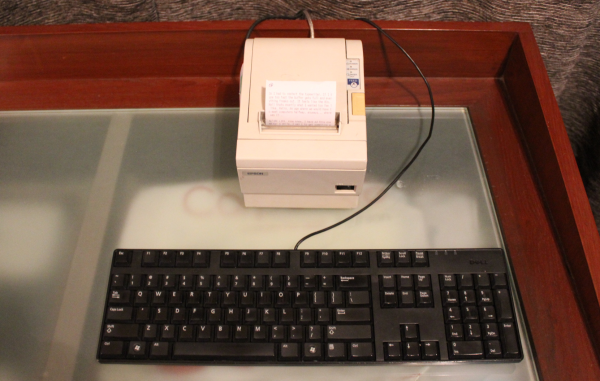
The device uses an ESP32 to connect to WiFi, and then query Google Apps for a given user’s calendar details on a daily basis. After grabbing the data, it’s fed out to a thermal printer connected over serial at 9600 baud. As a twist, [lokthelok] has produced two versions of firmware for the project. The master version simply scrapes calendar data and outputs it neatly. The Useless version goes further, jumbling up appointments and printing them out of order. If you’ve got nothing on for the day, it will instead spool out the remainder of the thermal paper on the roll.
It’s a build that would make a handsome desk toy, though we suspect tossing out each day’s calendar could become tiresome after a while. Alternatively, consider a clock that highlights your upcoming events for you. Video after the break.
Continue reading “Calendar Printer Makes You A Hard Copy On The Daily”