Many of us will have broken a laptop at one point or another, destroying the screen or smashing the case. It can be frustrating, as there’s a perfectly usable computer in there, trapped inside a broken husk of a body. [Matthew] saw this not as a problem, but an opportunity – and built a beautiful all-in-one desktop PC. (Video, embedded below.)
With a badly damaged Thinkpad laptop to hand, an ASUS monitor was sourced with a thin body and flat back, perfect for mounting hardware. An MDF base was created, on to which the laptop motherboard was mounted. A USB hub and audio amplifier were then added, along with a USB power isolator and soundcard to avoid problems with groundloops from the onboard headphone output. Speakers were Harman Kardon units salvaged from an old television, providing great quality sound for the build.
There’s plenty of great ideas in the video, from using epoxy for a strong permanent assembly, to a nifty hack to make the power button work. It has us contemplating a build for our own broken laptops in the junkpile. We’ve seen other creative all-in-one builds too, like this one inside a printer.
Upgrading the BIOS in older computers is a great way to get a few more years of life out of old hardware or improve its performance. ThinkPads are a popular choice around these parts, but often flashing new firmware involves directly programming the chips themselves. Luckily, there’s a new flashing tool for some older Thinkpads that is much simpler.
The ThinkPads involved are the xx30 models with IvyBridge processors built around 2012, and a tool called 1vyrain now allows unlocking the bios without disassembling your computer. This means that there’s support for custom BIOS images such as coreboot, and in certain computers this also allows for overclocking, replacing WLAN hardware, and a number of other customizations. It will also allow you to disable the Intel management engine, which is not something we tire of talking about.
If you have one of these older computers floating around, some new RAM, an SSD, and this update will get you well on your way to a computer that feels brand new at virtually no cost, and the upgrades to the BIOS that you can easily make now only add to that. ThinkPads are a popular choice, especially for their hardware, but you do need to make sure that the software on them is trustworthy too.
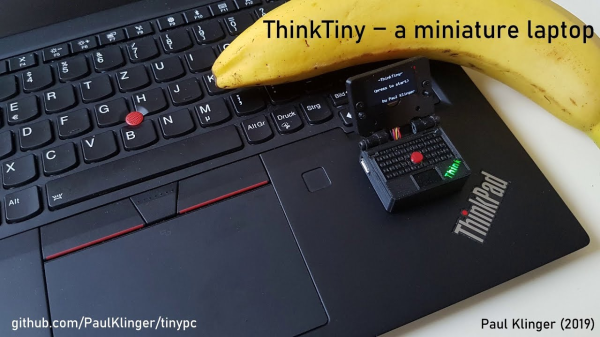
Of course it has the red nipple and lid LED—wouldn’t be a ThinkPad without ’em. ThinkTiny’s nipple is a 5-way joystick that plays Snake, Tetris, Lunar Lander, and more on an OLED screen. Like its predecessor the Tiny PC, [Paul] used an ATtiny1614, which (FYI) has a new one-wire UDPI interface. He can easily reprogram it through pogo pin holes built into the case.
There are some nice stylistic details at play here, too. The lid LED is both delivered and diffused by a 2mm grain of fiber-optic cable. And [Paul] printed the cover with a color change to transparent filament to make the Think logo and the charging LEDs shine through. Maneuver your way past the break to see it in action.
If you haven’t leveled up to AVR programming yet, introduce yourself to Arduboy.
Thinkpads are great, especially the old ones. You find a T420, and you can have a battery hanging off the back, a battery in the optical drive bay, and for some old Thinkpads, there’s a gigantic ‘slice’ battery that doubles the thickness of your laptop. Here’s the most batteries in a Thinkpad ever, with the requisite reddit post. It’s 27 cells, with an all-up capacity of 212 Watt-hours. There are two interesting takeaways from the discussion here. First, this may, technically, be allowed on a commercial flight. The FAA limit is 100 Watt-hours per battery, and the Ultrabay is a second battery. You’re allowed two additional, removable batteries on a carry on, and this is removable and reconfigurable into some form that the TSA should allow it on a plane. Of course no TSA agent is going to allow this on a plane so that really doesn’t matter. Secondly, the creator of this Frankenpad had an argument if Hatsune Miku is anime or not. Because, yeah, of course the guy with a Thinkpad covered in Monster energy drink stickers and two dozen batteries glued on is going to have an opinion of Miku being anime or not. That’s just the way the world works.
Prices for vintage computers are now absurd. The best example I can call upon is expansion cards for the Macintosh SE/30, and for this computer you have a few choice cards that have historically commanded a few hundred dollars on eBay. The Micron XCEED Color 30 Video Card, particularly, is a special bit of computer paraphernalia that allows for grayscale on the internal monitor. One of these just sold for two grand. That’s not all, either: a CPU accelerator just sold for $1200. These prices are double what they were just a few years ago. We’re getting to the point where a project to reverse engineer and produce clones of these special cards may make financial sense.
The biggest news in consumer electronics this week is the Playdate. It’s a pocket game console that has a crank. Does the crank do anything? No, except that it has a rotary encoder, so this can nominally be used for games. It will cost $150, and there are zero details on the hardware other than the industrial design was done by Teenage Engineering. There’s WiFi, and games will be delivered wireless on a weekly basis. A hundred thousand people are on the wait list to buy this.
If you want a pick and place in your garage workshop, there aren’t many options. There’s a Neoden for about ten grand, but nothing cheaper or smaller. The Boarditto is a two thousand dollar pick and place machine that fits comfortably on your desk. It has automatic tape feeders, a vision system, and for the most part it looks like what you’d expect a small, desktop pick and place machine to be. That’s all the information for now, with the pre-order units shipping in December 2019.
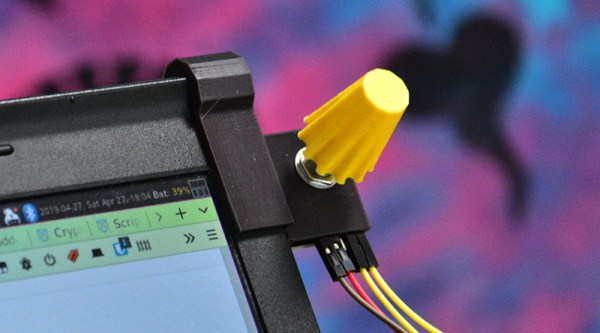
The hardware for this build is simply an Arduino and a rotary encoder, no problem there. The firmware on the Arduino simply reads the encoder and sends a bit or two of data over the serial port. This build gets interesting when you connect it to a Firefox extension that allows you to get data from a USB or serial port, and there’s a nice API to access tabs. Put all of this together, and you have a knob that will scroll through all your open tabs.
This build gets really good when you consider there’s also a 3D printed mount, meant to attach to a Thinkpad X220, the greatest laptop ever made. At the flick of a knob, you can scroll through all your tabs. It’s handy if you’re reading three or four or five documents simultaneously, or if you’re just editing video and trying to go through your notes at the same time. A great invention, and we’re waiting for this to become a standard device on keyboards and mice. Check out the video below.
It might be difficult for modern audiences to believe, but at one point Microsoft Windows fit on floppy disks. This was a simpler time, with smaller hard drives, lower resolution displays, and no hacker blogs for you to leave pessimistic comments on. A nearly unrecognizable era, to be sure. But if you’re one of the people who looks back on these days fondly, you might wonder why we don’t see this tiny graphical operating system smashed into modern hardware. After all, SkiFree sure ain’t gonna play itself.
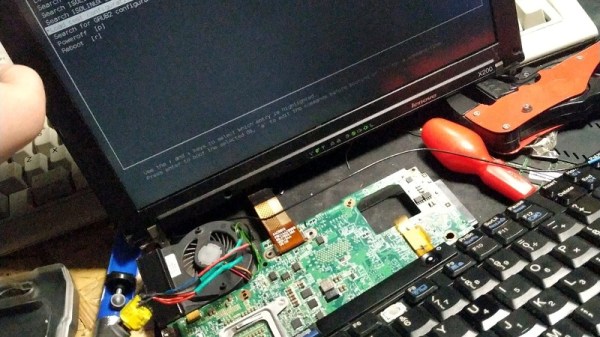
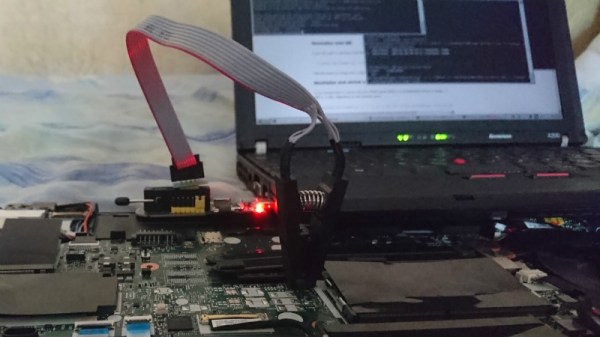
The adventure starts when [redsPL] helped a friend install libreboot and coreboot on a stack of old ThinkPads by using the Raspberry Pi as an SPI flasher, a pastime we’re no strangers to ourselves. Once the somewhat finicky software and hardware environment was up and running, it seemed a waste not to utilize it further. Especially given the fact most firmware replacements only fill a fraction of the X200’s 8 MB chip.
Of course, Windows 3.1 was not designed for modern hardware and no proper drivers exist for much of it. Just getting the display resolution up to 1024×768 (and still with only 256 colors) required patching the original video drivers with ones designed for VMWare. [redsPL] wasn’t able to get the sound hardware working, but at least the PC speaker makes the occasional buzz. The last piece of the puzzle was messing around the zip and xz commands until the disk image was small enough to sneak onto the chip.
For many, the Thinkpad T25 was something of a dream come true. Celebrating the 25th anniversary of the venerable business-oriented laptop that hackers love so much, it featured a design inspired by “retro” Thinkpads of yore, but with modern hardware inside. Unfortunately, as it was more fan service than a serious revitalization of classic Thinkpad design, the T25 was only ever available in a single hardware configuration.
[kitsunyan] liked the look and feel of the T25, but in 2019 was already feeling a bit let down by the hardware. The screen wasn’t up to snuff, and while the CPU is an i7, it only has dual cores. To make sure the T25 is still viable down the road, it seemed the only option was to try to transplant the hardware from one of the current Thinkpad models into the anniversary chassis. It certainly wasn’t easy, but given the fact that the T25 was more of a redress than a completely new product to begin with, everything came together a lot better than you might expect.
A custom mount installed in the T25
To help put things into perspective, the T25 is basically a modified version of the T470. Last year, Lenovo replaced the T470 with the new T480 that has just the sort of hardware improvements that [kitsunyan] wanted. The T480 was more of a refresh than a complete revamp, so the actual chassis of the machine didn’t change much compared with its predecessor. That being the case, it seemed like it should be possible to transplant the newer T480 components into the T470 derived T25. Got all that straight?
[kitsunyan] was able to put this theory to the test when the opportunity to connect a T25 keyboard to the newer T480 presented itself. Since the 7-row keyboard on the anniversary edition was one of its biggest selling points, seeing if it would work on another machine was kind of a big deal. It didn’t fit physically, and some of the keys didn’t work as expected, but it at least had the same connector and didn’t let out the magic smoke. It represented the first tiny step of a much larger journey.
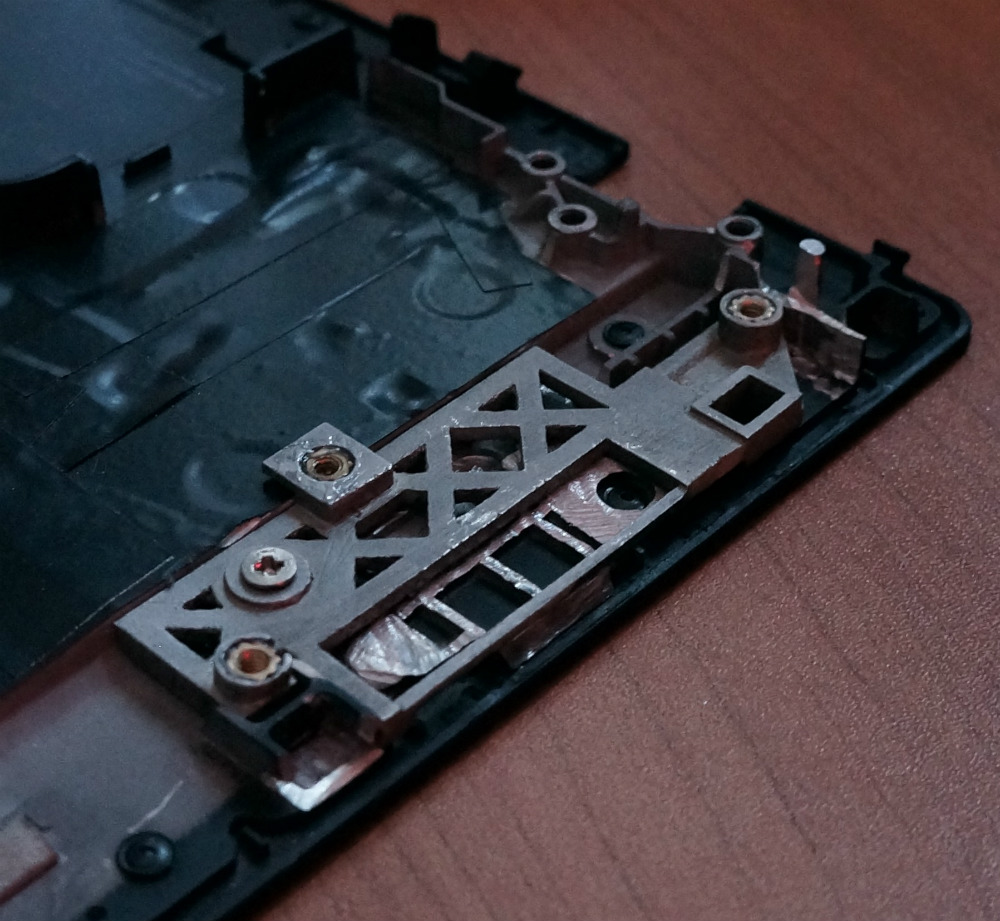
In the end, it took a lot of trimming, gluing, hacking, and fiddling to get all the new hardware from the T480 to fit into the T25. But if you’re brave enough, the process has been detailed exquisitely by [kitsunyan]. Not only are the part numbers listed for everything you need to order, but there’s plenty of pictures to help illustrate the modifications that need to be made to all the clips, brackets, and assorted widgets that go into a modern laptop.