For most of us, a good part of our childhood involved running around someone’s backyard (or inside the house) trying to score hits with a toy NERF gun. The fun level was high and the risk of personal injury was low. Now that we’re all mostly adults, it’s probably time to take our NERF game to the next level with some risk of serious personal harm.
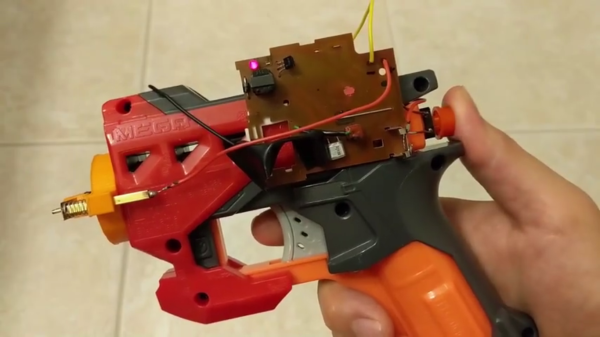
In an effort to help his brother get back at him for being somewhat of a bully in their youth, [Allen Pan] gifted him with an upgraded NERF gun. Specifically, one with darts that pack a punch. Each of the “Elite” darts was equipped with a 300 V capacitor packed into the interior of the dart. New tips were 3D printed with special metal tips that allow the capacitor to discharge upon impact.
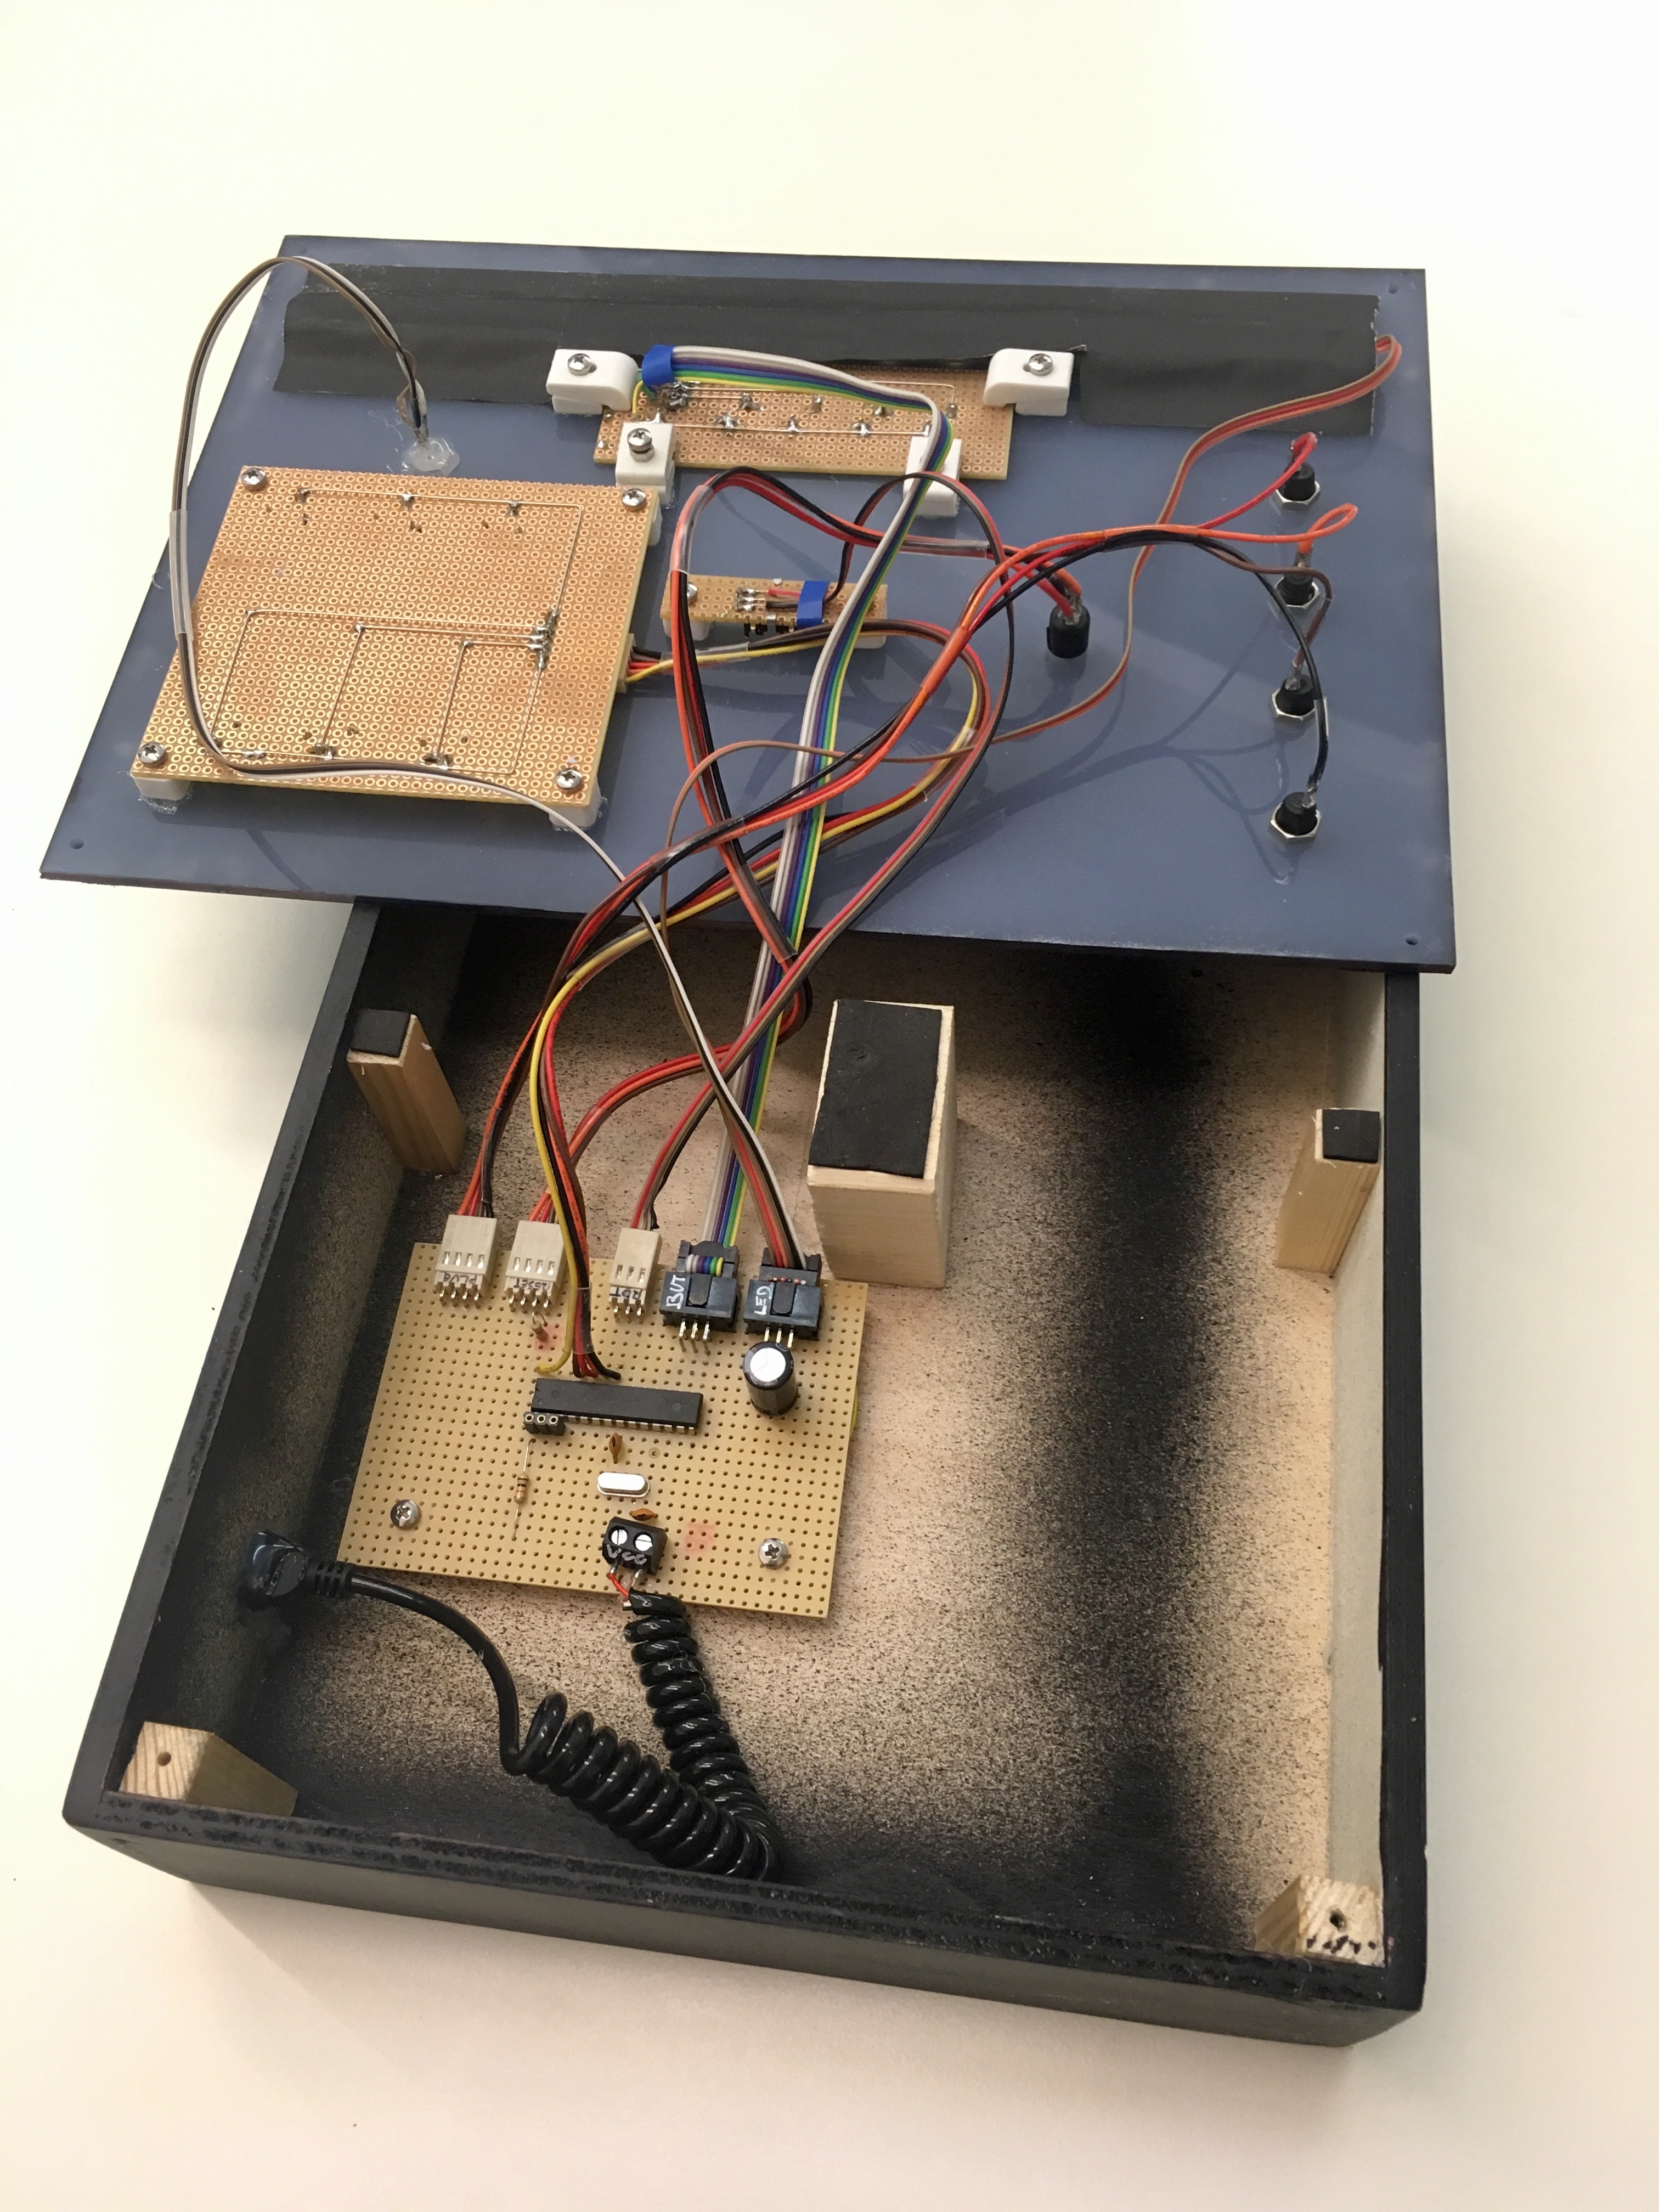
Besides the danger, there’s a good bit of science involved. Parts were scavenged from a new (and surprisingly expensive) disposable camera, and a customized circuit was constructed around the barrel of the dart gun that allows the darts to charge up when they’re loaded. It’s an impressive build that would be relatively simple to reconstruct for yourself, but it’s probably not the worst thing we’ve seen done with high voltage and a few small capacitors.
Thanks to [Itay] for the tip!
Continue reading “You Should Not Try These Taser NERF Darts”