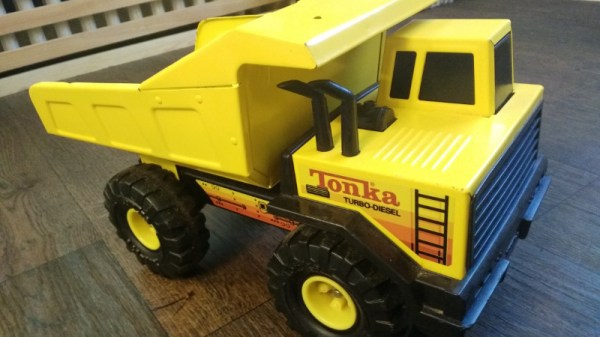
The yellow Tonka Truck. Instantly recognizable by any child of decades past, that big metal beast would always make you popular around the sandbox. There were no blinking lights to dazzle, no noises to be heard (unless you count the hard plastic wheels rolling on concrete), even the dumping action is completely manual. But back then, it was a possession to be treasured indeed.
So it’s perhaps no surprise that there is a certain following for these classic trucks today, though like with most other collectibles, a specimen in good condition can be prohibitively expensive. The truck that [PoppaFixIt] found in the trash was certainly not one of those specimens, but with some patience and knowledge of basic chemistry, he was able to bring this vintage toy back to the present.
The first step was to disassemble the truck. Before they switched over to Chinese mass production, these trucks were built with actual rivets. After drilling them out and unfolding the little metal tabs that toy makers loved back in the day, he was able to separate the metal body of the truck from the plastic detail bits. The plastic parts just needed a fresh coat of paint, but the rusted metal body would need a bit more attention.
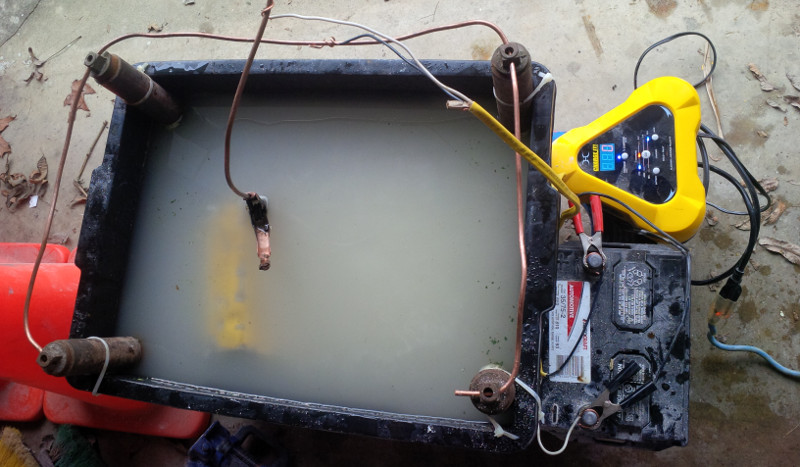 Remembering a tip he read online, [PoppaFixIt] decided to attempt electrolytic rust removal to get the metal parts back into serviceable condition. A big plastic bin, some washing soda, and old steel window weights for his sacrificial anodes was all the equipment he needed for the electrolysis tank. To power the chemical reaction he used a standard 12 volt car battery and charger wired in parallel; this step is important, as he notes most newer chargers are smart enough not to work unless they see a real battery connected.
After running the setup overnight, the collected rust and junk on the window weights was proof enough the process worked. From there, it was just a fresh coat of yellow paint, a new sticker kit from eBay, and his Tonka truck was ready to face another 30+ years of service.
If you’re looking to restore things larger than a child’s toy, you may be interested in the much larger electrolytic setup we’ve covered previously. Of course if you’re really pressed for time, you could try blasting the rust away with a laser.