Vintage Atari Becomes Modern Keyboard

The modern keyboard enthusiast is blessed with innumerable choices when it comes to typing hardware. There are keyboards designed specifically for gaming, fast typing, ergonomics, and all manner of other criteria. [iot4c] undertook their own build for no other reason than nostalgia – which sounds plenty fun to us.

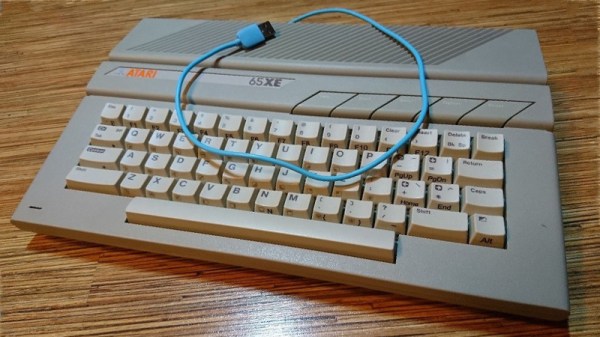
An Arduino Leonardo is pressed into service for this hack. With its USB HID capabilities, it’s perfectly suited for custom keyboard builds. It’s built into a working Atari 65XE computer, and connected to the keyboard matrix. The Keypad and Keyboard libraries are pressed into service to turn keypresses on the 80s keyboard into easily digseted USB data.

There’s plenty of room inside the computer for the added hardware, with the USB cable neatly sneaked out the rear. [iot4c] notes that everything still works and the added hardware does not cause any problems, as long as it’s not used as a computer and a keyboard at the same time.

It’s possible to do a similar hack on the Commodore 64, too. If you’re doing tricky keyboard builds yourself, you know where to send ’em.

Every Computer Deserves A Rotary Encoder

In the era of touch screens and capacitive buttons, we’d be lying if we said we didn’t have the occasional pang of nostalgia for the good old days when interfacing with devices had a bit more heft to it. The physical clunk and snap of switches never seems to get old, and while you can always pick up a mechanical keyboard for your computer if you want to hear that beautiful staccato sound while firing off your angry Tweets, there’s a definite dearth of mechanical interface devices otherwise.

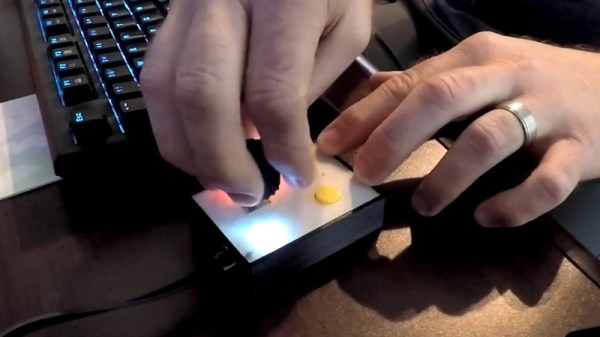
[Jeremy Cook] decided to take matters into his own hands (literally and figuratively) by designing his own multipurpose USB rotary input device. It’s not a replacement for the mouse or keyboard, but a third pillar of the desktop which offers a unique way of controlling software. It’s naturally suited to controlling things like volume or any other variable which would benefit from some fine tuning, but as demonstrated in the video after the break even has some gaming applications. No doubt the good readers of Hackaday could think of even more potential applications for a gadget like this.

The device is built around the diminutive Arduino-compatible PICO board by MellBell, which features a ATmega32u4 and native USB. This allowed him to very rapidly spin up a USB Human Interface Device (HID) with minimal headaches, all he had to do was hang his buttons and rotary encoder on the PICO’s digital pins. To that end, he [Jeremy] used the fantastic I2C rotary encoder designed by [fattore.saimon], which readers may remember as a finalist in the Open Hardware Design Challenge phase of the 2018 Hackaday Prize. He also added a NeoPixel ring around the encoder to use for some visual feedback and because, well, it just looks cool.

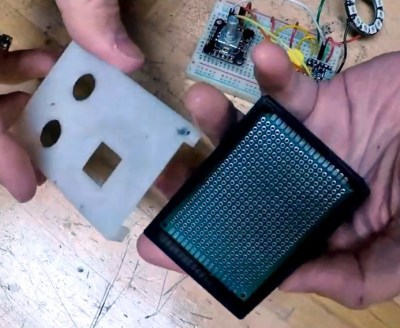
Since all of the core components are digital, there’s not a whole lot required in the way of wiring or passive components. This let [Jeremy] put the whole thing together on a piece of perfboard, freeing him up to spend time designing the 3D printed enclosure complete with translucent lid so he can see the NeoPixel blinkenlights. He got the tolerances tight enough that the whole device can be neatly press-fit together, and even thought to add holes in the bottom of the case so he could push the perfboard back out if he needed to down the line.

[Jeremy] spends a good chunk of the video going over the software setup and development of the firmware, and details some of the nuances he had to wrap his head around when working with the I2C encoder. He also explains the math involved in getting his encoder to emulate a mouse cursor moving in a circle, which he thinks could be useful when emulating games that originally used an encoder such as Tempest or Pong.

We’ve seen similar USB “knobs” in the past for controlling volume, but the additional inputs that [Jeremy] built into his version definitely makes it a bit more practical. Of course we’re suckers for interesting USB input devices to begin with.

Continue reading “Every Computer Deserves A Rotary Encoder”

Arcade Style Computer Hotkeys

Prolific maker [Sean Hodgins] has taken the wraps off of his latest one-day build, and as usual, it takes the kind of spare parts most people reading Hackaday will have in their parts bins and turns it into something fun and useful. This time around, he takes a bunch of spare arcade-style buttons he had from a previous project and combines them with an Adafruit Trinket (SAMD21 flavor) to make a USB input device for his computer.

[Sean] uses 1/4 inch acrylic to make the case, though he does mention that it could just as easily be 3D printed. But using the acrylic is easy and gives a nice glossy look to the final hardware. With a saw and a drill press you can make some very professional cases out of acrylic, which goes to show that you don’t necessarily need to have a high end 3D printer to create great looking enclosures.

As explained in the video, the Adafruit Trinket is not strictly necessary for this build, it’s just what [Sean] had lying around. Any microcontroller that can present itself to the operating system as a USB Human Interface Device (HID) will work fine for a project like this.

Software wise, a modified Arduino demo program is used to equate the states of the digital pins to pre-defined key combinations to be sent to the computer. In this simple example the key combinations are hard-coded into the Trinket’s source code, but a future enhancement could be adding a method of setting up new key combinations with a configuration tool.

We’ve covered our fair share of non-traditional USB input devices, all operating on largely the same principle. As it turns out, hackers have quite a pension for making oddball input devices.

Continue reading “Arcade Style Computer Hotkeys”

The Cambridge Z88 Lives! (As A USB Keyboard)

What did [Clive Sinclair] do next? After his line of home computers including the iconic ZX Spectrum hit the buffers and was sold to Amstrad, that is. No longer in the home computer business, he released a portable computer for the business market. The Cambridge Z88 had a Z80 at its heart, a decent keyboard, a text-only LCD display, and ran for an impressively long time on a set of AA alkaline cells. It made a handy portable word-processor, or a serial terminal thanks to its rare-for-the-time RS232 port. And it’s that port that [Spencer Owen] made use of his Z88 in a modern setting, using it as a USB keyboard.

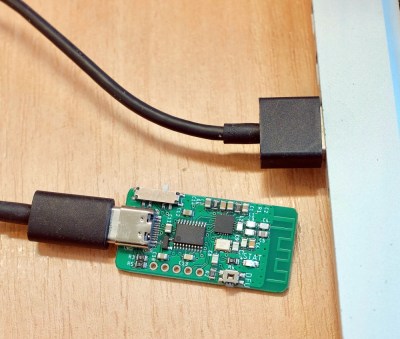
It’s a few years old, so he used a Minimus AVR microcontroller board to provide a serial-to-USB HID keyboard interface, and to keep things tidy he’s made a poor man’s enclosure for it using Sugru. It’s not quite an amazing hardware hack, but we’re featuring it simply for its use of a Z88. Retro computers used as keyboards are a common theme, but a Z88 is a particularly eclectic choice.

If you’re not British you may only know the name [Sinclair] through Brits on the Internet waxing lyrical about their ZX Spectrum computers, but in fact the man behind them is a serial electronics entrepreneur whose career has continued since the 1960s and has touched fields as diverse as portable television and bicycles aside from the computers he is best known for. Often his products took technology to the limit of practicality, but they were and continue to be the ones to watch. If [Clive Sinclair] is working in a field his products may not always hit the right note when released, but you can guarantee that you’ll be buying the same thing from the big boys within a few years. The Z88 is a classic Sinclair product, a little before its time in 1988 and pushing the technology a little too far, but delivering a truly portable and capable computer with a meaningful battery life a couple of decades before you’d find the same attributes from all but a few other niche manufacturers.

Not had enough USB HID devices? How about a Morse key? And if [Spencer] rings a bell, he’s the originator of the RC2014 retrocomputer we reviewed last year.

Hackaday Prize Entry: HID Dial

Microsoft has introduced a few interesting bits of hardware recently, and the most drool worthy by far is the Microsoft Surface Dial. What is this magical input device that will revolutionize creative work on a computer? Basically, it’s a Griffin PowerMate — a rotary encoder and button — an interface that really hasn’t changed in a decade and a half.

[K.C. Lee] figures a device this simple would make for a great Hackaday Prize entry, so he built a USB HID multimedia dial. It’s a rotary encoder and a button. This one lights up, though, making this a gamer USB HID multimedia dial.

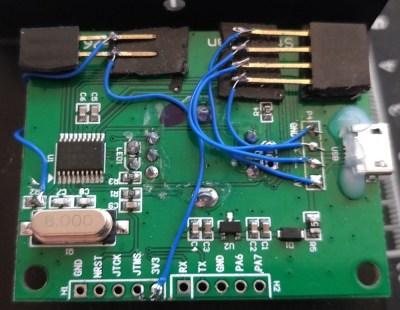
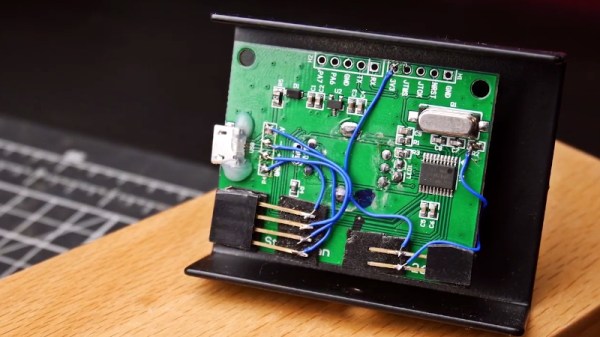
The electronics for this build are based around the STM8S003, an extraordinarily cheap microcontroller that will work well enough in this application. The mechanical part of this build is a little more interesting; [K.C.] says not everyone has access to fancy CNC or 3D printing equipment, so he built this model out of bits of plastic, metal, and superglue. This enclosure is literally an old superglue bottle cap, an empty dental floss spool, and bits of metal. It works, and took less time to build than it would take to design in a CAD program.

Right now, [K.C.] is working through some USB issues with the STM8 microcontroller. Once those issues are behind him, he’ll have a very cool and very useful input device sitting on his desk. It might look like parts waiting for the recycling bin, but it will be at least as useful as the fancy Microsoft version.

Custom Gaming Keypad Developed With PSoC And Fusion 360

There was a time when building something yourself probably meant it didn’t look very much like a commercial product. That’s not always a bad thing. We’ve seen many custom builds that are nearly works of art. We’ve also seen plenty of builds that are–ahem–let’s say were “hacker chic”.

[AlexanderBrevig] decided to take on a project using a PSoC development board he picked up. In particular, he wanted to build a custom game keypad. He prototyped a number of switches with the board and got the firmware working so that the device looks like a USB HID keyboard.

Continue reading “Custom Gaming Keypad Developed With PSoC And Fusion 360”

Bootstrapping Motion Input With Cheap Components

Motion control is a Holy Grail of input technology. Who doesn’t want an interface that they can control with simple and natural movements? But making this feel intuitive to the user, and making it work robustly are huge hills to climb. Leap Motion has done an excellent job creating just such a sensor, but what about bootstrapping your own? It’s a fun hack, and it will give you much greater appreciation for the currently available hardware.

Let’s get one thing straight: This device isn’t going to perform like a Leap controller. Sure the idea is the same. Wave your hands and control your PC. However, the Leap is a pretty sophisticated device and we are going to use a SONAR (or is it really SODAR?) device that costs a couple of bucks. On the plus side, it is very customizable, requires absolutely no software on the computer side, and is a good example of using SONAR and sending keyboard commands from an Arduino Leonardo to a PC. Along the way, I had to deal with the low quality of the sensor data and figure out how to extend the Arduino to send keys it doesn’t know about by default.

The Plan

The plan is to take an inexpensive SONAR module (the HC-SR04) and an Arduino Leonardo and use it to perform some simple tasks by mimicking keyboard input from the user. The Leonardo is a key element because it is one of the Arduinos that can impersonate a USB keyboard (or mouse) easily. The Due, Zero, and Micro can also do the trick using the Arduino library.

I wanted to determine how many gestures I could really determine from the HC-SR04 and then do different things depending on the gesture. My first attempt was just to have the Arduino detect a few fingers or a hand over the sensor and adjust the volume based on moving your hand up or down. What I didn’t know is that the default Arduino library doesn’t send multimedia keys! More on that later.

Continue reading “Bootstrapping Motion Input With Cheap Components”