It might come as a surprise to some that IEEE, the Institute for Electrical and Electronics Engineers, does more than send out mailers asking people to renew their memberships. In fact, they also maintain various electrical standards across a wide range of disciplines, but perhaps the one most of us interact with the most is the 802.11 standard which outlines WiFi. There have been many revisions over the years to improve throughput but the 802.11ah standard actually looks at decreasing throughput in favor of extremely increased range. Just how far you can communicate using this standard seems to depend on how many drones you have.
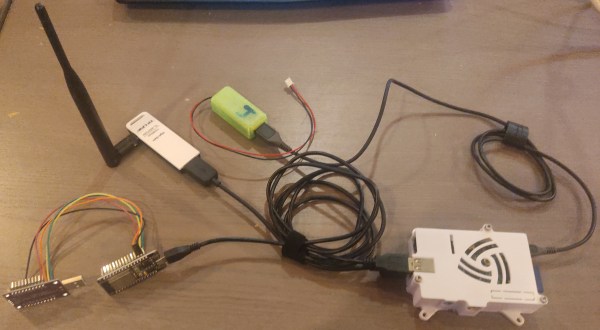
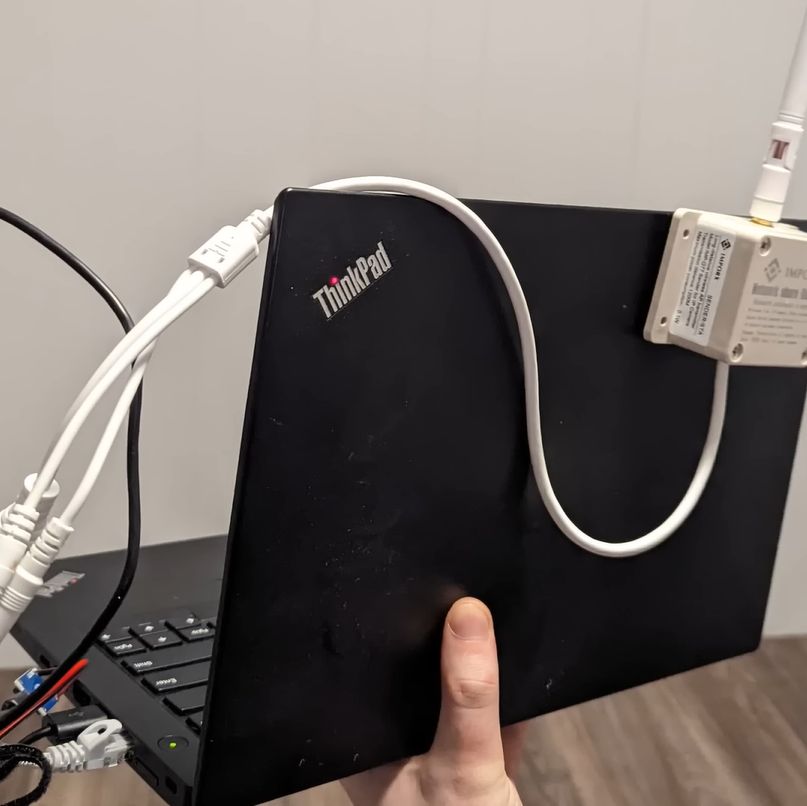
802.11ah, otherwise known as Wi-Fi HaLow, operates in the sub-gigahertz range which is part of why it has the capability of operating over longer distances. But [Aaron] is extending that distance even further by adding a pair of T-Halow devices, one in client mode and the other in AP (access point) mode, on a drone. The signal then hops from one laptop to a drone, then out to another drone with a similar setup, and then finally down to a second laptop. In theory this “Dragon Bridge” could allow devices to communicate as far as the drone bridge will allow, and indeed [Aaron] has plans for future revisions to include more powerful hardware which will allow even greater distances to be reached.
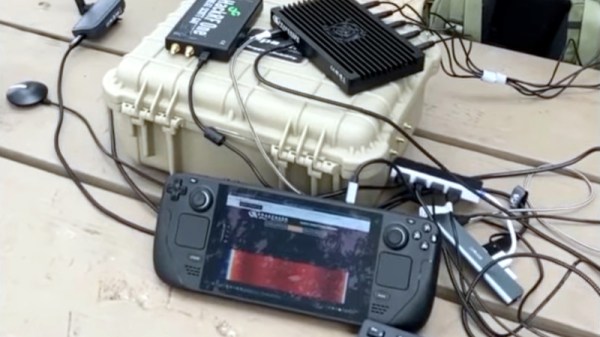
While there were a few bugs to work out initially, eventually he was able to get almost two kilometers of distance across six devices and two drones. Something like this might be useful for a distributed network of IoT devices that are just outside the range of a normal access point. The Dragon Bridge borrowed its name from DragonOS, a Linux distribution built by [Aaron] with a wide assortment of software-defined radio tools available out of the box. He’s even put in on the Steam Deck to test out long-distance WiFi.
Continue reading “Pushing 802.11ah To The Extreme With Drones”