Today, we’ll build our own input devices. And they will be easy to create and write firmware for, they will work perfectly, and they will be cross-platform. We can do that with help of the Human Interface Device (HID) standard, and by way of introduction, so that you never get confused by what a “descriptor” means, and we’ll build our own HID device — a Human Interface Device device. The way we build them won’t require reading specifications – instead, I’ll teach your how to steal HID descriptors from existing devices, tweak them for our purposes, and use them in our devices to harness the power of HID.
For decades now, it’s been possible to build a HID mouse or keyboard by using a library or two, and it’s been a godsend for hackers all around the world. However, these libraries are typically confined to a certain template and inflexible, and we hackers often go outside of what’s expected. HID allows for much more than a simple keyboard or a mouse. That’s why today we’re building a touchscreen – something not yet covered online or by libraries.
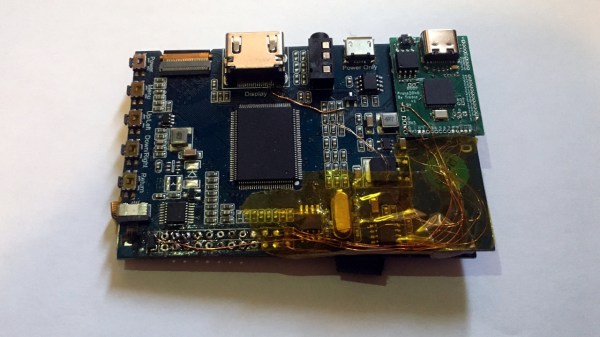
HID lets you build devices that are friendly. They don’t need drivers, they are plug and play, and they do what you expect them to do. At its core, the HID standard is as simple as is ubiquitous. You can tunnel HID over USB, Bluetooth, I2C, and modern-day operating systems support all three of these. Today, let’s go through the basics of HID, and then build a USB touchscreen out of a SPI-connected resistive touchscreen, with help of the usual RP2040+MicroPython combo. I will also give you a toolkit for how to debug a Human Interface Device device as thoroughly as possible – specifically on Linux, showing all the HID debug and introspection capabilities that Linux gives you. But it’ll work on Windows too through the beauty of standardization.
Continue reading “Human-Interfacing Devices: The Descriptor Heist”