It was just this year that Sega left the arcade business for good. A company synonymous with coin-op games for over a half century completely walked away from selling experiences you can only get on location. No more Outrun or Virtua Fighter machines, because arcades these days tend to resemble The House of the Dead. Arcades still exist to a degree, it’s just that headlines like that serve only as a reminder of an era gone by. Which is what makes raw footage like the video [Jon] posted of an Aladdin’s Castle arcade from the 1980s so compelling.
The raw VHS footage starts with a sweep around the location’s pinball machines and arcade cabinets. There’s an extended shot of a rare TX-1 tri-monitor sitdown cabinet. The racing game was the first of its kind to feature force feedback in the steering wheel, so it’s no wonder it received the focus. The arcade’s lighting tech was also a point of pride as it allowed for programmable lighting cues. A far cry from the flickering fluorescent tubes no doubt in use elsewhere. Eventually the employee filming takes us to the back room where it the owner has made it abundantly clear that they are not a fan of Mondays, judging by the amount of Garfield merchandise.
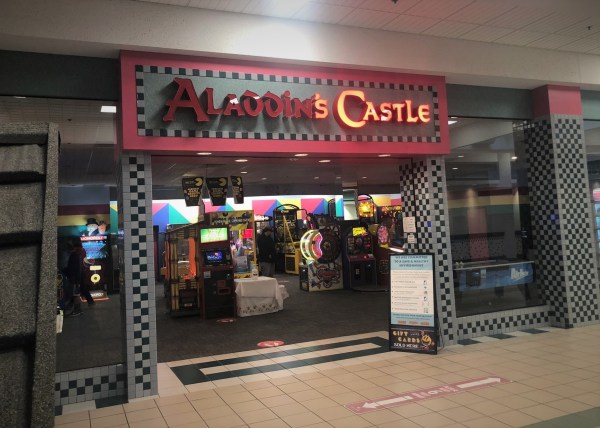
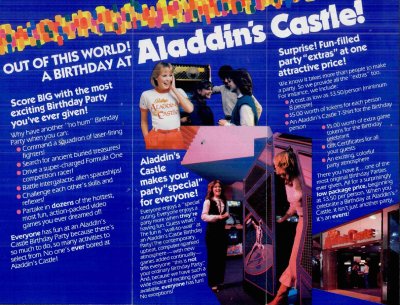
Bally’s Aladdin’s Castle was a chain of arcades and had nearly 400 locations across the US at its height in the mid 1980s (at least according to their brochure seen above). Those neon red letters were a mainstay of American shopping malls throughout the decade. Namco, the Pac-Man people, acquired Aladdin’s Castle in 1993 and the brand faded away soon after. Although there is a lone location in Quincy, IL that is still open for business today.
Continue reading “Retrotechtacular: Raw Video From Inside A 1980s Arcade”