Custom Macro Keyboard Looks Good In Wood

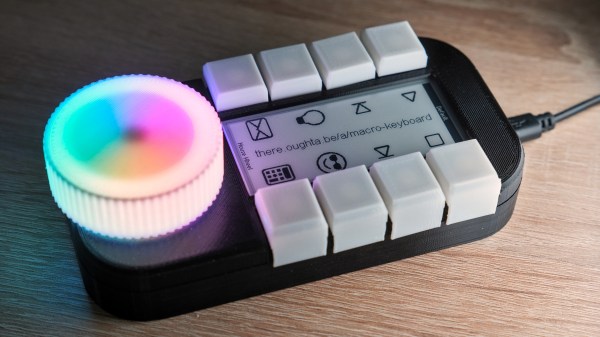
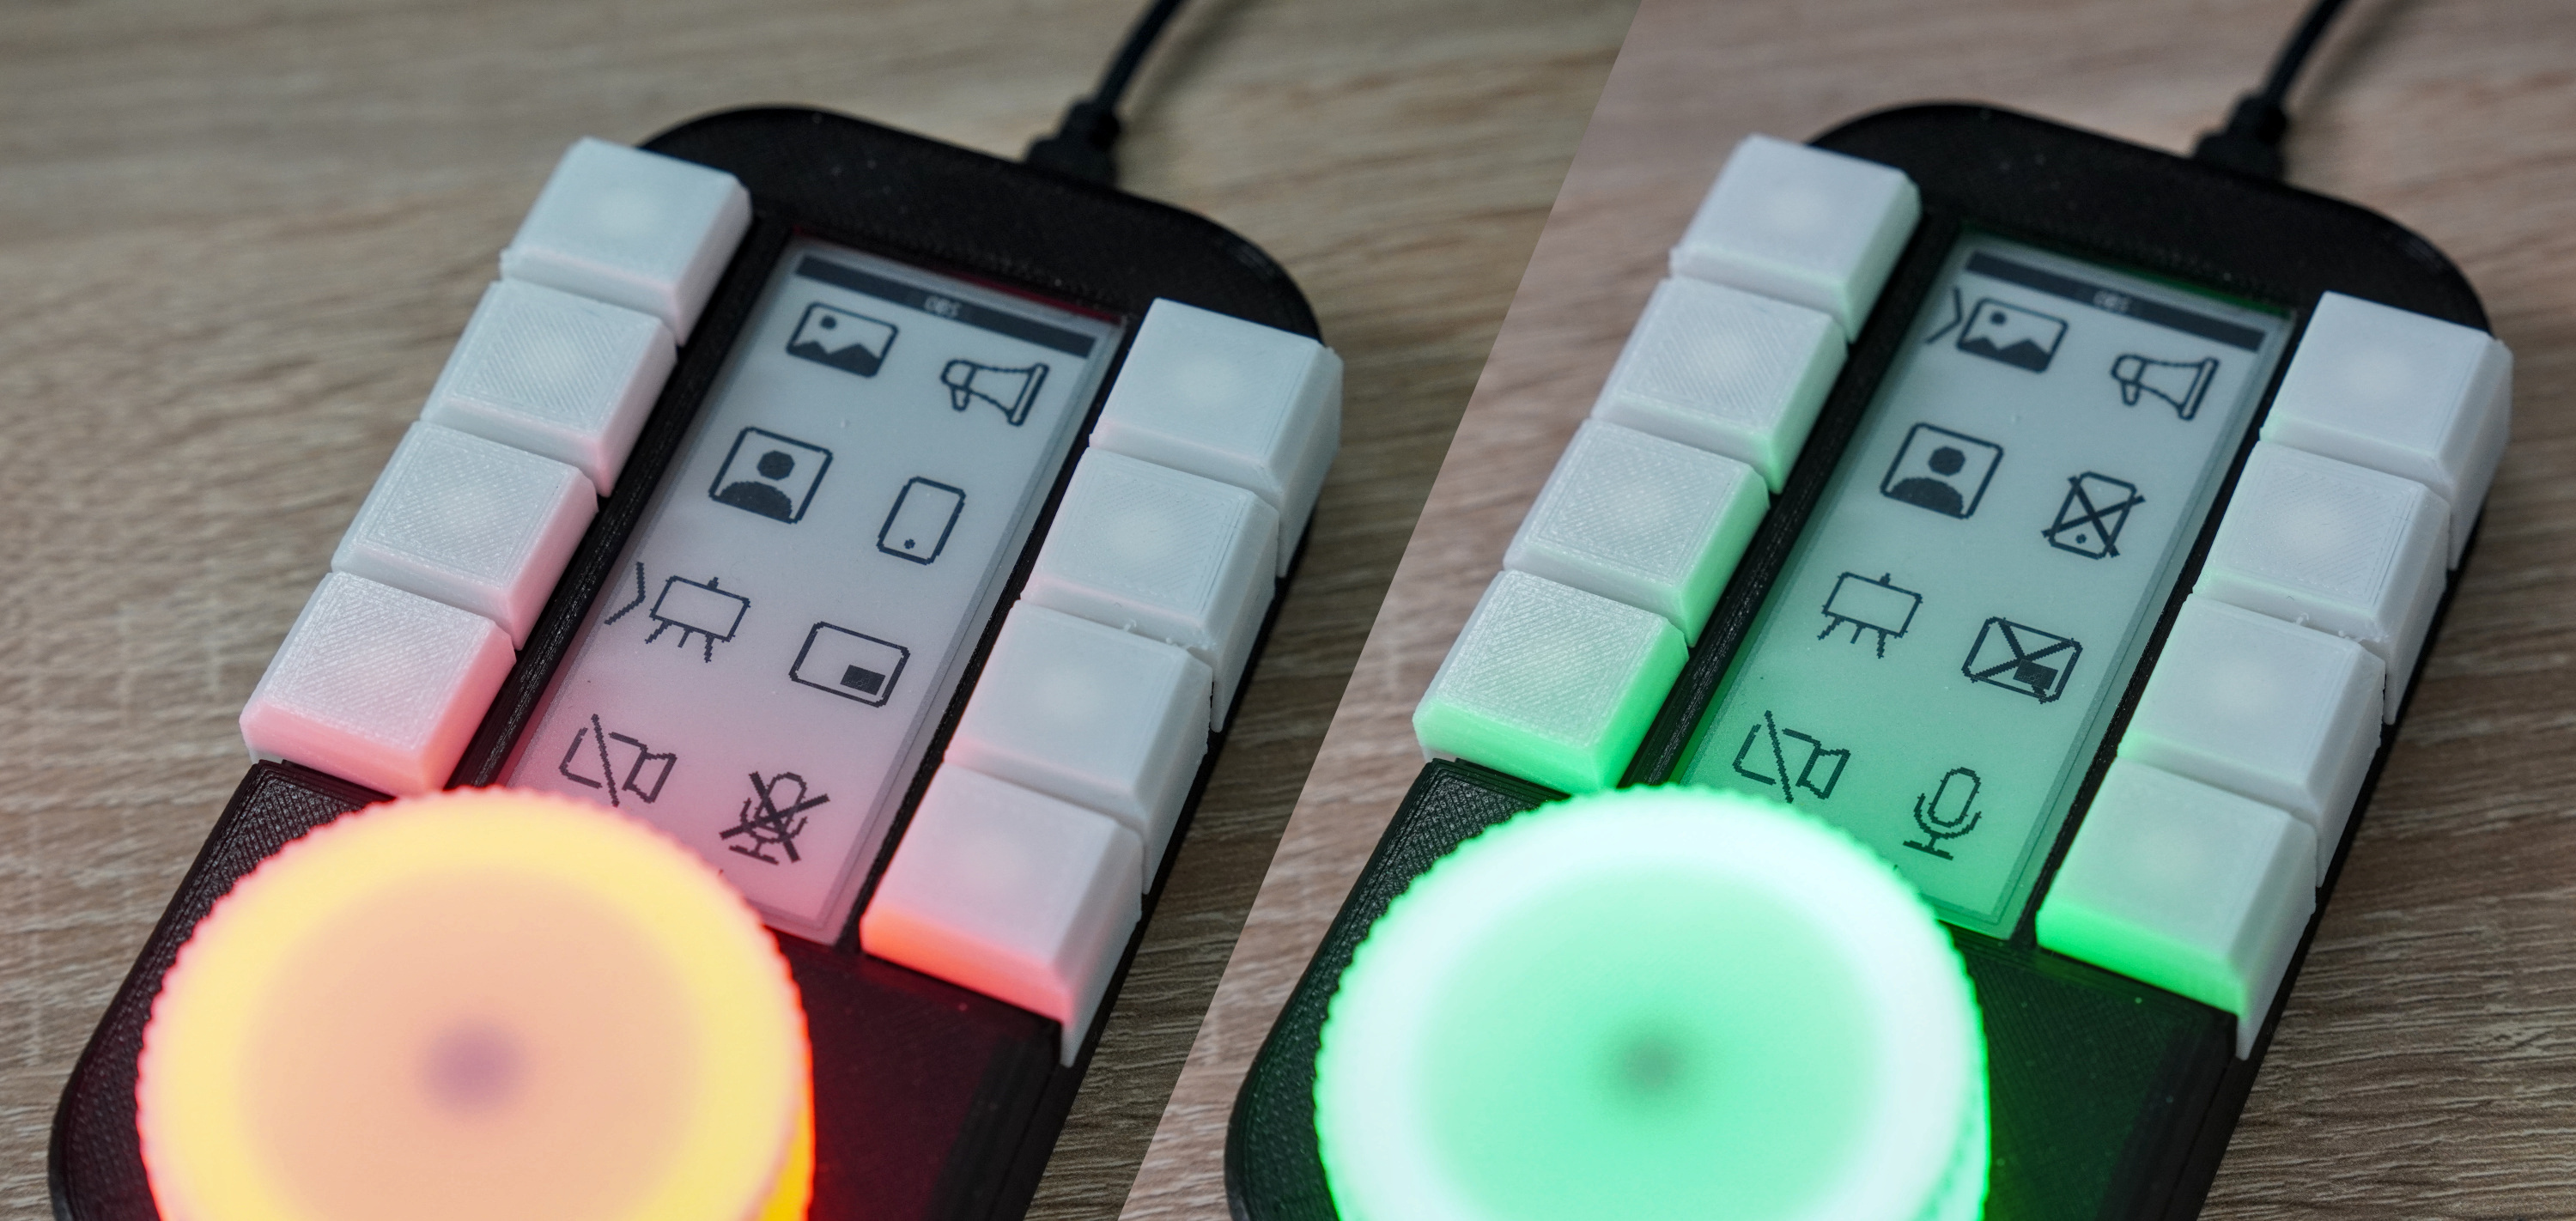
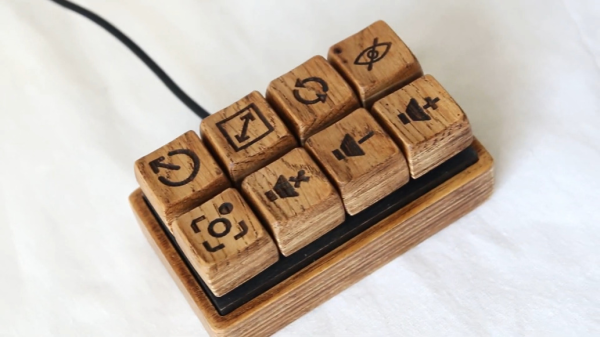
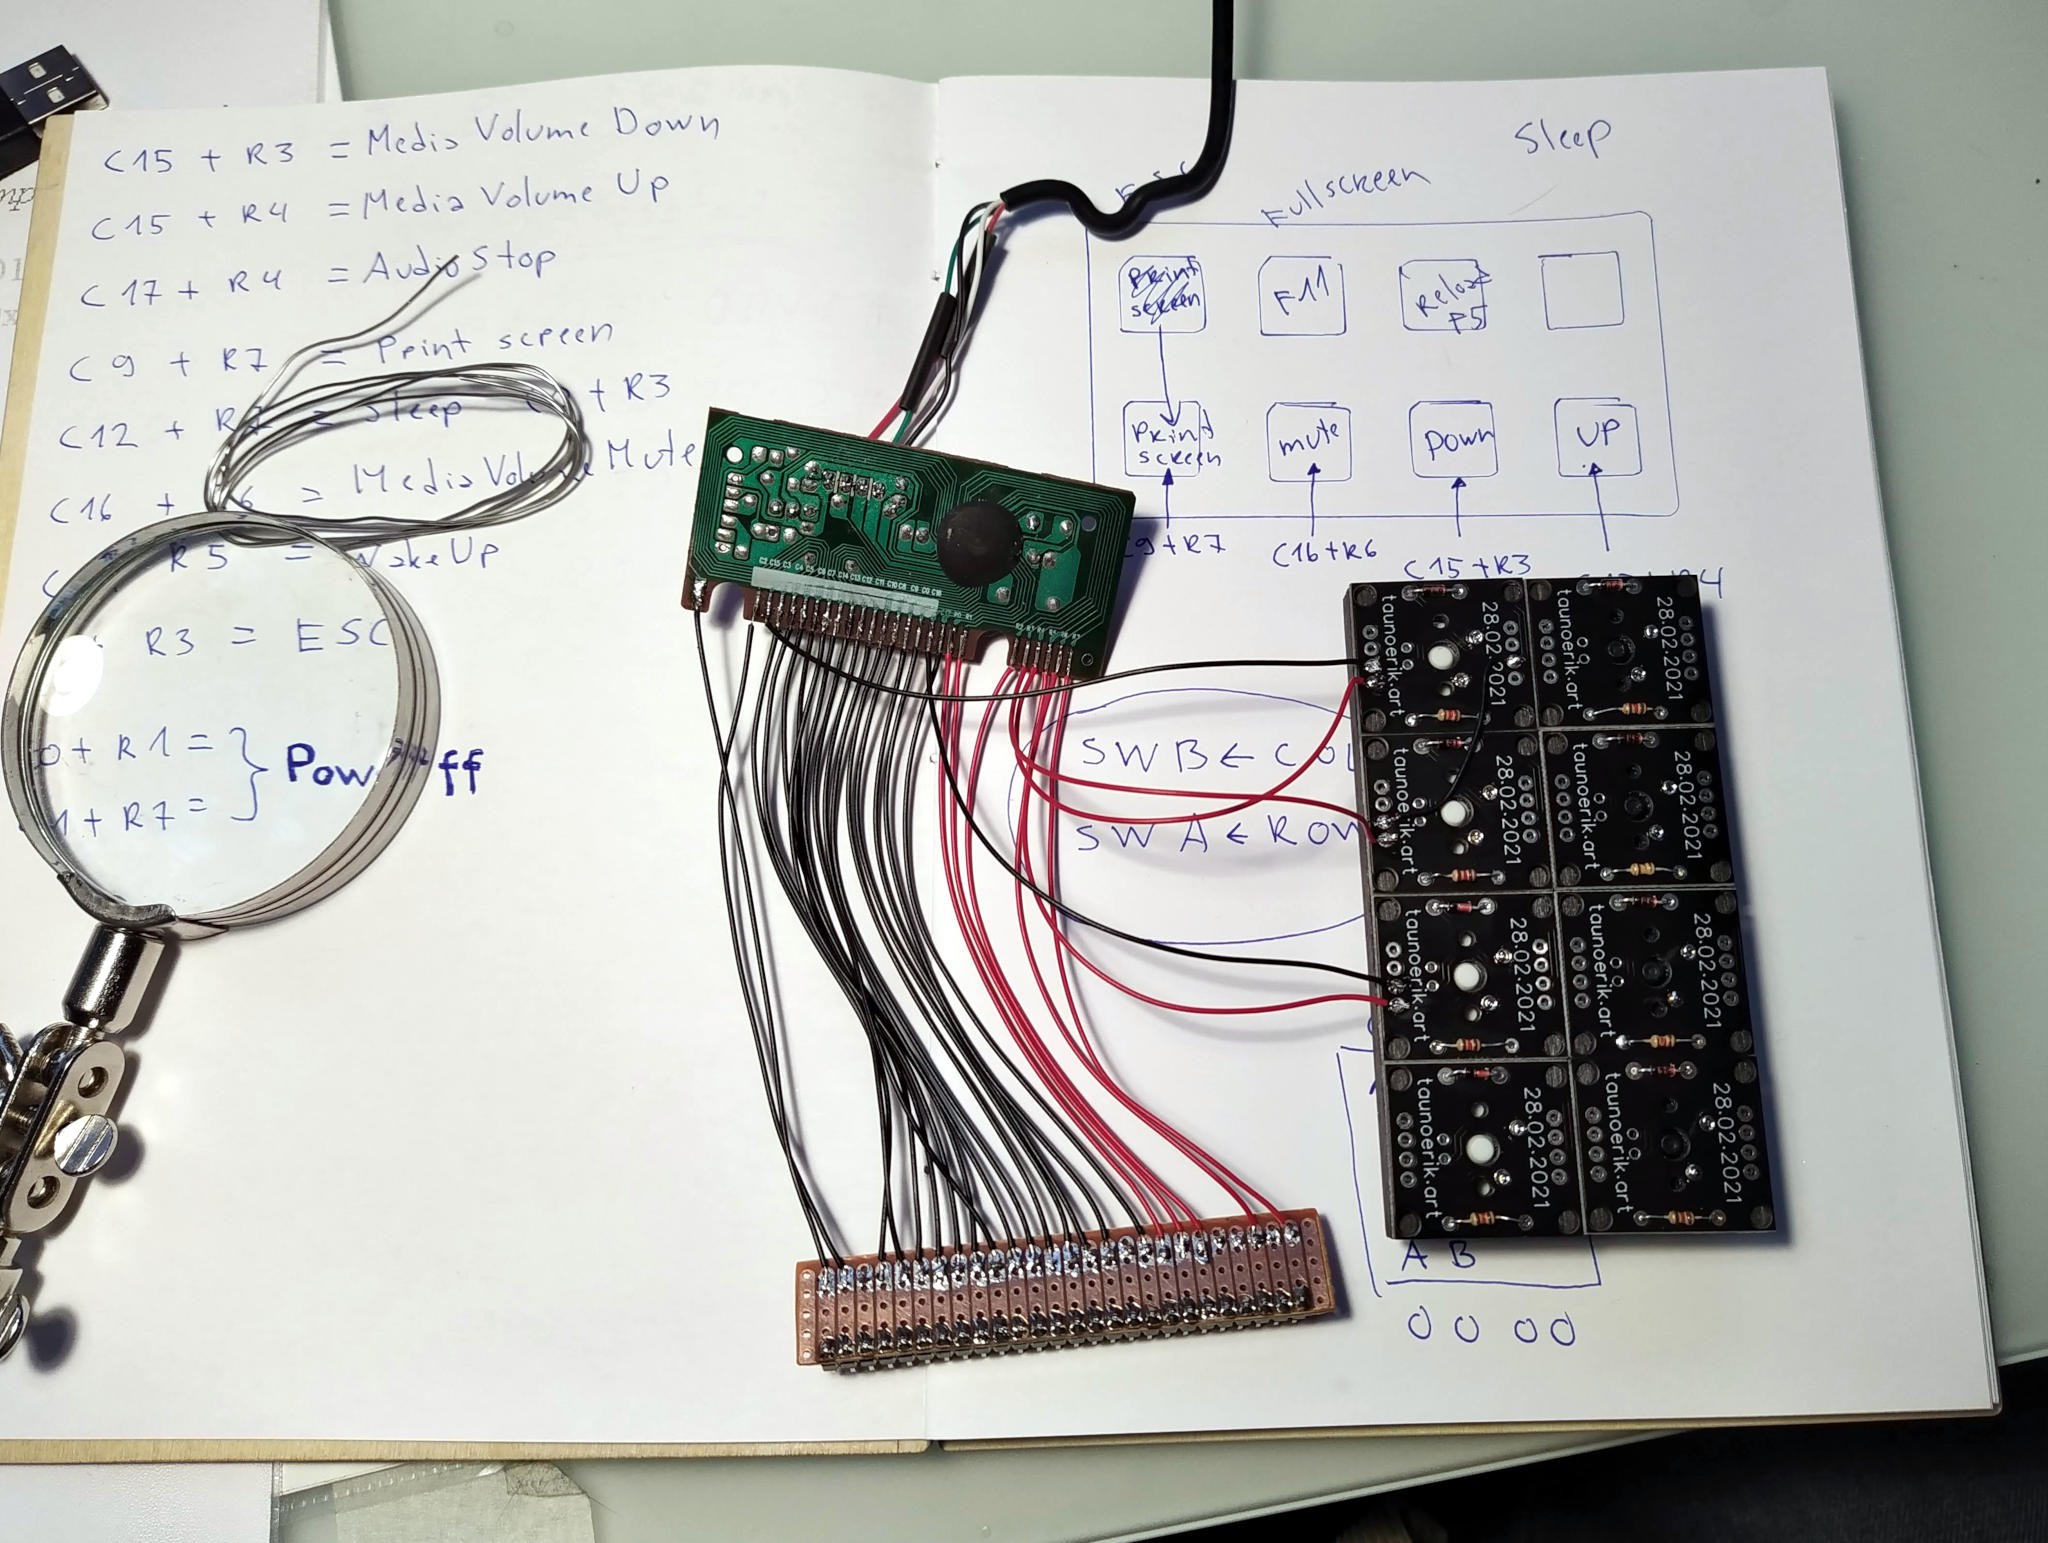
There’s more than one way to make a mechanical macro pad, and this wooden wonder represents one of our favorites. [Tauno Erik] had an old rubber dome rectangle keyboard lying around that still worked, but the poor thing was missing some of its caps. After salvaging the controller, [Tauno Erik] got to work on the tedious task of figuring out the mapping of the matrix, which was made easier with a Python script.

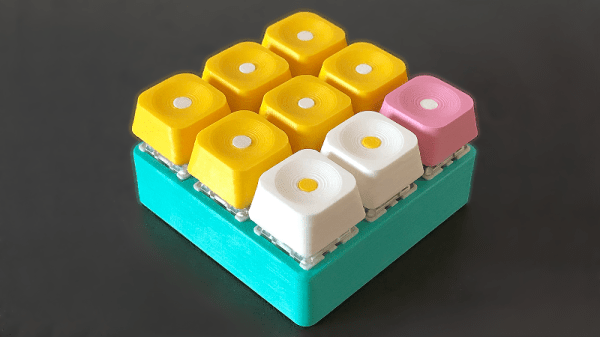
Almost every component of this beauty is wood, including the mounting plate and those thicc and lovely keycaps — their top layer is solid oak, and the bottom bit is birch plywood. In order to interface the ‘caps with the switches, [Tauno Erik] designed and printed connector pieces that sit inside the extra large keycaps and accept the stems of the key switches.

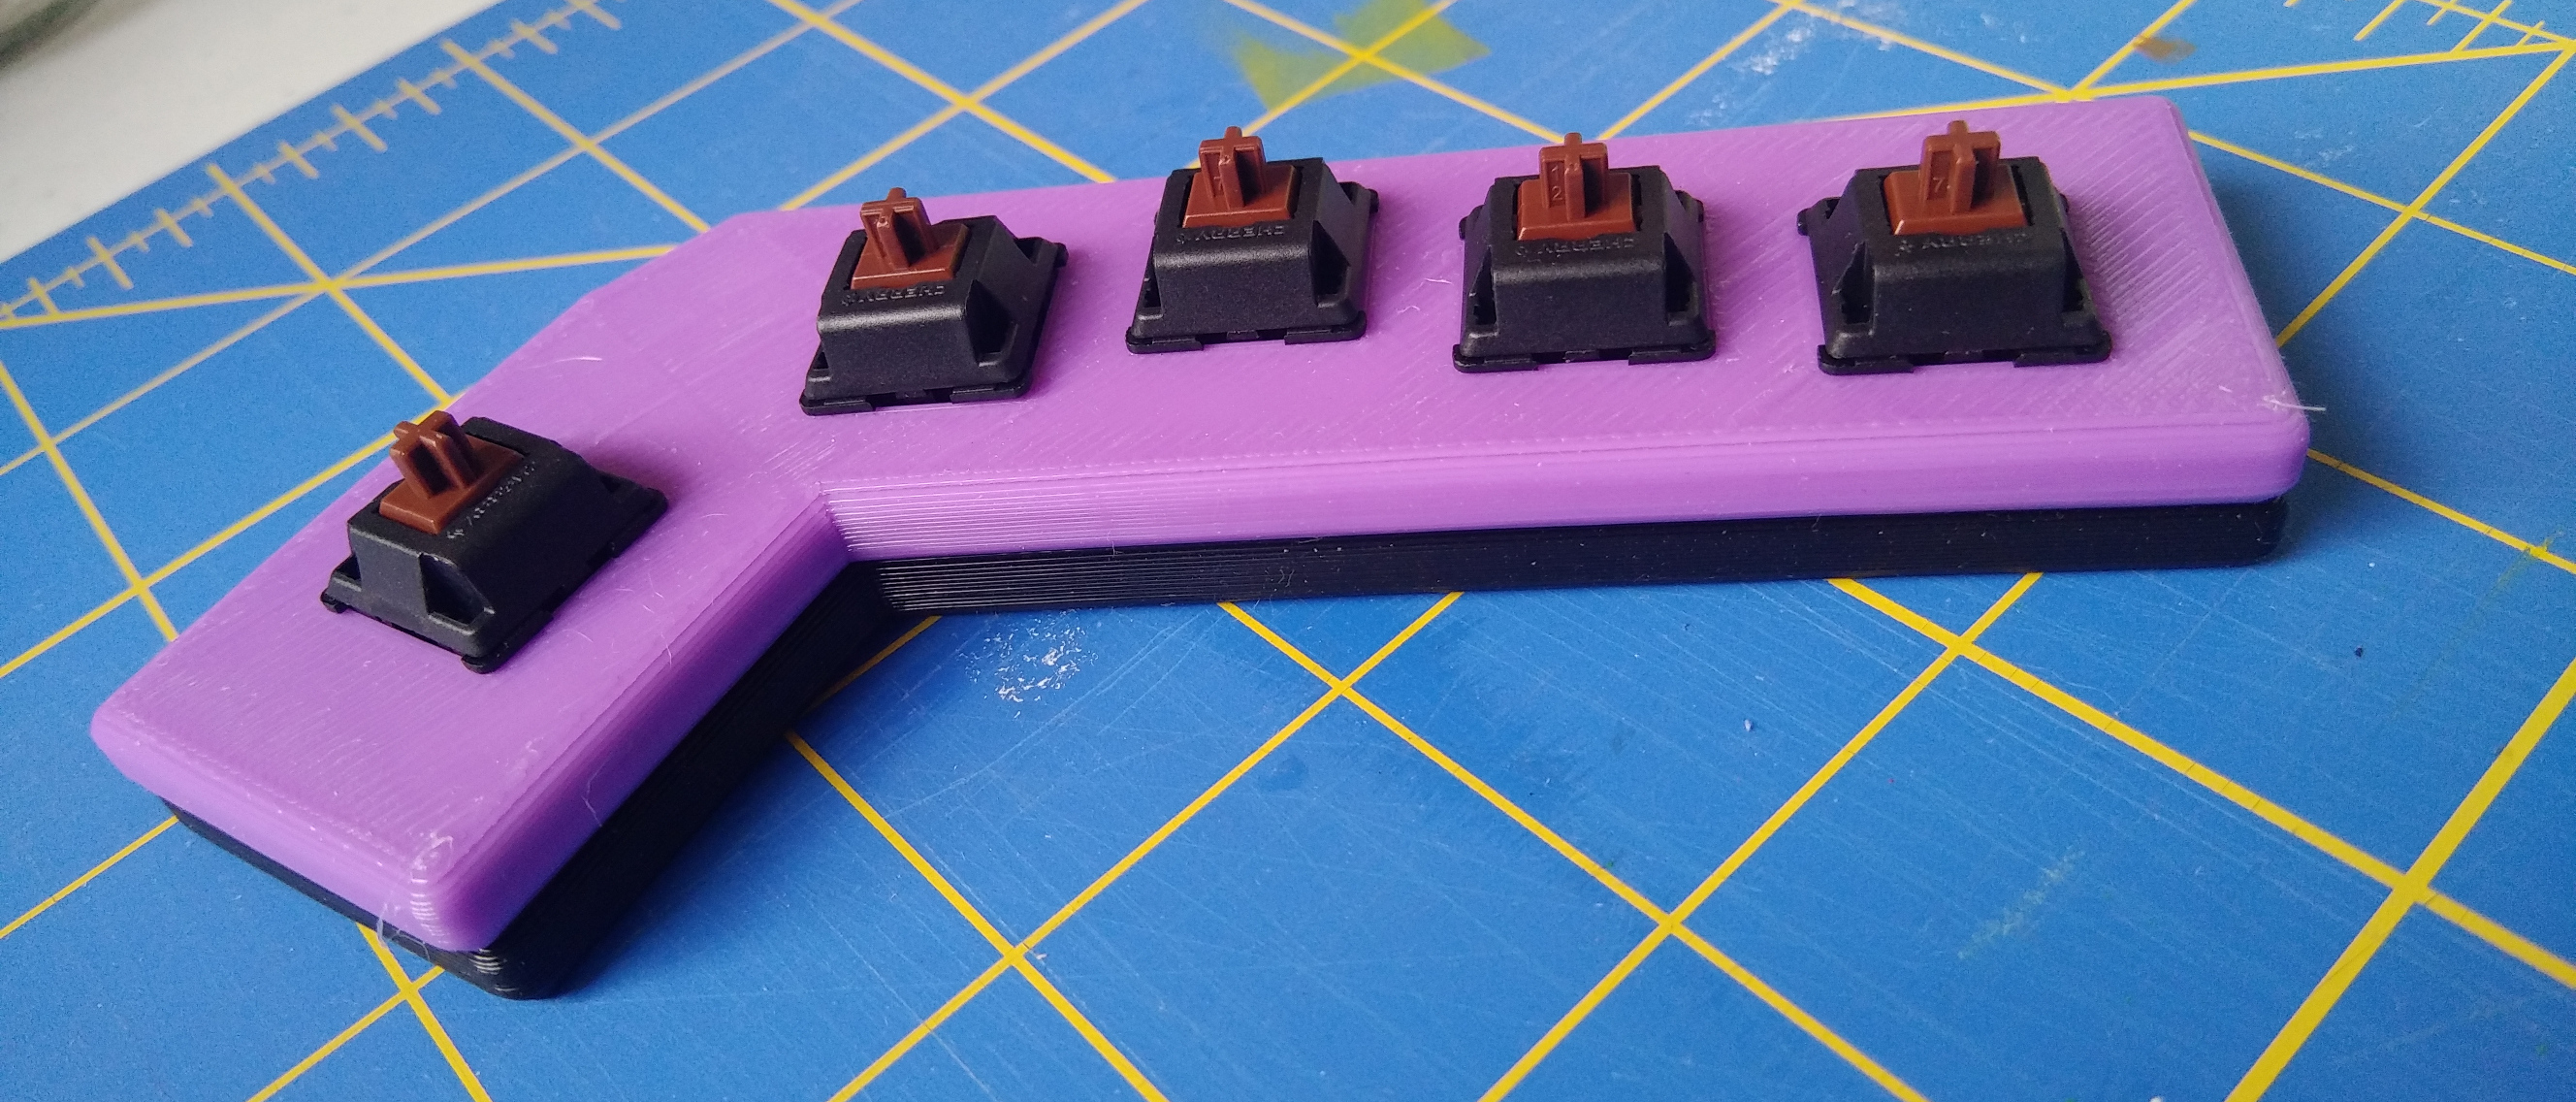
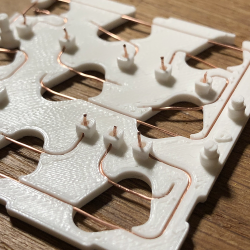
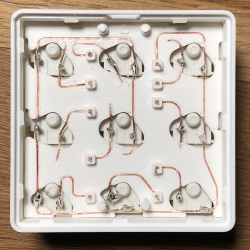
Speaking of switches, we’re not sure if [Tauno Erik] ended up using Cherry green switches, browns, or a mix of both (that would be interesting), but each one is mounted on a custom PCB along with a diode and a pull-up resistor. You can see more build pictures at [Tauno Erik]’s site, and stick around for a visual tour of the completed build after the break.

Wood is a great choice for keycaps, and we imagine they’ll only look better with age and use. A more common use for wood on a keyboard build is in surprisingly comfortable wrist rests.

Go Ape With A Banana Macropad

The super fun thing about macro pads is that they’re inherently ultra-personalized, so why not have fun with them? This appealing little keeb may have been a joke originally, but [dapperrogue] makes a valid point among a bunch of banana-related puns on the project page — the shape makes it quite the ergonomic little input device.

Inside this open-source banana is that perennial favorite for macro pads, the Arduino Pro Micro, and eight switches that are wired up directly to input pins. We’re not sure what flavor of Cherry those switches are, hopefully brown or green, but we suddenly wish Cherry made yellow switches. If you want to build your own, the STLs and code are available, and we know for a fact that other switch purveyors do in fact make yellow-stemmed switches.

Contrary to what the BOM says, we believe the sticker is mandatory because it just makes the build — we imagine there would be fewer double takes without it. Hopefully this fosters future fun keyboard builds from the community, and we can’t wait to sink our teeth into the split version!

There are a bunch of ways to make a macropad, including printing everything but the microcontroller.

Via r/mk and KBD

3D-Printed Macro Pad Ditches The PCB With Slick Wiring Guides

Reddit user [duzitbetter] showed off their design for a 3D-printed programmable macro keyboard that offers a different take on what can be thought of as a sort of 3D-printed PCB. The design is called the Bloko 9 and uses the Raspberry Pi PICO and some Cherry MX-style switches, which are popular in DIY keyboards.

The enclosure and keycaps are all 3D printed, and what’s interesting is the way that the enclosure both holds the components in place as well as providing a kind of wire guide for all the electrical connections. The result is such that bare copper wire can be routed and soldered between leads in a layout that closely resembles the way a PCB would be routed. The pictures say it all, so take a look.

Bloko 9 is available as a paid model, and while going PCB-free thanks to 3D printing is a technique others have played with, it is very well demonstrated here and shows there is still plenty of room to innovate on the concept. DIY keyboard and macro pad design is also fertile ground for hackers; we have even seen that it’s possible to 3D print one right down to the switches themselves.

Launching An Open Source Keyboard; System76 Has Published Their Design Files

System76, a computer manufacturer known for selling machines which run Linux, recently unveiled the complete sources for their forthcoming Launch mechanical keyboard. Made with familiar tools, mass produced, and backed by a stable company it looks like the Launch will be a compelling entrant into the world of mechanical keyboards.

Back in March of 2020 System76 published a blog post about a new project they were embarking on; a mechanical keyboard with an unusual layout. At the time there was scant information available besides a summer 2021 target and little was heard until last week when they opened up access to the Launch repository. Everything should be recognizable if you’ve ever looked at the sources for a customized mechanical keyboard before, which is what gets our attention. Electrical sources are authored with KiCad and should be easy to tweak or fabricate. And mechanical components are provided in STEP files with mechanical drawings, presumably because they intend to actually manufacture these.

launch-chassis.png
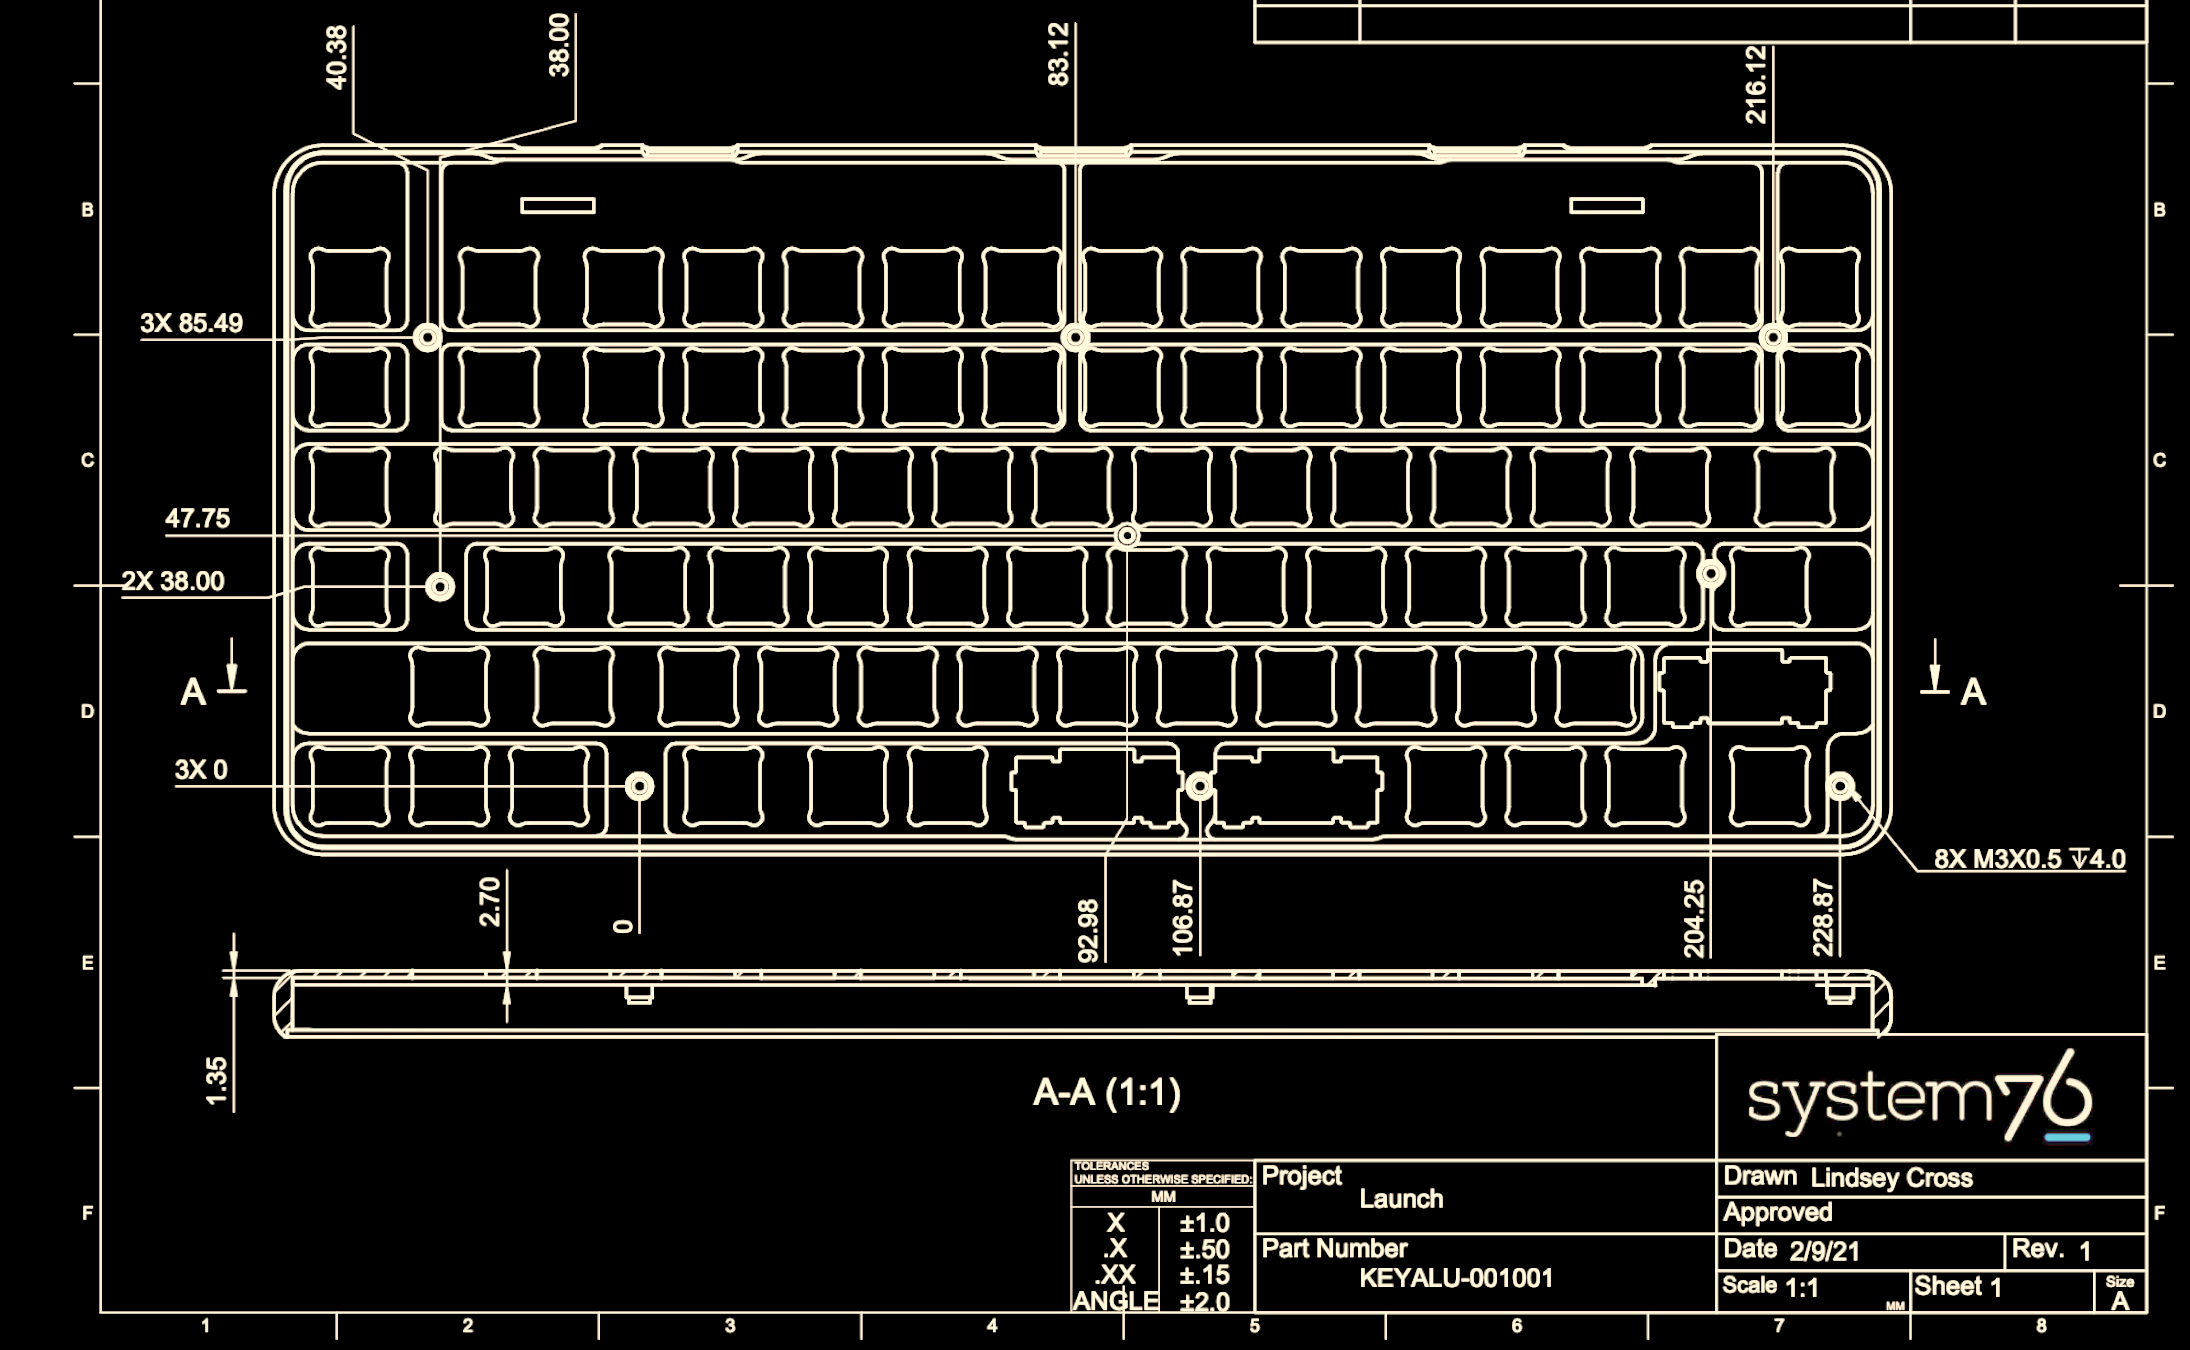
Feature wise all the usual hallmarks of a well designed keyboard are here. The Launch uses hostswap sockets to make it easy to install the usual Cherry MX compatible switch options, and includes per-key RGB backlighting courtesy of SK6805 LEDs. The ATmega32U4 runs the popular and extremely capable QMK firmware instead of something bespoke, so it should be easy to customize to the user’s desire.

System76 touts an unusual key layout, but if you’ve seen a 75% keyboard before it shouldn’t be too threatening (though we do wonder about that shrunken right shift). The most unusual feature is that it features a USB hub capable of full speed 10 gigabit USB 3.1 Gen 2 on two USB-C and two USB-A ports. It’s worth checking out the schematic to appreciate how much more complicated the hub design is than the rest of the keyboard, which is practically vestigial in comparison.

The remaining unknown is how the Launch integrates with Pop!_OS, System76’s awkwardly named remix of Ubuntu. They promise deep, compelling integration and we’re excited to see how that manifests.

Dynamic Macro Keyboard Controls All The Things

Keyboard shortcuts are great. Even so, a person can only be expected to remember so many shortcuts and hit them accurately while giving a presentation over Zoom. [Sebastian] needed a good set of of shortcuts for OBS and decided to make a macro keyboard to help out. By the time he was finished, [Sebastian] had macro’d all the things and built a beautiful and smart peripheral that anyone with a pulse would likely love to have gracing their desk.

The design started with OBS, but this slick little keyboard turned into a system-wide assistant. It assigns the eight keys dynamically based on the program that has focus, and even updates the icon to show changes like the microphone status.

This is done with a Python script on the PC that monitors the running programs and updates the macro keeb accordingly using a serial protocol that [Sebastian] wrote. Thanks to the flexibility of this design, [Sebastian] can even use it to control the office light over MQTT and make the CO2 monitor send a color-coded warning to the jog wheel when there’s trouble in the air.

This project is wide open with fabulous documentation, and [Sebastian] is eager to see what improvements and alternative enclosure materials people come up with. Be sure to check out the walk-through/build video after the break.

Inspired to make your own, but want to start smaller? There are plenty to admire around here.

Continue reading “Dynamic Macro Keyboard Controls All The Things”

Rhythm Game Controller Can’t Be Beat

There’s this whole class of vertically scrolling rhythm games that take both hands and look really fun to play, albeit hard on the joints. You can buy specialized controllers for them, but they’re ridiculously expensive for what they are — just a handful of switches and two knobs. It’s exactly the kind of thing you should build to your taste for far less money.

Inspired by a pocket version of the Voltex controller that is also pretty darned expensive, [OmniSaiRen] set out to make their own on the cheap by building an awesome little macro keyboard that’s smaller and easier to use than the specialized controller. Inside there’s an Arduino Pro Micro taking input from eight Cherry MX switches and two optical encoders. The game treats the encoders as vertical and horizontal mouse movements, so [OmniSaiRen]’s code scans the encoders for their positions.

[OmniSaiRen] wrote their own matrix code and says it’s ugly, but it works well enough to play the game. What more can you ask for? A cool sticker to go on the top? Done. It’s too cold outside to paint, anyway. If it’s a one-handed game pad you need, check out this sweet little thing.

Via r/duino

Clacker Hacker: Hot Rod Switch Mods

Whether you’re a programmer, gamer, writer, or data entry specialist, the keyboard is an extension of your nervous system. It’s not so much a tool as it is a medium for flow — for being in the zone. So I think it’s only natural that you should care deeply about your keyboard — how it looks, how it sounds, and above all, how it feels to finger-punch those helmeted little switches all the live-long day. That’s my excuse, anyway.

It might surprise you that mechanical keyboard switches can be modified in a number of ways. Depending on what you want from your keyboarding experience, you can make switches feel lighter or less scratchy, quiet them down, or tighten up any wobble in the housing. Why would you want to do this? Because customization is fun. Because electromechanical things are awesome, and because it’s fun to take switches apart and put them back together again. Because it’s literally hacking and this is Hackaday.

This is a pair of plates from a macro keeb I’m making that will sit directly in front of my trackball.

I got into switch modding because I wanted to put Cherry clears in my dactyl, but worried that they would take too much force to actuate and wear my fingers out. So I bought some really light (39g) springs and was really looking forward to swapping them into the clears, but they just don’t work. Like, physically. Slider goes down, slider gets stuck. It will come back up, but only if I hit it again and smear my finger to the side a bit at the same time. Those springs must be too weak to return clear sliders.

I took this as a sign that I should suck it up and use browns instead. After all, no one else has to know what my sliders look like. While I was opening switches, I tried out one of these super-light springs in a brown, thinking maybe they wouldn’t have to go to waste. Not only did the lighter spring work in the brown, it felt pretty nice. It’s hard to imagine how a whole keeb would feel based on a single switch, but if you can gather a handful and snap them into a plate to riffle your fingers over them, well, it’s probably close enough to a full keyboard to get a good feel for whatever mod you’re doing.

Continue reading “Clacker Hacker: Hot Rod Switch Mods”