Picking The Right Sensors For Home Automation

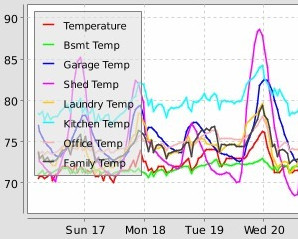
Imagine that you’re starting a project where you need to measure temperature and humidity. That sounds easy in the abstract, but choosing a real device out of many involves digging into seemingly infinite details and trade-offs that come with them. If it’s a low-stakes monitoring project, picking the first sensor that comes to mind might suffice. But when the project aims to control an AC system in an office of temperature-sensitive coders, it pays to take a hard look at the source of all information: the sensor.

Continuing a previous article I would like to use that same BMaC project from that article as a way to illustrate how even a couple of greenhorns can figure out how to pick everything from environmental sensors to various actuators, integrating it into a coherent system that in the end actually does what it should.

Continue reading “Picking The Right Sensors For Home Automation”

Ambient Lighting For Baby With The ESP8266

There are plenty of great reasons to have a child. Perhaps you find the idea of being harshly criticized by a tiny person very appealing, or maybe you enjoy somebody screaming nonsense at you while you’re trying to work on something. But for us, we think the best reason for procreation is getting another excuse to build stuff. It’ll be what, at least two years before a baby can solder or program a microcontroller? Somebody’s going to have to do it for them until then.

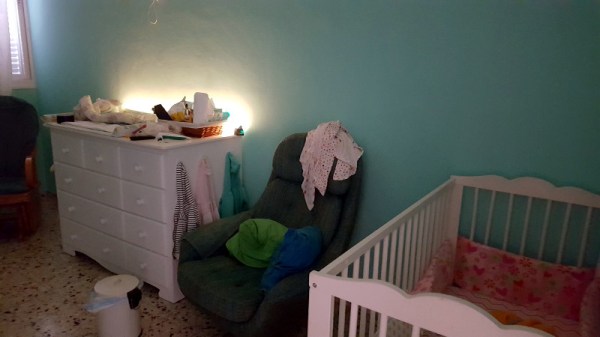
To try to help his baby daughter get on a better sleep schedule, [Amir Avni] decided to outfit her room with some “smart” lighting to establish when it’s time for her to wake up. Not only can he and his wife control the time the lights come on to “day” mode, but they can also change the colors. For example, they can switch over to a red glow at night. Despite some learning experience setbacks, the both the parents and the baby are very happy with the final product.

An ESP8266 controls a WS2812 LED strip to provide the adjustable lighting, and a DHT22 sensor was added to the mix to detect the temperature and humidity in the baby’s room. [Amir] used Blynk to quickly throw together a slick mobile application that allows for complete control of the brightness and color of light in the room, as well as provides a readout of the environmental data pulled from the DHT22.

But not everything went according to plan. [Amir] thought he could power the LED strip from the ESP8266 development board by soldering to the 5 V side of its AMS1117 voltage regulator. Which worked fine, until he turned on too many LEDs. Then it pulled too much current through a resistor connected to the regulator, and let all the magic smoke out. An important reminder of what can happen when we ask more of a circuit than what it was designed for.

We’ve covered many awesome projects that were born of a parental need, from feature packed baby monitors to devices seemingly designed to program nostalgia in the little one’s subconscious.

Nuclear Synchroscope Gets New Life

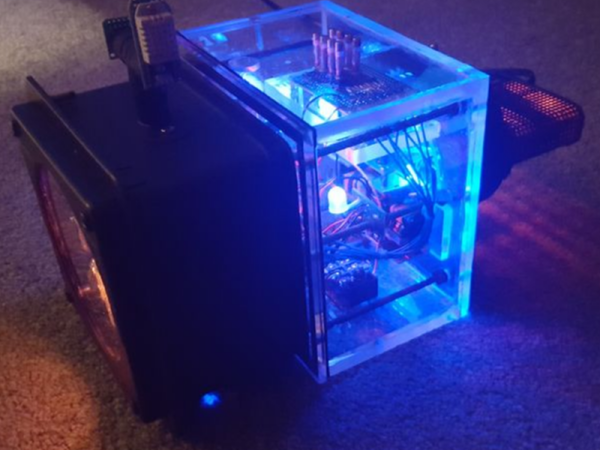
The Synchroscope is an interesting power plant instrument which doubles up as two devices in one. If the generator frequency is not matched with the grid frequency, the rotation direction of the synchroscope pointer indicates if the frequency (generator speed) needs to be increased or decreased. When it stops rotating, the pointer angle indicates the phase difference between the generator and the grid. When [badjer1] [Chris Muncy] got his hands on an old synchroscope which had seen better days at a nuclear power plant control room, he decided to use it as the enclosure for a long-pending plan to build a Nixie Tube project. The result — an Arduino Nixie Clock and Weather Station — is a retro-modern looking instrument which indicates time, temperature, pressure and humidity and the synchroscope pointer now indicates atmospheric pressure.

Rather than replicating existing designs, he decided to build his project from scratch, learning new techniques and tricks while improving his design as he progressed. [badjer1] is a Fortran old-timer, so kudos to him for taking a plunge into the Arduino ecosystem. Other than the funky enclosure, most of the electronics are assembled from off-the-shelf modules. The synchroscope was not large enough to accommodate the electronics, so [badjer1] had to split it into two halves, and add a clear acrylic box in the middle to house it all. He stuck in a few LEDs inside the enclosure for added visual effect. Probably his biggest challenge, other than the mechanical assembly, was making sure he got the cutouts for the Nixie tubes on the display panel right. One wrong move and he would have ended up with a piece of aluminum junk and a missing face panel.

Being new to Arduino, he was careful with breaking up his code into manageable chunks, and peppering it with lots of comments, for his own, and everyone else’s, benefit. The electronics and hardware assembly are also equally well detailed, should anyone else want to attempt to replicate his build. There is still room for improvement, especially with the sensor mounting, but for now, [badjer1] seems pretty happy with the result. Check out the demo video after the break.

Thanks for the tip, [Chris Muncy].

Continue reading “Nuclear Synchroscope Gets New Life”

Keeping Streets Ice-Free With The Raspberry Pi

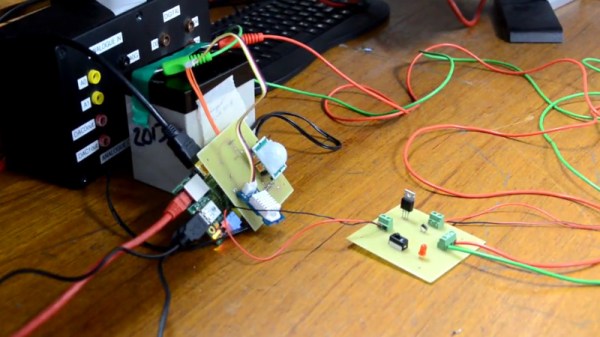
[Revanth Kailashnath] writes in to tell us about an interesting project he and his team have been working on for their “Real Time Embedded Programming” class at the University of Glasgow. Intended to combat the harsh and dangerous winters in Glasgow, their system uses a Raspberry Pi and a suite of sensors to automatically deploy a brine solution to streets and sidewalks. While the project is still only a proof of concept and hasn’t been deployed, the work the team has done so far runs the gamut from developing their own PCBs to creating a web-based user interface.

The core idea is simple. If the conditions are right for ice to form, spray salt water. Using salt water is a cheap and safe way of clearing and preventing ice as it simply drops the temperature at which water freezes. The end result is that the ice won’t form until it gets down to 10F (-12C) or so. Not a perfect solution, but it can definitely help. Of course, you don’t want to spray people with salt water as they pass by, so there’s a bit more to it than that.

Using the venerable DHT22 sensor the team can get the current temperature and humidity, which allows them to determine when it’s time to start spraying. But to prevent any wet and angry pedestrians, a HC-SR501 PIR motion sensor is used. If the system sees motion it will stop for a while to let the activity quiet down.

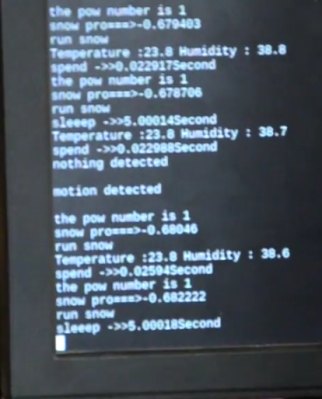
Monitoring the sensors and controlling the pump is done by a daemon written in C++, which also logs data to an SQL database, which in turn feeds their PHP web interface. In the video after the break, [Revanth] demonstrates how the system is constantly making decisions based on the input of the various sensors. Environmental data and motion is analysed every few seconds to provide a real-time solution.

We’ve covered a few projects aimed at melting ice and snow by heating concrete, but it’s interesting to see a “smart” approach to this common winter annoyance.

Continue reading “Keeping Streets Ice-Free With The Raspberry Pi”

ESP8266 Home Monitor Is Stylishly Simplistic

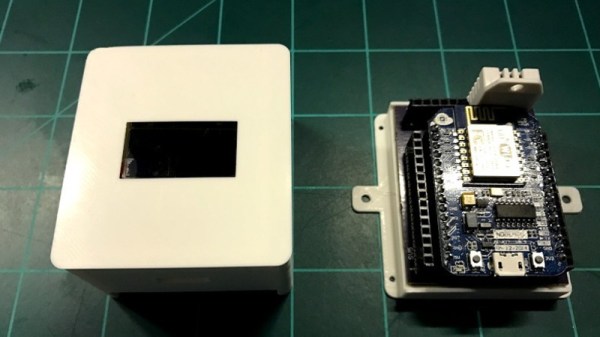
It’s often said that “Less is More”, and we think that the chic ESP8266 environmental monitor posted by Thingiverse user [bkpsu] definitely fits the bill. Dubbed “Kube”, the device is a 3D printed white cube with an OLED display in the center, which [bkpsu] says was designed specifically for the approval of his wife. Weirdly, she didn’t like the look of bare PCBs on the wall.

Multiple Kubes allow for whole-house monitoring.

Inside, things are a little more complex. The Kube uses the NodeMCU development board, and a custom breakout that [bkpsu] designed to interface with the display and sensors. For temperature and humidity monitoring, the Kube is using the ever-popular DHT22, and [bkpsu] mentions that he has future plans for things like motion sensors and direct control of RGB LED strips. All the data collected by the Kube is piped into openHAB via MQTT.

On the very detailed Thingiverse page, [bkpsu] gives background information on his design goals for the project, tips for printing out a high-quality case, a parts list with Amazon links, and pinout information for getting it all wired up. The PCB is even available on OSH Park for those who want a Kube of their own.

Even with all the stick home monitoring and automation products on the market today, many hackers simply can’t bring themselves to buying a turn-key commercial product. But we think with the results hackers have been getting rolling their own solutions, they just might be on to something.

FruitNanny: The Raspberry Pi Baby Monitor For Geeks

Having a child is perhaps the greatest “hack” a human can perform. There’s no soldering iron, no Arduino (we hope), but in the end, you’ve managed to help create the most complex piece of machinery in the known galaxy. The joys of having a child are of course not lost on the geekier of our citizens, for they wonder the same things that all new parents do: how do we make sure the baby is comfortable, how many IR LEDs do we need to see her in the dark, and of course the age old question, should we do this with a web app or go native?

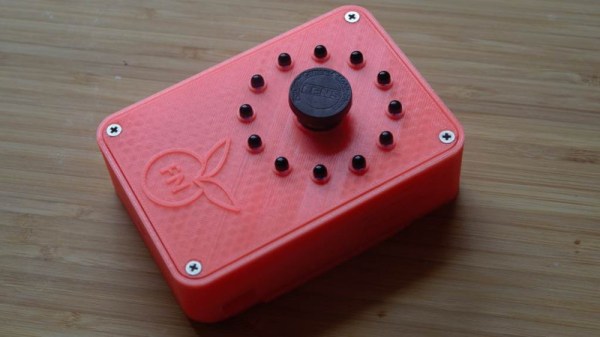
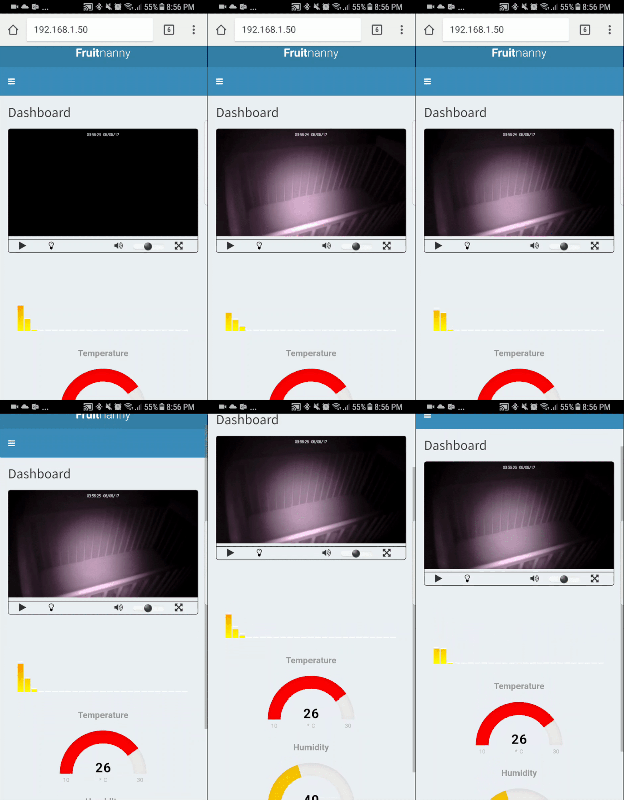
If you’re the kind of person who was frustrated to see that “What to Expect When You’re Expecting” didn’t even bother to mention streaming video codecs, then you’ll love FruitNanny, the wonderfully over-engineered baby monitor created by [Dmitry Ivanov]. The product of nearly two years of development, FruitNanny started as little more than a Raspberry Pi 1n a plastic lunch box. But as [Dmitry] details in his extensive write-up, the latest iteration could easily go head-to-head with products on the commercial market.

[Dmitry] gives a full bill of materials on his page, but all the usual suspects are here. A Raspberry Pi 3 paired with the official NoIR camera make up the heart of the system, and the extremely popular DHT22 handles the environmental monitoring. A very nice 3D printed case, a lens intended for the iPhone, and a dozen IR LEDs round out the build.

The software side is where the project really kicks into high gear. Reading through the setup instructions [Dmitry] has provided is basically a crash course in platform-agnostic video streaming. Even if a little bundle of joy isn’t on your development roadmap, there’s probably a tip or two you can pick up for your next project that requires remote monitoring.

It probably won’t surprise you that geeky parents have been coming up with ways to spy on their kids for some time now, and if you can believe it, some don’t even include a Raspberry Pi.

Digital Clock Goes With The Grain

This good-looking clock appears to be made out of a block of wood with LED digits floating underneath. In reality, it is a block of PLA plastic covered with wood veneer (well, [androkavo] calls it veneer, but we think it might just be a contact paper or vinyl with a wood pattern). It makes for a striking effect, and we can think of other projects that might make use of the technique, especially since the wood surface looks much more finished than the usual 3D-printed part.

You can see a video of the clock in operation below. The clock circuit itself is nothing exceptional. Just a MAX7218 LED driver and a display along with an STM32 ARM processor. The clock has a DHT22 temperature and humidity sensor, as well as a speaker for an alarm.

Continue reading “Digital Clock Goes With The Grain”