OpenMV Promises “Flyby” Imaging Of Components For Pick And Place Project

[iforce2d] has an interesting video exploring whether the OpenMV H7 board is viable as a flyby camera for pick and place, able to quickly snap a shot of a moving part instead of requiring the part to be held still in front of the camera. The answer seems to be yes!
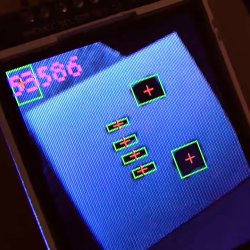
The OpenMV camera module does capture, blob detection, LCD output, and more.

The H7 is OpenMV‘s most recent device, and it supports a variety of useful add-ons such as a global shutter camera sensor, which [iforce2d] is using here. OpenMV has some absolutely fantastic hardware, and is able to snap the image, do blob detection (and other image processing), display on a small LCD, and send all the relevant data over the UART as well as accept commands on what to look for, all in one neat package.

It used to be that global shutter cameras were pretty specialized pieces of equipment, but they’re much more common now. There’s even a Raspberry Pi global shutter camera module, and it’s just so much nicer for machine vision applications.

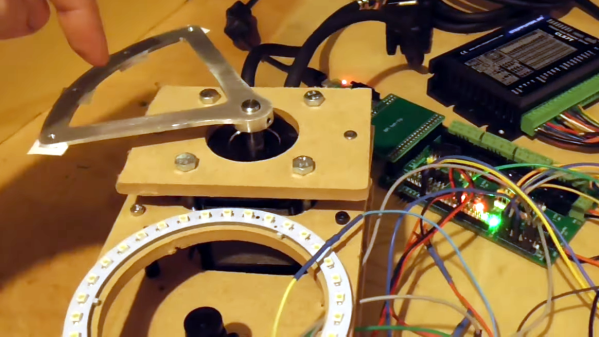
Watch the test setup as [iforce2d] demonstrates and explains an early proof of concept. The metal fixture on the motor swings over the camera’s lens with a ring light for even illumination, and despite the moving object, the H7 gets an awfully nice image. Check it out in the video, embedded below.

Continue reading “OpenMV Promises “Flyby” Imaging Of Components For Pick And Place Project”

Brick-Laying Machine Builds Without Mortar

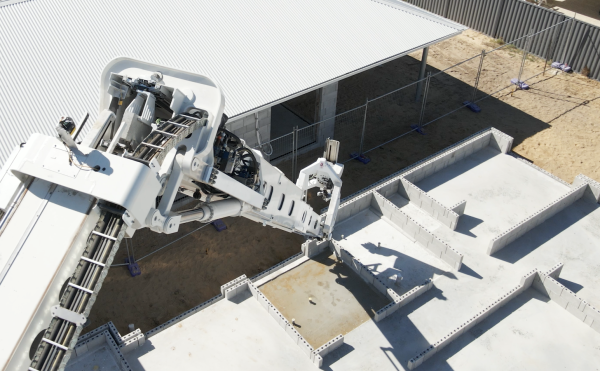
Move over, 3D printed houses. There’s a new game in town, and it is able to use standard concrete blocks to build the walls of a house in just one day.

Australian company FBR’s Hadrian X is a tablet-controlled system that follows CAD models to lay the blocks one by one. As you can see in the video after the break, the blocks are laid so quickly that there’s no time for mortar, so they dip the bottom of each block in construction adhesive instead. In the second video after the break, you can watch Hadrian-X build a curved wall.

There are several things to consider when it comes to outdoor robots, such as wind and unwanted vibration. In order to correct for these nuisances, FBR came up with Dynamic Stabilisation Technology (DST). While we don’t have a lot of details on DST, the company calls it “a highly accurate system that continuously adjusts the position of a robot’s end effector to ensure it is always held with stability at the correct point in 3D space.”

Curious about printed housing? Here’s the current-ish state of affairs.

Continue reading “Brick-Laying Machine Builds Without Mortar”

Hackaday Prize 2023: Circuit Scout Lends A Hand (Or Two) For Troubleshooting

Troubleshooting a circuit is easy, right? All you need is a couple of hands to hold the probes, another hand to twiddle the knobs, a pair of eyes to look at the schematic, another pair to look at the circuit board, and, for fancy work, X-ray vision to see through the board so you know what pads to probe. It’s child’s play!

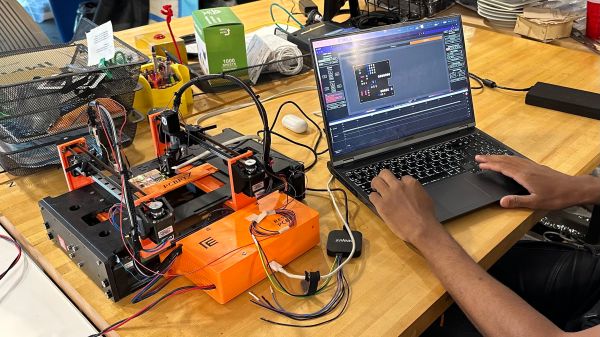
In the real world, most of us don’t have all the extra parts needed to do the job right, which is where something like CircuitScout would come in mighty handy. [Fangzheng Liu] and [Thomas Juldo]’s design is a little like a small pick-and-place machine, except that instead of placing components, the dual gantries place probes on whatever test points you need to look at. The stepper-controlled gantries move independently over a fixture to hold the PCB in a known position so that the servo-controlled Z-axes can drive the probes down to the right place on the board.

As cool as the hardware is, the real treat is the software. A web-based GUI parses the PCB’s KiCAD files, allowing you to pick a test point on the schematic and have the machine move a probe to the right spot on the board. The video below shows CircuitScout moving probes from a Saleae logic analyzer around, which lets you both control the test setup and see the results without ever looking away from the screen.

CircuitScout seems like a brilliant idea that has a lot of potential both for ad hoc troubleshooting and for more formal production testing. It’s just exactly what we’re looking for in an entry for the Gearing Up round of the 2023 Hackaday Prize.

Continue reading “Hackaday Prize 2023: Circuit Scout Lends A Hand (Or Two) For Troubleshooting”

Pixel Pump, The Open Source Vacuum Pickup Tool Is Now Shipping

The Pixel Pump is an open source manual pick & place assist tool by [Robin Reiter], and after a long road to completion, it’s ready to ship. We first saw the Pixel Pump project as an entry to the 2021 Hackaday Prize and liked the clean design and the concept of a completely open architecture for a tool that is so valuable to desktop assembly. It’s not easy getting hardware off the ground, but it’s now over the finish line and nearly everything — from assembly to packaging — has been done in-house.

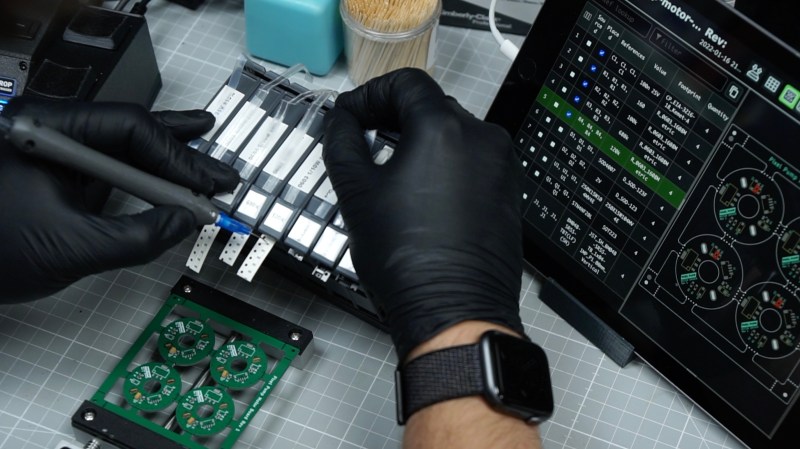
Pixel Pump with SMD-Magazines, also using foot pedal to control an interactive bill of materials (BoM) plugin.

Because having parts organized and available is every bit as important as the tool itself, a useful-looking companion item for the Pixel Pump is the SMD-Magazine. This is a container for parts that come on SMD tape rolls. These hold components at an optimal angle for use with the pickup tool, and can be fixed together on a rail to create project-specific part groups.

A tool being open source means giving folks a way to modify or add features for better workflows, and an example of this is [Robin]’s suggestion of using a foot pedal for hands-free control of the interactive BoM plugin. With it, one can simply use a foot pedal to step through a highlighted list of every part for a design, an invaluable visual aid when doing hand assembly.

The Pixel Pump looks great, but if you’d prefer to go the DIY route for vacuum pickup tools you would certainly be in good company. We’ve seen economical systems built for under $100, and systems built around leveraging bead-handling tools intended for hobbyists. On the extreme end there’s the minimalist approach of building a tool directly around a small electric vacuum pump.

Tour A PCB Assembly Line From Your Armchair

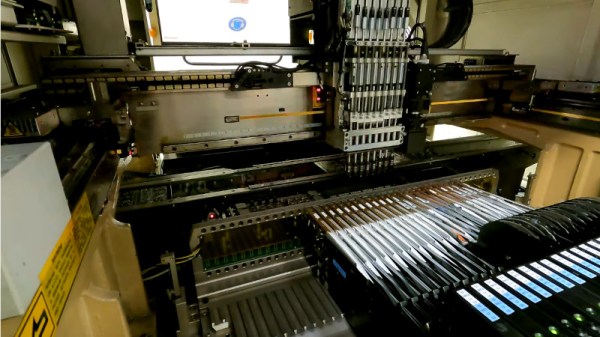
Those of us who build our own electronics should have some idea of the process used to assemble modern surface-mount printed circuit boards. Whether we hand-solder, apply paste with a syringe, use a hotplate, or go the whole hog with stencil and oven, the process of putting components on boards and soldering them is fairly straightforward. It’s the same in an industrial setting, though perhaps fewer of us will have seen an industrial pick-and-place line in action. [Martina] looks at just such a line for us, giving a very accessible introduction to the machines and how they are used. Have a look, in the video below the break.

It’s particularly interesting as someone used to the home-made versions of these machines, to see the optical self-alignment and the multiple pick-and-place tools which are beyond the simpler pick-and-place machines you’ll find in a hackerspace. Multiple machines in a line are also beyond hackerspaces, so the revelation that the first machine is deliberately run slowly to avoid the line backing up is a valuable one.

At the end of the line is the reflow oven itself, through which the boards pass on a belt through carefully graded hot air zones. Certainly a step up from a toaster oven with an Arduino controller!

Sadly not all of us will be lucky enough to have such a line at our disposal, but pick-and-place projects come up here quite often. We did a teardown on the feeders from a Siemens machine a couple of years ago.

Continue reading “Tour A PCB Assembly Line From Your Armchair”

An RP2040 Powered Pick And Place

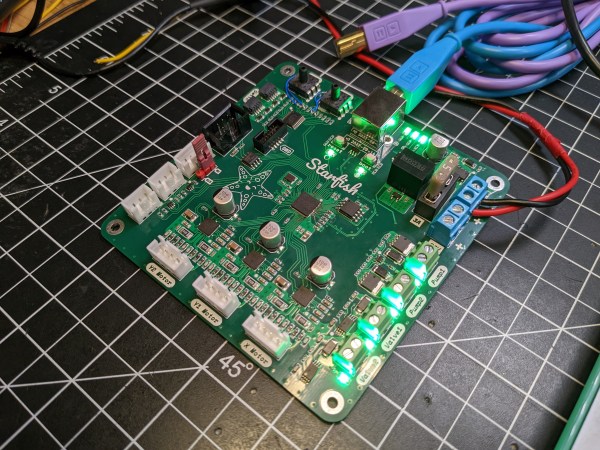
Pick and place machines are a wonder to behold, as they delicately and accurately place part after part. Unfortunately, they have to have a similarly wondrous price tag. Luckily, they aren’t too difficult to make yourself as they share many properties of a 3D printer with some extra constraints. [Stargirl Flowers] released Starfish, an open-source pick-and-place control board based around an RP2040 to help people make their own.

She purchased a LumenPnP, and the itch to tinker became too much to ignore. The STM32 on the stock controller also happened to get fried, leaving an obvious opening to create a custom board. [Stargirl] chose Trinamic TMC2209 motor controllers to drive the three stepper motors. The power circuit is impressively overbuilt with a 3A fuse, a TVS diode for shunting voltage spikes, a P-channel MOSFET for reverse polarity protection, a low-pass filter for AC ripple, and a large 100μF capacitor.

The RP2040 is a good choice since it’s easy to get and has plenty of digital I/O. USB connects the board to the outside work and includes ESD TVS diodes to protect the board when connecting and disconnecting the USB port. Motors for vacuums are controlled by a 74HC2G34 buffer that drives enable lines to two MOSFETs. Solenoids are similar but with a high current peak and a much smaller current to keep them open. The DRV120 fits the bill as it is a single-channel relay with current regulation. I2C vacuum sensors are the same ones on the Lumen motherboard; they just required an I2C multiplexer.

It’s an extremely well-documented project explaining why each part was chosen and why. If you want to create an RP2040 project that needs to last, we consider this a guiding star. It’s all up on GitHub for you to take a look at.

This isn’t the first time we’ve seen RP2040 as part of a motor controller, and we suspect we’ll see more.

A Vacuum Pick Up Tool For Not A Lot

When working with grain-of-dust surface-mount components, one of the tools which makes a huge difference is a vacuum pickup pen. Instead of trying to move the part with tweezers and succeeding only in flicking it into the middle distance, a tiny rubber suction cup with a vacuum feed allows you to pick it up and place it exactly where it is required. Unfortunately, good vacuum pickup tools come at a price, and very cheap ones aren’t worth the expenditure.

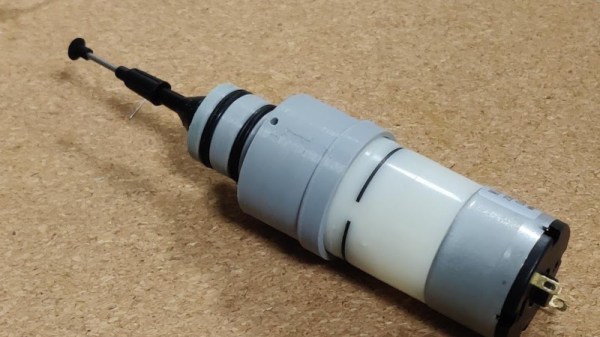
This is where [TDG (Béla)]’s SMD vacuum pickup tool comes in. The problem with the cheap tools is only that their manual vacuum is ineffectual, they come with the required array of probes with the suction cups. The solution is to take a small vacuum pump with a low voltage motor and attach it with a 3D printed adapter to the business end of a cheap vacuum tool and make a useful tool the result.

There’s a short video of the tool in action that we’ve placed below the break. It’s a bit noisy, but it’s obvious that it performs well. Control is via an air hole in the side of the 3D print, place a finger over it and the full suction is directed to the tip. The result is simpler and cheaper than previous contenders in the budget vacuum pickup stakes.

Continue reading “A Vacuum Pick Up Tool For Not A Lot”