OpenDeck Makes Spinning Your Own MIDI Controller Easy

These days, MIDI controllers are just plain cool. There are a million of them out there, and they’re all dressed to the nines in flashing LEDs and sporting swag like USB MIDI interfaces and sliders that just feel right. With our italics budget running out, I should get to the point – you can make your own, and the OpenDeck platform makes it easy.

The OpenDeck board. Readily apparent is the fact that it has tons of IO.

In its most refined form, the OpenDeck is a board covered in pin headers. To these, you may connect an absolute truckload of buttons, encoders, sliders, and LEDs. The OpenDeck handles all of the inputs and outputs, while you get to have fun attaching your various gizmos to the control surface/keytar/birthday cake you happen to be building. It saves you reinventing the wheel as far as reading switches and potentiometers goes, allowing you to focus on the creative side of your project. All configuration is handled through a simple web interface.

Boards are available on Tindie,  but it’s also possible to take the code and run it on various Arduinos and the like, as it’s wonderfully opensource. This gives you the power to take things to a higher level once you’re good and ready.

We’ve seen a rather cool OpenDeck build already, and if you’ve got more, you know where to reach us.


Driftwood Binary Clock Is No Hollow Achievement

It’s about time we had another awesome clock post around here. [Mattaw] has liked binary clocks since he was 0 and decided to make one in stunning fashion by using driftwood, nature’s drillable, fillable enclosure.

That beautiful wiring job on the RGB LEDs was done in 18g copper. To keep the LEDs aligned during soldering, he drilled a a grid of holes just deep enough to hold ’em face down. There’s an IR remote to set the time, the color, and choice of alarm file, which is currently set to modem_sound.mp3.

Under the wood, there are a pair of Arduino Nanos, an mp3 decoder board, and an RTC module. Why two Nanos, you ask? Well, the IR interrupts kept, uh, interrupting the LED timing. The remote feature was non-negotiable, so [mattaw] dedicated one Nano to receive remote commands, which it streams serially to the other. Here’s another nice touch: there’s an LDR in one of the nooks or crannies that monitors ambient light so the LEDs are never too bright. Don’t wait another second to check it out—we’ve got 10 videos of it after the break.

Believe it or not, this isn’t the first binary clock we’ve seen.  This honey of a clock uses RGB LEDs to tell the time analog style.

Continue reading “Driftwood Binary Clock Is No Hollow Achievement”

Video Quick-Bit: The Things That Move Robots

Magenta Strongheart returns for a look at some of the coolest robotic entries from this year’s Hackaday Prize. Each of these answered the challenge for modular designs that will help supercharge new robot projects.

We think that cheap and abundant motor designs are poised to revolutionize robotics and several of the entries thought along those same lines. [Masahiro Mizuno] came up with a great 3D printed servo design based around a 6mm DC motor. Also in this ballpark, a team of two — Giovanni Leal and Jonathan Diaz — used 3D printing to turn some tiny metallic servos into linear actuators.

Picking stuff up is a difficult thing for a machine to do. We’ve long enjoyed seeing jamming grippers which do it with an inflatable bladder around a granular material (watch the video… it’s amazing). Two of these were demonstrated as part of the challenge. The Universal Jamming Gripper focuses on the entire mechanism, while Programmable Air took aim at the pneumatic actuation system and can adapt to other soft-robotics uses.

Rounding out this update, make sure to take a peek at the PCB stepper motor [Bobricius] built after being inspired by [Carl Bugeja’s] PCB motor. You’ll also want to see the entry that is taking on industrial farming. Imaging slow-rolling behemoths that use computer vision and spinning tillers to take care of weeds, cutting down on herbicide use.

Right now we’re in the thick of the Power Harvesting Challenge. Show us how you’re getting power from an interesting source and you’ll be on the way to the finals. Twenty power harvesting entries will get that honor, along with a $1,000 cash prize. The five top entries of the 2018 Hackaday Prize will split $100,000!

Spy Tech: How An Apollo Capsule Landed In Michigan After A Layover In The USSR

There’s an Apollo module on display in Michigan and its cold-war backstory is even more interesting than its space program origins.

Everyone who visits the Van Andel Museum Center in Grand Rapids, Michigan is sure to see the Apollo Command Module flanking the front entrance. Right now it’s being used as a different kind of capsule: a time capsule they’ll open in 2076 (the American tricentennial). If you look close though, this isn’t an actual Command Module but what they call a “boilerplate.”

Technically, these were mass simulators made cheaply for certain tests and training purposes. A full spacecraft costs a lot of money but these — historically made out of boilerplate steel — could be made with just the pieces necessary and using less expensive materials. What you might not know is that the boilerplate at the Van Ardel — BP 1227 — has a cold war spy history unlike any other boilerplate in the fleet.

The early life of BP 1227 is a little sketchy. It appears the Navy was using it for recovery training somewhere between the Azores and the Bay of Biscay in early 1969. We don’t know for sure if the picture to the left is BP 1227 or not. Comparing it to the one at the museum, it probably isn’t, but then again the museum’s does have a fresh paint job and possibly a top cap. Regardless, the picture to the left was from 1966 in the Atlantic, giving us an idea of how boilerplate capsules were put into service.

In those days — the height of the cold war — Naval ships were often followed by Soviet “fishing trawlers.” These were universally understood to be spy ships — Auxiliary, General Intelligence or AGI vessels.

Continue reading “Spy Tech: How An Apollo Capsule Landed In Michigan After A Layover In The USSR”

Electronics Manufacturers React To China Trade Tariffs

Mere weeks ago, the United States announced it was set to impose a 25% tariff on over 800 categories of Chinese goods. These tariffs include nearly every component that goes into the manufacture of any piece of electronic hardware, from resistors to capacitors, semiconductors to microcontrollers, and even the raw components that are turned into printed circuit boards. These tariffs will increase the cost of materials for electronics, even if those electronics are ultimately manufactured in the United States because suppliers and subcontractors must source their materials from somewhere, and more often than not, that place is China.

Now, manufacturers are feeling the pinch. An email distributed by Moog Music last Friday has asked their supporters to contact their senators and representatives.

In the world of musical synthesizers, there is no bigger name than Moog. The company was founded in the 1950s manufacturing theremins, and in the 1960s, production moved to synthesizers. The famous Minimoog, launched in 1970, has been featured on tens of thousands of albums. Modern music simply wouldn’t exist without Moog synthesizers. After a buyout, mismanagement, and bankruptcy in the 1980s, the company was reborn in the early 2000s, moved into a beautiful factory in Asheville, North Carolina, and has gone on to produce some of the most popular synthesizers ever made.

The company’s statement says these new tariffs will, ‘immediately and drastically increase the cost of building our instruments, and have the very real potential of forcing us to lay off workers and could.. require us to move some, if not all, of our manufacturing overseas’. In a statement on Twitter, Moog says they source half their PCBs and a majority of other materials domestically, already paying up to 30% more than if the PCBs were sourced from China. However, because the raw materials for PCB manufacture are also sourced from China, board manufacturers for Moog’s synths will be forced to pass along the 25% tariff to their customers.

The threat of Moog being forced to move production of their instruments to China is real. Like cell phones, laptops, and other finished goods, synthesizers are not covered by the new tariff. As noted by Bunnie Huang, these tariffs have the perverse incentive of shifting US manufacturing jobs to China.

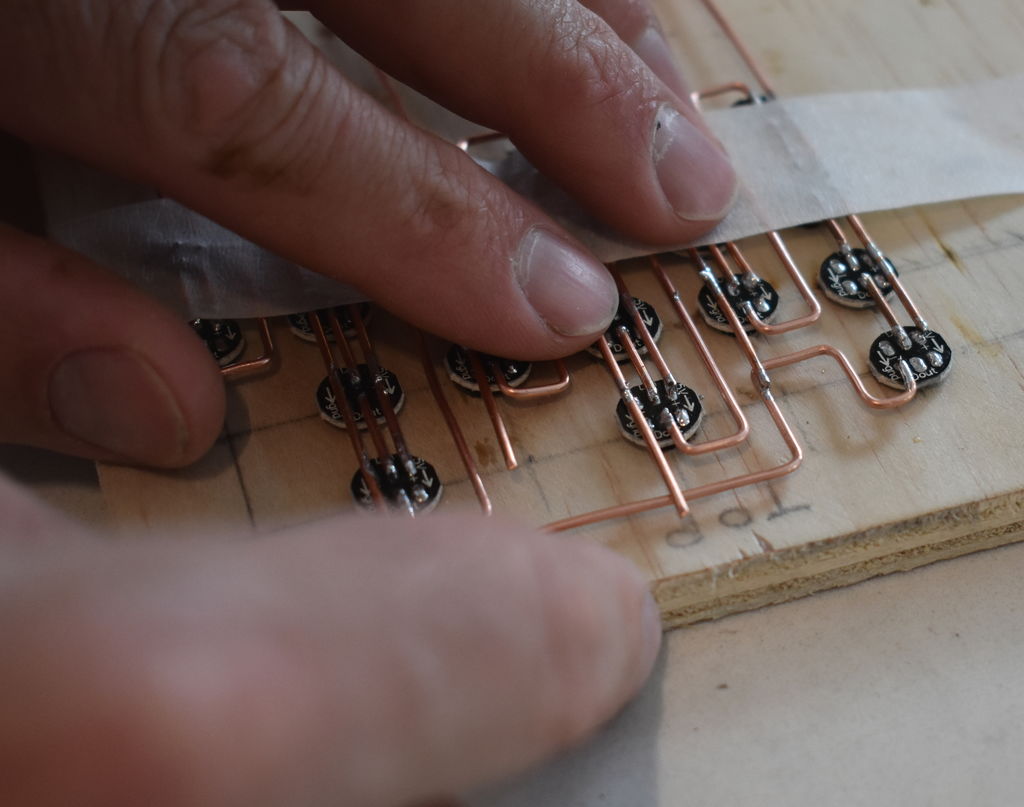
These tariffs have been a point of contention for the electronics and engineering communities. Anyone can easily pull up the distributor information from a Mouser or Digikey order and find the country of origin for an entire Bill of Materials. It has already been confirmed that most of the FR4 and other raw components that go into manufacturing PCBs in the United States come from Chinese suppliers. These items can be cross-referenced with the list of items that will be subject to a 25% tariff next week. Manufacturing electronics in the United States, even if you get your PCBs from US manufacturers and parts from US suppliers, will cost more in just a few short days.

Coolest Way To Watch 3D Printing: Lights, Camera, Octolapse!

Octoprint is a household name for anyone into 3D printing and anyone regularly reading Hackaday. Described by creator Gina Häußge as “the snappy web interface for your 3D printer”, Octoprint allows you to control effectively any desktop 3D printer over the local network or Internet. It even has webcam support so you can watch your printer while it works, meaning you can finally put that video baby monitor back into the crib with Junior.

While the core functionality of Octoprint is fantastic alone, its true power is unlocked through the plugin system and the community that’s sprung up around it. With plugins, Octoprint can do everything from control RGB light strips in your printer’s enclosure to sending status messages via Discord. One particularly popular plugin that has been making the rounds lately is Octolapse by [FormerLurker]. This plugin provides a comprehensive intelligent system for creating time-lapse videos of prints.

What does that mean? Well, instead of simply taking a picture every few seconds like you’d do traditionally, Octolapse actually keeps track of the printer’s motions while its running. It can then take a picture at the opportune moment to create a number of user-selected effects. More importantly, it can even take control of the printer directly; moving the hotend away from the print before taking a picture. The effect is that the print simply “grows” out of the bed.

I thought it would be interesting to take a closer look at Octolapse and see just what it takes to create one of those awesome time-lapse videos. It turned out to be somewhat trickier than I anticipated, but the end results are so fantastic I’d say it’s a technique worth mastering.

Continue reading “Coolest Way To Watch 3D Printing: Lights, Camera, Octolapse!”

Easy-Peelzy Makes 3D Prints Stick And Not Stick

We have a friend who has always been obsessed that he didn’t invent the Weed Eater. After all, it is just some fishing line and a motor. We might feel the same way about Easy-Peelzy, which [Maker’s Muse] reviews in the video, below. The idea is very simple. Two squares of material that have magnets in them and one surface is something similar to BuildTak. You mount one square down on your print bed and then put the other square down so that it magnetically sticks. Print, and then pull the top square off and pop your print off.

Judging from the video this looks like it works very well. The price looks high until you realize the currency converts to under 20 U.S. dollars.

Continue reading “Easy-Peelzy Makes 3D Prints Stick And Not Stick”