The guys over at hackshed have been busy. [Carl] is making programmable logic design easy with an 8 part CPLD tutorial. (March 2018: Link dead. Try the Wayback Machine.) Programmable logic devices are one of the most versatile hardware building blocks available to hackers. They also can have a steep learning curve. Cheap Field Programmable Gate Arrays (FPGA) are plentiful, but can have intricate power requirements. Most modern programmable logic designs are created in a Hardware Description Language (HDL) such as VHDL or Verilog. Now you’ve got a new type of device, a new language, an entirely new programming paradigm, and a complex IDE to learn all at once. It’s no wonder FPGAs have sent more than one beginner running for the hills.
The tutorial cuts the learning curve down in several ways. [Carl] is using Complex Programmable Logic Devices (CPLD). At the 40,000 foot level, CPLDs and FPGAs do the same thing – they act as re-configurable logic. FPGAs generally do not store their configuration – it has to be loaded from an external FLASH, EEPROM, or connected processor. CPLDs do store their configuration, so they’re ready as soon as they power up. As a general rule, FPGAs contain more configurable logic than CPLDs. This allows for larger designs to be instantiated with FPGAs. Don’t knock CPLDs though. CPLDs have plenty of room for big designs, like generating VGA signals.
[Carl] also is designing with schematic capture in his tutorial. With the schematic capture method, digital logic schematics are drawn just as they would be in Eagle or KiCad. This is generally considered an “old school” method of design capture. A few lines of VHDL or Verilog code can replace some rather complex schematics. [Carl’s] simple designs don’t need that sort of power though. Going the schematic capture route eliminates the need to learn VHDL or Verilog.
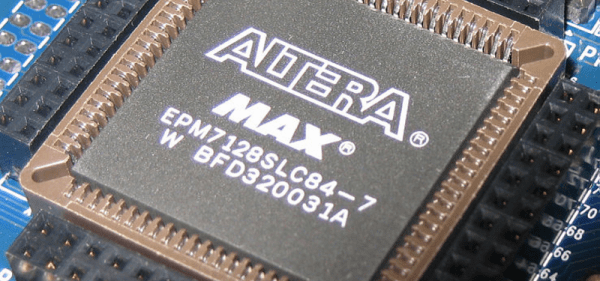
[Carl’s] tutorial starts with installing Altera’s Quartus II software. He then takes the student through the “hardware hello world” – blinking an LED. By the time the tutorial is done, the user will learn how to create a 4 bit adder and a 4 bit subtractor. With all that under your belt, you’re ready to jump into big designs – like building a retrocomputer.
[Image via Wikimedia Commons]
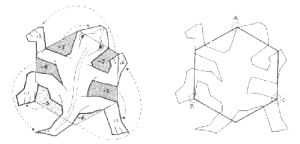 interlock naturally. Escher discovered that if he cut out part of a shape and replaced it on the opposite side, the new shape will still interlock. In