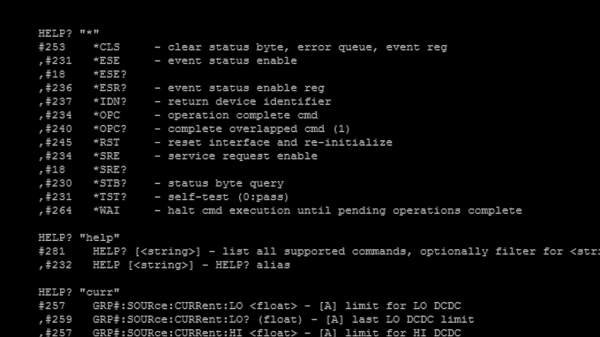
The SCPI (Standards Command for Programmable Instruments) protocol is exceptionally popular in lab and workspace tools, letting you configure and fetch data from oscilloscopes and lab scales alike in a standardized way. However, when interfacing with a SCPI device, you need to use a programming guide document if you want to know the commands for any of the inevitably extended features; essentially, SCPI isn’t as human-friendly as you might want. [MisterHW] argues that SCPI could use more discoverability by proposing a HELP? command.
This proposal is so intuitive, it makes you wonder why it isn’t in the base spec. It adds a built-in command that provides information on other commands. Internally, the description is just an extra string parameter that you add to your command definition code, and you can use it to describe the parameter types and ranges it takes. The output is both human-readable and machine-parseable, and as it’s stored within your code, it’s way quicker to update the description string than it is to re-release programming guides. Which are themselves prone to being outdated as-is, so decreasing reliance on them is a win-win.
The proposal makes a lot of sense, and [MisterHW] is willing to back it up with a pull request to the most popular SCPI library, libscpi. Whenever the pull request finally goes through, you will have the option to easily add the HELP? command support to whatever SCPI-connected device you might have brewing.
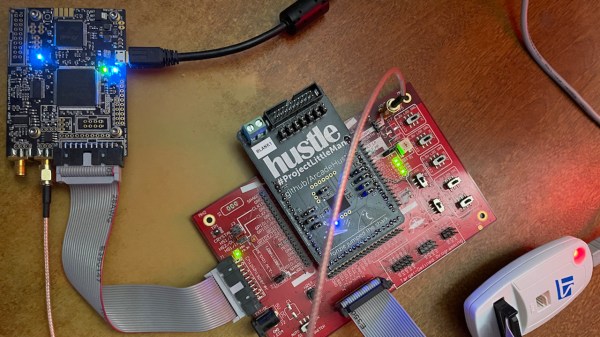
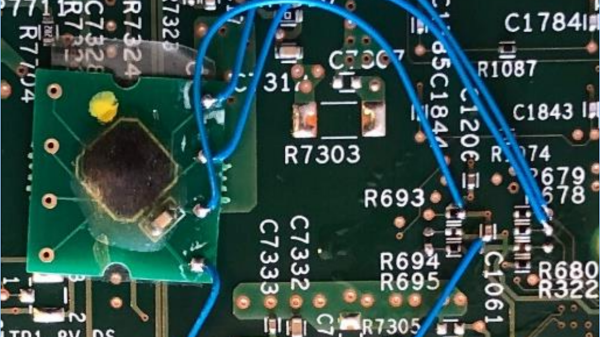
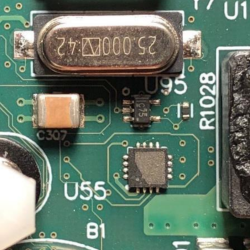
While the old devices will eventually fade, SCPI is not about to die out – hackers keep building devices with SCPI as the communication protocol, as the spec is quite powerful. For instance, here’s this fancy temperature logger, or this Source Measurement Unit – both of them use SCPI for hacker-to-device data transfer, and it’s likely to be libscpi under the hood. Ever wondered what SCPI is all about? Check out our overview!

 A
A