For those living before the invention of the transistor, the modern world must appear almost magical. Computers are everywhere now and are much more reliable, but there are other less obvious changes as well. Someone from that time would have needed a huge clunky machine like a motor-generator set to convert DC voltages, but we can do it with ease using a few integrated circuits. This one can take a huge range of input voltages to output a constant 5V.
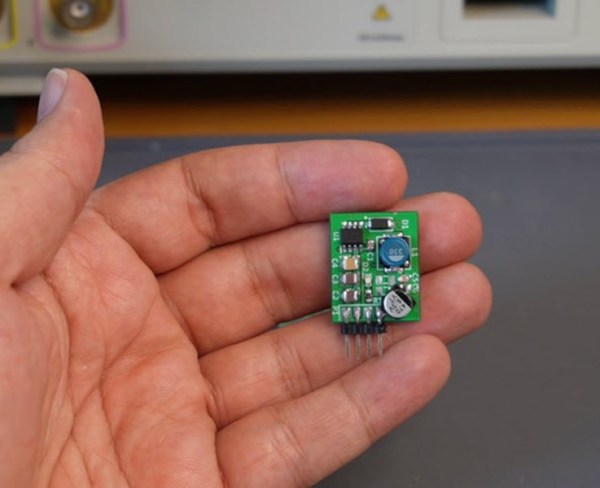
The buck converter was designed by [hesam.moshiri] using a MP9486 chip. While it is possible to use a multipurpose microcontroller like something from Atmel to perform the switching operation needed for DC-DC converters, using a purpose-built chip saves a lot of headache. The circuit was modified a little bit to support the higher input voltage ranges and improve its stability and reliability. The board is assembled in an incredibly tiny package with inputs and outputs readily accessible, so it would be fairly simple to add one into a project rather than designing it from scratch.
Even though buck converters, and other DC converters like boost and the mysterious buck-boost converter, seem like magic even to us, there is some interesting electrical theory going on if you’re willing to dive into the inner workings of high-frequency switching. Take a look at this explanation we featured a while back to see more about how buck converters, the more easily understood among them, work.