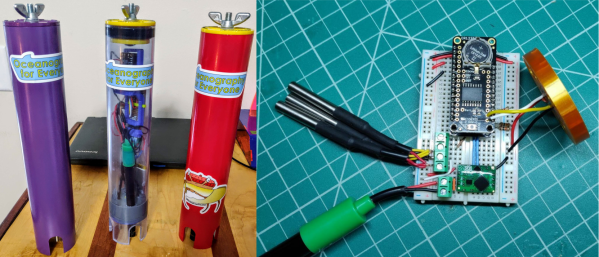
The Flexible Permanence Of Copper Tape Circuits

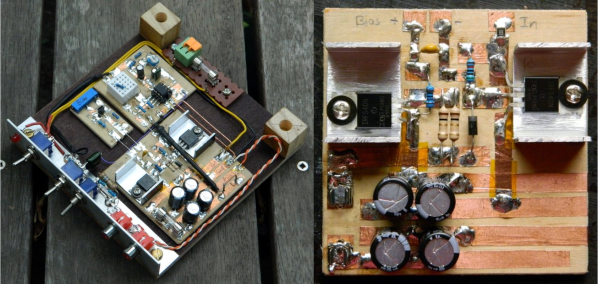
Somewhere between shoving components into a breadboard temporarily and committing them to a piece of protoboard or a PCB lies the copper tape method. This flexible Manhattan-style method of circuitry formed the basis for [Bunnie Huang]’s Chibitronics startup, and has since inspired many to stop etching boards and start fetching hoards of copper tape.

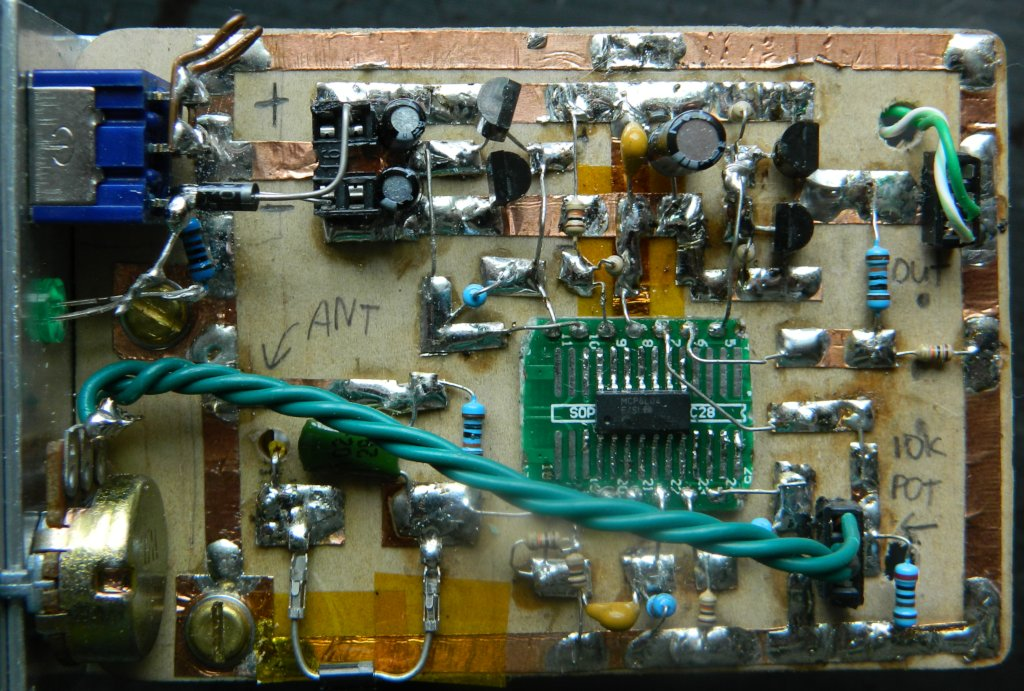
[Hales] hit the ground running when he learned about this method, and has made many a copper tape circuit in the last year or so. He offers several nice tips on his site that speak from experience with this method, and he’ll even show you how to easily work an SMD breakout board into the mix.

Generally speaking, [Hales] prefers plywood as the substrate to paper or cardboard for durability. He starts by drawing out the circuit and planning where all the tape traces will go and how wide they need to be. Then he lays out copper traces and pads, rubs the tape against the substrate to make it adhere strongly, and reinforces joints and laps with solder before adding the components. As you can see, copper tape circuits can get pretty complicated if you use Kapton tape as insulation between stacked layers of traces.

Copper and Kapton (polyimide) tape are just two of the many useful tapes you may not be aware of. Stick with us a moment and check out [Nava Whiteford]’s exploration of various adhesive marvels.

Make A Mean-Sounding Synth From Average Components

A while back, [lonesoulsurfer] stumbled upon a mind-blowing little DIY synth on YouTube and had to make one of his own. We don’t blame him one bit for that, ’cause we’ve been down that cavernous rabbit hole ourselves. You might want to build one too, after you hear the deliciously fat and guttural sounds waiting inside those chips and passives. Don’t say we didn’t warn you.

The main synth is built on five LM358 op-amps that route PWM through a pair of light-dependent resistors installed near the top. There are two more oscillators courtesy of a 40106 hex inverting Schmitt trigger, which leaves four more oscillators to play with should you take the plunge and build your own.

He didn’t just copy the guy’s schematic and call it good. He added [a 555-based arpeggiator that’s controlled with two homebrew optocouplers. These sound fancy and expensive, but can be bred easily at home by sealing an LED and an LDR inside a piece of black heat shrink tubing and applying a bit of PWM. With the flick of a toggle, he can bypass the momentary buttons and use the yellow knob at the top to sweep through the pitch range with a single input.

Although he doesn’t hold your hand through the build, [lonesoulsurfer] has plenty of nice, clear pictures of the process that nearly give a step-by-step guide. That plus the video demo and walk-through should get you well on your way to DIY synthville.

If this all seems very cool, but you’d really like to understand what’s happening as you descend into the rabbit hole, our own [Elliot Williams]’s Logic Noise series is an excellent start.

Continue reading “Make A Mean-Sounding Synth From Average Components”

Node-RED Laser Shooting Gallery Goes Anywhere

When you think of a shooting gallery, you might envision a line of tin cans set up along a split-rail fence, or a few rows of ducks or bottles lined up at a carnival. But what do these have in common? You, standing in one spot, and shooting in the same general direction. You’re exposed! If those targets could shoot back, you’d be dead within seconds. Wouldn’t it be more fun if the targets were all around you in 360°? We think so, too.

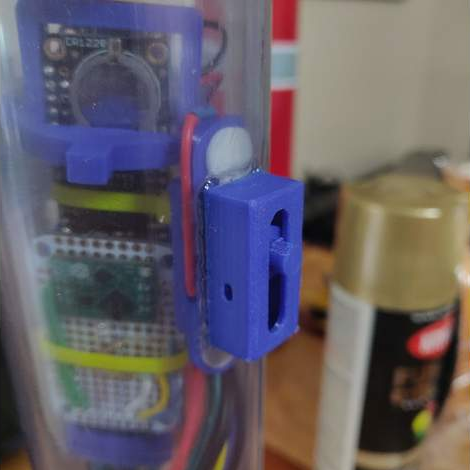
So how could you possibly set up a shooting gallery this way? [Another Maker] already solved that problem for you with ESP32s and Node-RED (YouTube). Each target has an ESP32, a laser sensor, and an LED that lights up when the target is ready, and turns off once it’s been hit. They all make an enticing ‘shoot me’ sound that goes with their graphics, and a second mp3 plays upon direct hit.

The PVC gun houses an ESP8266, a laser module at the end of the barrel, and runs on a cylindrical USB battery slipped down in the secondary grip. [Another Maker] can spread the targets out far and wide, as long as they all stay in range of the localized WiFi access point.

The best part is that the Node-RED system is target-agnostic — it doesn’t care how many you have or how they’re made, and it can juggle up to 250 of them. Because of the way the target objects are programmed, it would be quite easy to add actuators that make them drop down or fall backward when hit. You could also implement [Another Maker]’s fantastic suggestion of hitting arcade buttons with NERF darts instead. Charge those lasers and fire at the break button to see the demo and walk-through video.

If you plan to knock the targets down or over in your implementation, you’ll want an easy way to reset them. Here’s a scrap-built shooting gallery that uses a windshield wiper motor to set ’em back up.

Active Suspension R/C Car Really Rocks

When you’re a kid, remote control cars are totally awesome. Even if you can’t go anywhere by yourself, it’s much easier to imagine a nice getaway from the daily grind of elementary school if you have some wheels. And yeah, R/C cars are still awesome once you’re an adult, but actual car-driving experience will probably make you yearn for more realism.

What could be more realistic and fun than an active suspension? Plenty of adults will never get the chance to hit the switches in real car, but after a year of hard work, [snoopybg] is ready to go front and back, side to side, and even drift in this super scale ’63 Oldsmobile Dynamic 88 wagon. We think you’ll agree that [snoopybg] didn’t miss a detail — this thing makes engine noises, and there are LEDs in the dual exhaust pipes to simulate flames.

An Arduino reads data from a triple-axis accelerometer in real time, and adjusts a servo on each wheel accordingly, also in real time, to mimic a real car throwing its weight around on a real suspension system. If that weren’t cool enough, most of the car is printed, including the tires. [snoopybg] started with a drift car chassis, but even that has been hacked and drilled out as needed.

There are a ton of nice pictures on [snoopybg]’s site if you want to see what’s under the hood. We don’t see the code anywhere, but [snoopybg] seems quite open to publishing more details if there is interest out there. Strap yourself in and hold on tight, because we’re gonna take this baby for a spin after the break.

If this is all seems a bit much for you, but you’ve got that R/C itch again, there’s a lot to be said for upgrading the electronics in a stock R/C car.

Continue reading “Active Suspension R/C Car Really Rocks”

Anti-Bacterial Plastic Wrap Clings To Hope Of Stopping Superbugs’ Spread

Researchers at McMaster University in Ontario have developed a plastic wrap that repels viruses and bacteria, including some of the scariest antibiotic-resistant superbugs known to science. With the help of a scanning electron microscope, the researchers were able to watch superbugs like MRSA and Pseudomonas bounce right off the surface.

The wrap can be applied to things temporarily, much like that stuff you wrestle from the box and stretch over your leftovers. It can also be shrink-wrapped to any compatible surface without losing effectiveness. The ability to cover surfaces with bacteria-shielding armor could have an incredible impact on superbug populations inside hospitals. It could be shrink-wrapped to all kinds of things, from door handles to railings to waiting room chair armrests to the pens that everyone uses to sign off on receiving care.

Continue reading “Anti-Bacterial Plastic Wrap Clings To Hope Of Stopping Superbugs’ Spread”

Additive, Multi-Voice Synth Preserves Sounds, Too

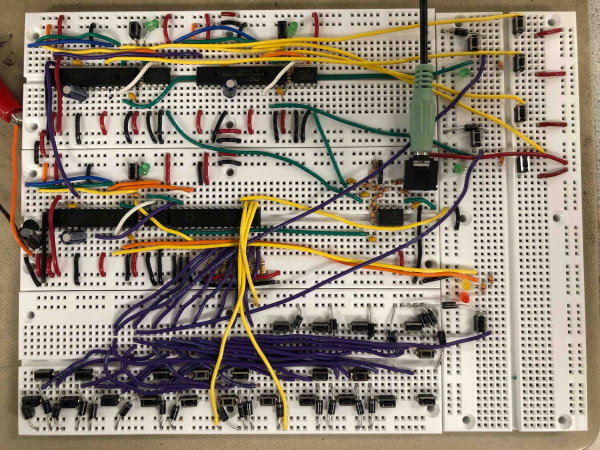
For his final project in [Bruce Land]’s microcontroller design class, [Mark] set out to make a decently-sized synth that sounds good. We think you’ll agree that he succeeded in spades. Don’t let those tiny buttons fool you, because it doesn’t sound like a toy.

Why does it sound so good? One of the reasons is that the instrument samples are made using additive synthesis, which essentially stacks harmonic overtones on top the fundamental frequency of each note. This allows synthesizers to better mimic the timbre of natural, acoustic sounds. For each note [Mark] plays, you’re hearing a blend of four frequencies constructed from lookup tables. These frequencies are shaped by an envelope function that improves the sound even further.

Between the sound and the features, this is quite an impressive synth. It can play polyphonically in piano, organ, or plucked string mode through a range of octaves. A PIC32 runs the synthesizer itself, and a pair of helper PIC32s can be used to record songs to be played over. So [Mark] could record point and counterpoint separately and play them back together, or use the helper PICs to fine-tune his three-part harmony. We’ve got this thing plugged in and waiting for you after the break.

If PICs aren’t what you normally choose, here’s an FPGA synth.

Continue reading “Additive, Multi-Voice Synth Preserves Sounds, Too”

Plucky Kalimba Plays Itself

[Gurpreet] fell in love with the peaceful, floaty theme from the Avatar series and bought a kalimba so he could hear it resonate through his fingertips. He soon realized that although it’s nice to play the kalimba, it would be a lot cooler if it played itself. Then he could relax and enjoy the music without wearing out his thumbs.

After doing a bit of experimentation with printing tine-plucking extensions for the servo horns, [Gurpreet] decided to start the design process by mounting the servos on a printed base. The servos are slotted into place by their mounting tabs and secured with hot glue. We think this was a good choice — it’s functional and it looks cool, like a heat sink.

[Gurpreet]’s future plans include more servos to pluck the rest of the tines, and figuring out how feed it MIDI and play it real time. For the demo after the break, [Gurpreet] says he lapel mic’d the kalimba from the back and cut out the servo noise with Audacity, but ultimately wants to figure out how to quiet them directly. He’s going to try lubing the gears and making a sound-dampening enclosure with foam, but if you have any other ideas, let him know down below.

We don’t see too many kalimba projects around here, but here’s one connected to a Teensy-based looper.

Continue reading “Plucky Kalimba Plays Itself”