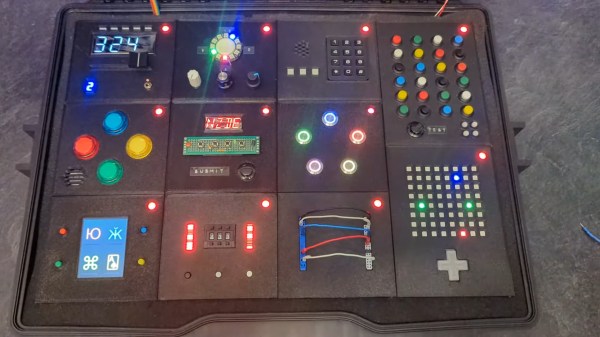
[Heath Paddock] wanted to confound his friends with a game that mimics an escape room in a box. About six months after starting, he had this glorious thing completed. It’s a hardware version of a game called Keep Talking and Nobody Explodes where players have five minutes to defuse a suitcase bomb. This implementation requires at least two players, one with the box-bomb itself, and one who holds all the knowledge but can’t see the box-bomb to defuse it.
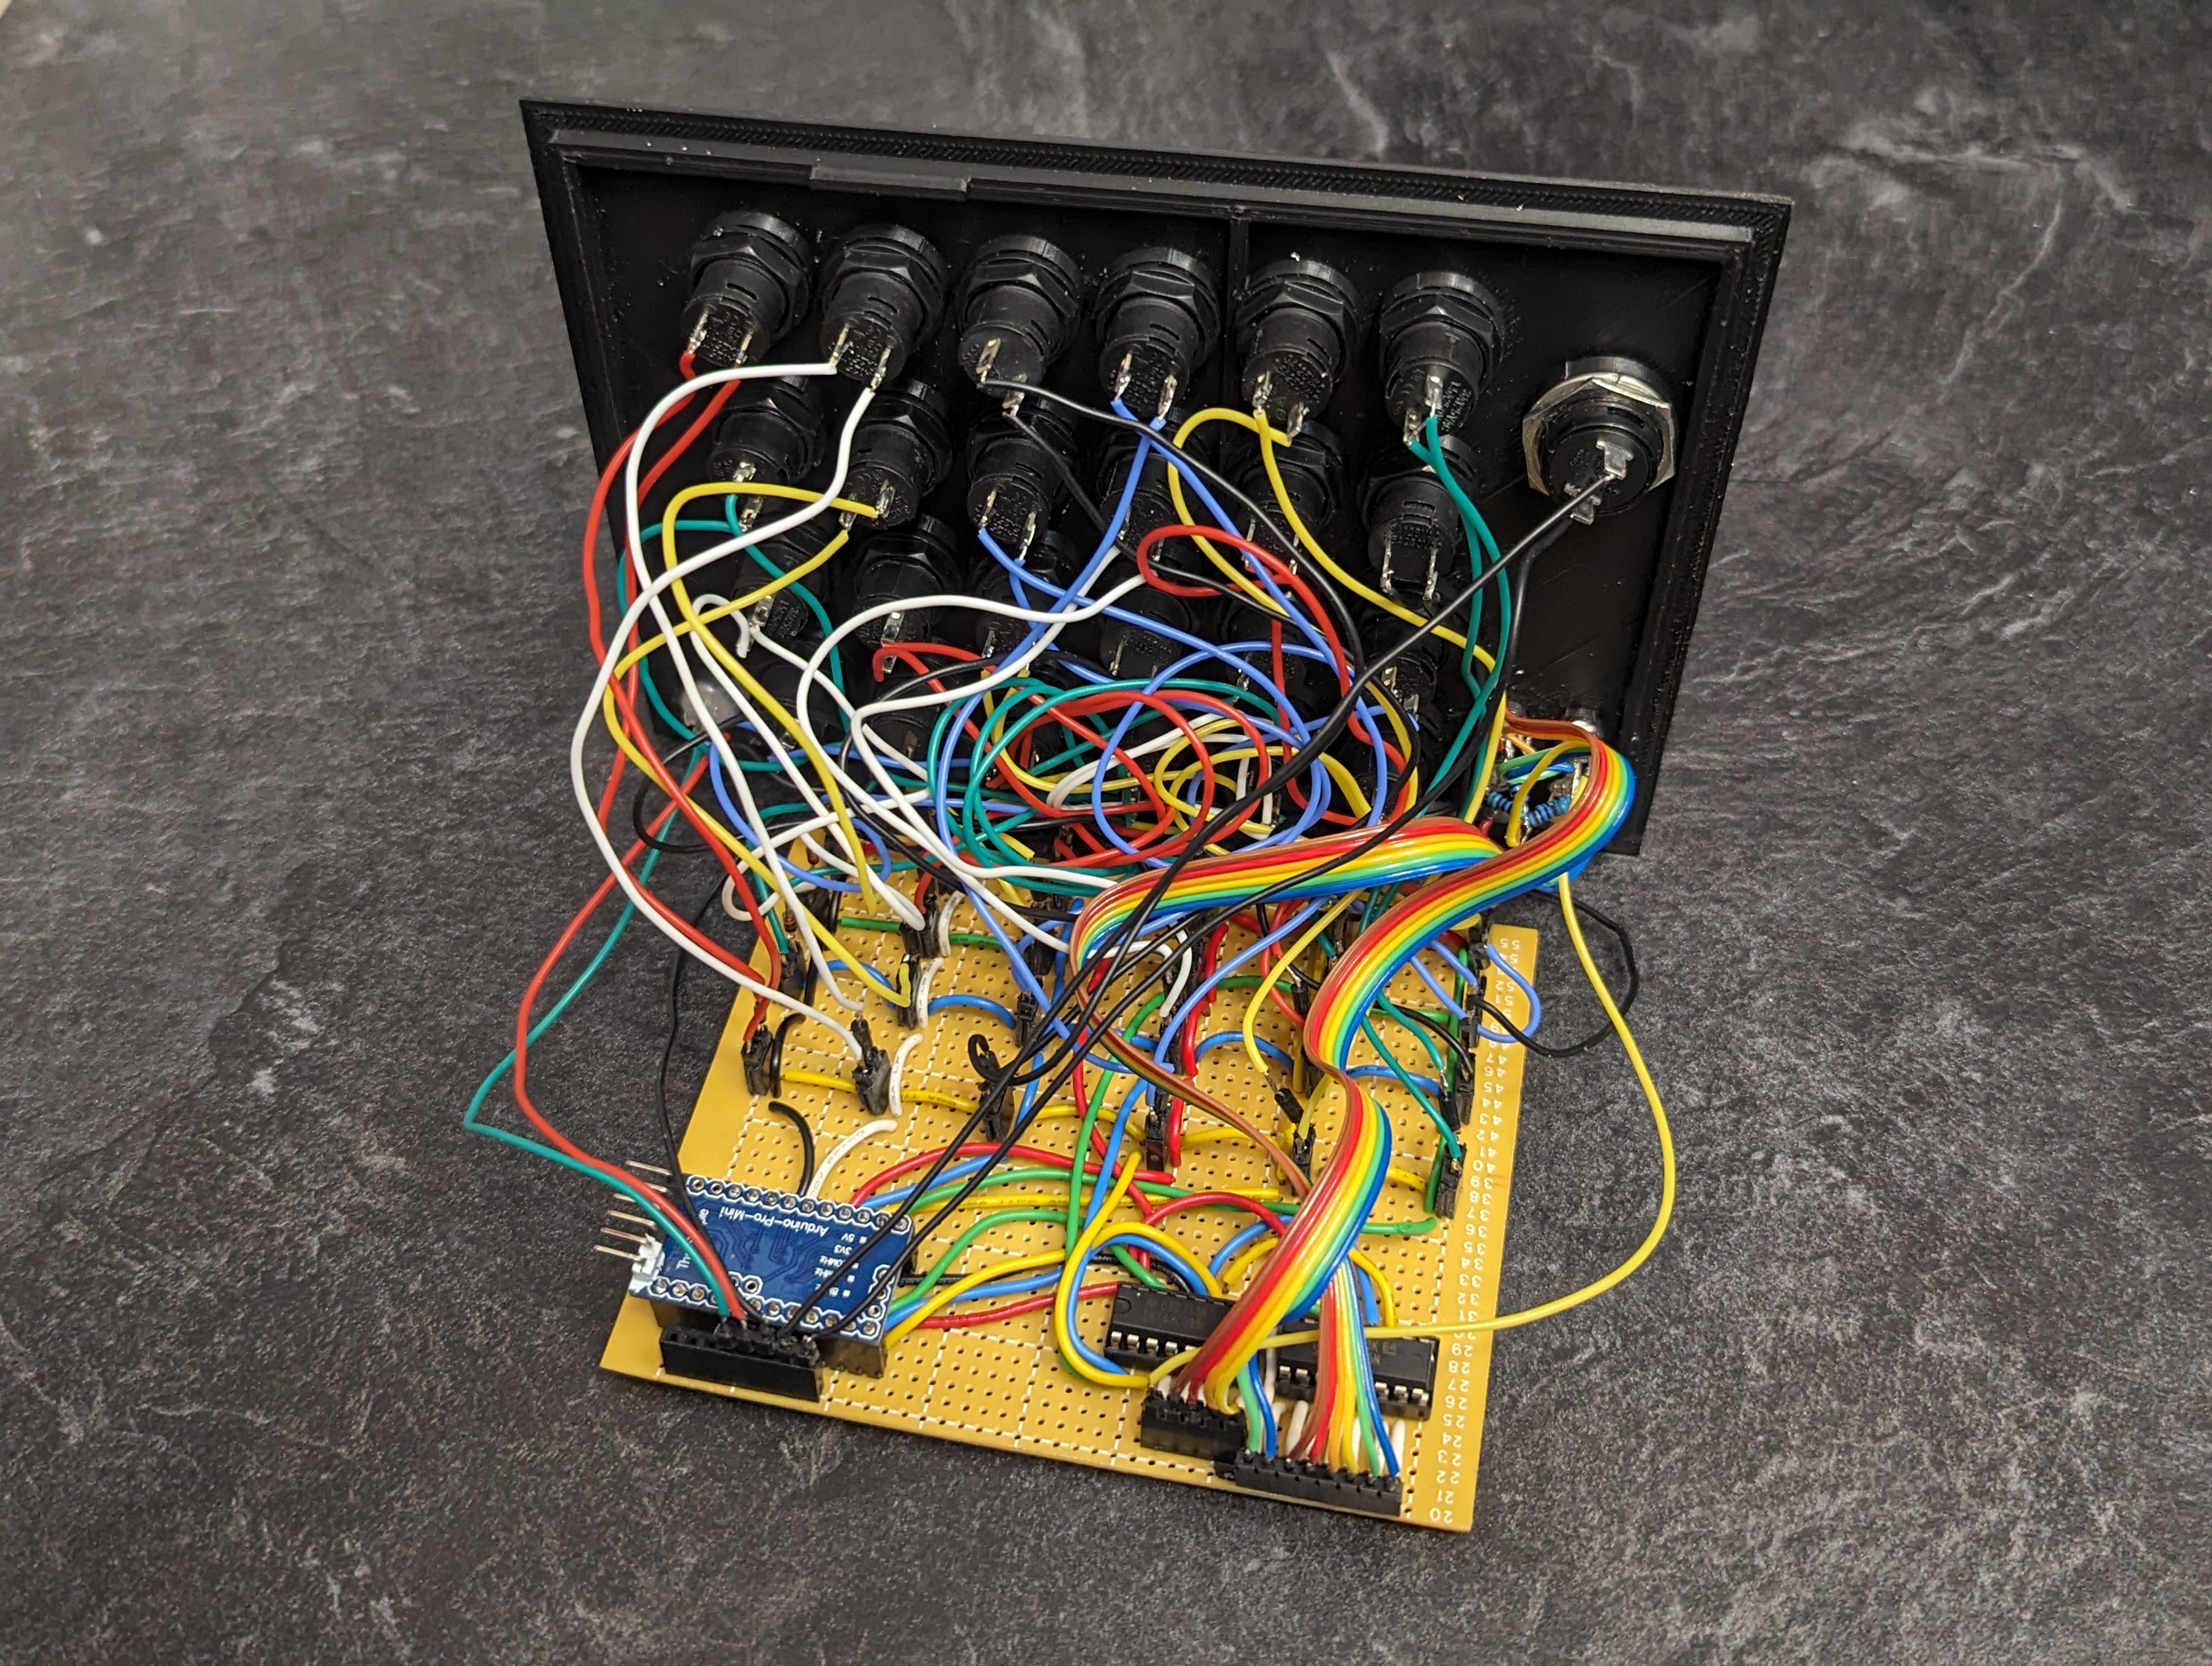
[Heath]’s version has twice as many modules as the original game, each hand-wired one driven by an Arduino. One of the modules is an LED maze. There are two green anchor LEDs in one of six configurations, and and blue and a red LED.
The object is to move the blue LED next to the red one without touching any walls. Of course, the box-holder can’t see the walls and must describe the configuration of the anchor LEDs to their partner in order to get started.
All of the modules are quite different, which likely makes for an extremely fun and challenging five minutes. [Heath] reports that getting inter-module communication down was a long road. Eventually, [Heath] settled on a mesh network configuration and connected everything in a big loop. Be sure to check out the walk-through video after the break.
This isn’t the first time we’ve seen a hardware implementation of this game. Here’s one that uses a Raspberry Pi.
Continue reading “Don’t Panic: A Cooperative Bomb Defusing Game”