Abusing A Cellphone Screen With Solenoids Posts High Score

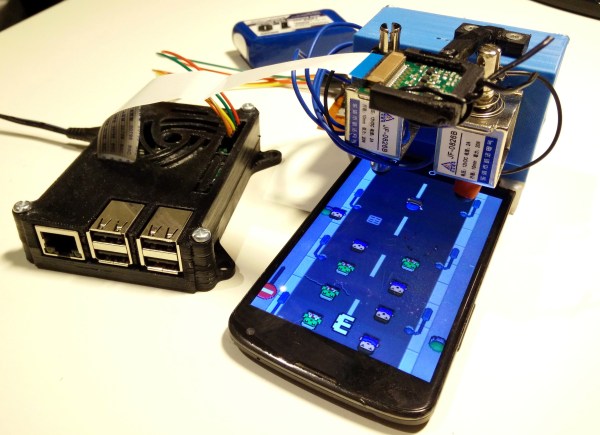
This Raspberry Pi 2 with computer vision and two solenoid “fingers” was getting absurdly high scores on a mobile game as of late 2015, but only recently has [Kristian] finished fleshing the project out with detailed documentation.

Developed for a course in image analysis and computer vision, this project wasn’t really about cheating at a mobile game. It wasn’t even about a robotic interface to a smartphone screen; it was a platform for developing and demonstrating the image analysis theory he was learning, and the computer vision portion is no hack job. OpenCV was used as a foundation for accessing the camera, but none of the built-in filters are used. All of the image analysis is implemented from scratch.

The game is a simple. Humans and zombies move downward in two columns. Zombies (green) should get a screen tap but not humans. The Raspberry Pi camera takes pictures of the smartphone’s screen, to which a HSV filter is applied to filter out everything except green objects (zombies). That alone would be enough to get you some basic results, but not nearly good enough to be truly reliable and repeatable. Therefore, after picking out the green objects comes a whole chain of additional filtering. The details of that are covered on [Kristian]’s blog post, but the final report for the project (PDF) is where the real detail is.

If you’re interested mainly in seeing a machine pound out flawless victories, the video below shows everything running smoothly. The pounding sounds make it seem like the screen is taking a lot of abuse, but [Kristian] mentions that’s actually noise from the solenoids and not a product of them battling the touchscreen. This setup can be easily adapted to test out apps on different models of phones — something that has historically cost quite a bit of dough.

If you’re interested in the nitty-gritty details of the reasons and methods used for the computer vision portions, be sure to go through [Kristian]’s github repository where everything about the project lives (including the aforementioned final report.)

Continue reading “Abusing A Cellphone Screen With Solenoids Posts High Score” →

Modified R/C Jet Cannon Spews Nerf, Slays Cardboard Tanks

[ajw61185] made a video overview of a radio-controlled A-10 jet modified to spew a hail of harmless Nerf balls as it strafes helpless cardboard cutouts of T-72 tanks on a bright, sunny day.

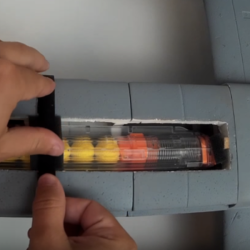
A10 Nerf LoadingThe firing assembly in the jet comes from a Nerf Rival Zeus Blaster, which is itself an interesting device. It uses two electric flywheels to launch soft foam balls – much like a pitching machine. With one flywheel running a little faster than the other, the trajectory can be modified. For example, a slight topspin gives the balls a longer and more stable flight path. Of course, foam balls slow down quickly once launched and at high speeds the aircraft can overtake the same projectiles it just fired, but it’s fun all the same.
Cramming the firing assembly into aircraft took some cleverness. The front of the jet contains the flywheel assembly, and a stripped-down removable magazine containing the foam balls fits behind it. A flick of a switch on the controller spins up the flywheels, and another flick controls a servo that allows the balls to enter the firing assembly and get launched. The ammo capacity on the jet is low at only twelve shots per load, and it fires all twelve in roughly half a second. Since the balls are fired at the ground in a known area, they’re easy to retrieve.

Continue reading “Modified R/C Jet Cannon Spews Nerf, Slays Cardboard Tanks” →

DIY Command Station For Kerbal Space Program Is Overkill

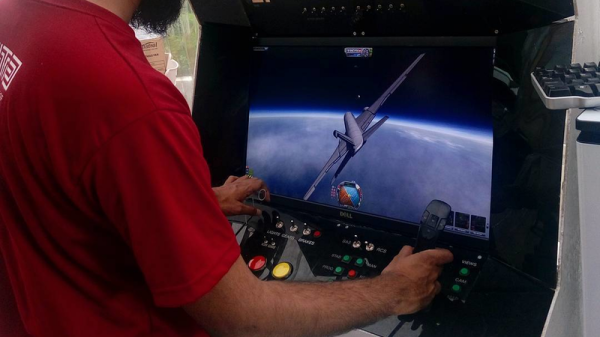
We’ve seen custom controller mods for Kerbal Space Program before, but a group calling themselves the Makerforce went a step further with their design and build of the KSP “Overkill” Command Station, which has much more in common with a fancy standup arcade unit than a custom controller. Kerbal Space Program is a hit indie game that, among other things, simulates the challenges of spaceflight. Like most games, you use the mouse and keyboard for control but many fans find this too limiting. With the help of a software mod that exposes control and status information over hardware serial communications, the door to full telemetry and remote control was opened to just about anyone to craft their own custom hardware such as flight sticks and status displays. Not content with the idea of having just a joystick and a few buttons critical for the flight process, this project took a different approach.

Continue reading “DIY Command Station For Kerbal Space Program Is Overkill” →

The Most Expensive VR Experiment You’ll See All Week

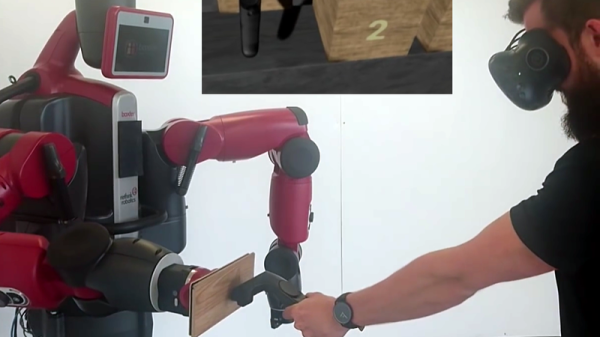
There isn’t a lot of detail to be found behind this short demo of robot-based physical feedback for VR, but the video (embedded below) demonstrates things well. It’s an experiment in generating force feedback for virtual objects using a Baxter robot and the HTC Vive. When the user presses against a wooden block in VR, the robot presses back which simulates the mass of the virtual object. Force feedback is one of these areas in which research is ongoing, and in a variety of different directions.

Like so many other things in life, nothing beats the real thing for actual physical feedback. Also, there’s something great about giving a $25,000 robot the job of impersonating a few simple wooden blocks in VR, just so you can strap on a VR rig and basically give a robot a realistic-feeling fist bump.

Continue reading “The Most Expensive VR Experiment You’ll See All Week” →

Open-Source Laser Cutter Software Gets Major Update, New Features

The LaserWeb project recently released version 3, with many new features and improvements ready to give your laser cutter or engraver a serious boost in capabilities! On top of that, new 3-axis CNC support means that the door is open to having LaserWeb do for other CNC tools what it has already done for laser cutting and engraving.

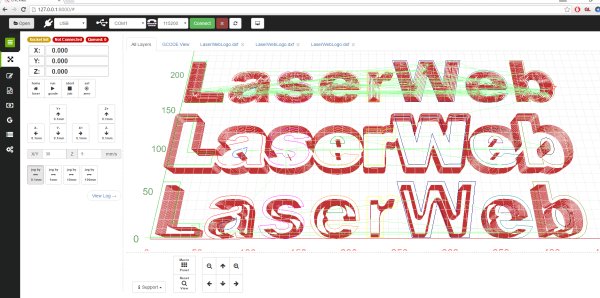
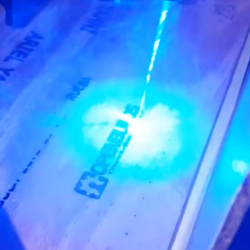
LaserWeb BurnsLaserWeb3 supports different controllers and the machines they might be connected to – whether they are home-made systems, CNC frames equipped with laser diode emitters (such as retrofitted 3D printers), or one of those affordable blue-box 40W Chinese lasers with the proprietary controller replaced by something like a SmoothieBoard.
We’ve covered the LaserWeb project in the past but since then a whole lot of new development has been contributed, resulting in better performance with new features (like CNC mode) and a new UI. The newest version includes not only an improved ability to import multiple files and formats into single multi-layered jobs, but also Smoothieware Ethernet support and a job cost estimator. Performance in LaserWeb3 is currently best with Smoothieware, but you can still save and export GCODE to use it with Grbl, Marlin, EMC2, or Mach3.

The project is open to contributions from CNC / Javascript / UX developers to bring it to the next level. If you’re interested in helping bring the project even further, and helping it do for 3-axis CNC what it did for Laser Cutting, project coordinator [Peter van der Walt] would like you to head to the github repository!

We recently shared a lot of great information on safe homebrew laser cutter design. Are you making your own laser cutting machine, or retrofitting an existing one? Let us know about it in the comments!

Baby Monitor Rebuild Is Also ESP8266 Audio Streaming How-To

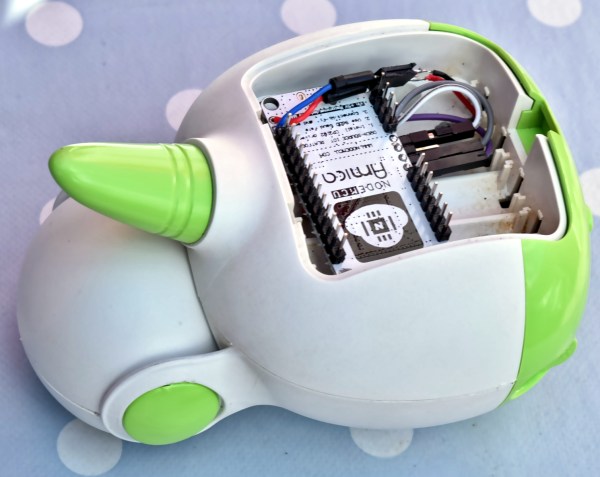
[Sven337]’s rebuild of a cheap and terrible baby monitor isn’t super visual, but it has so much more going on than it first seems. It’s also a how-to for streaming audio via UDP over WiFi with a pair of ESP8266 units, and includes a frank sharing of things that went wrong in the process and how they were addressed. [Sven337] even experimented with a couple of different methods for real-time compression of the transmitted audio data, for no other reason than the sake of doing things as well as they can reasonably be done without adding parts or spending extra money.

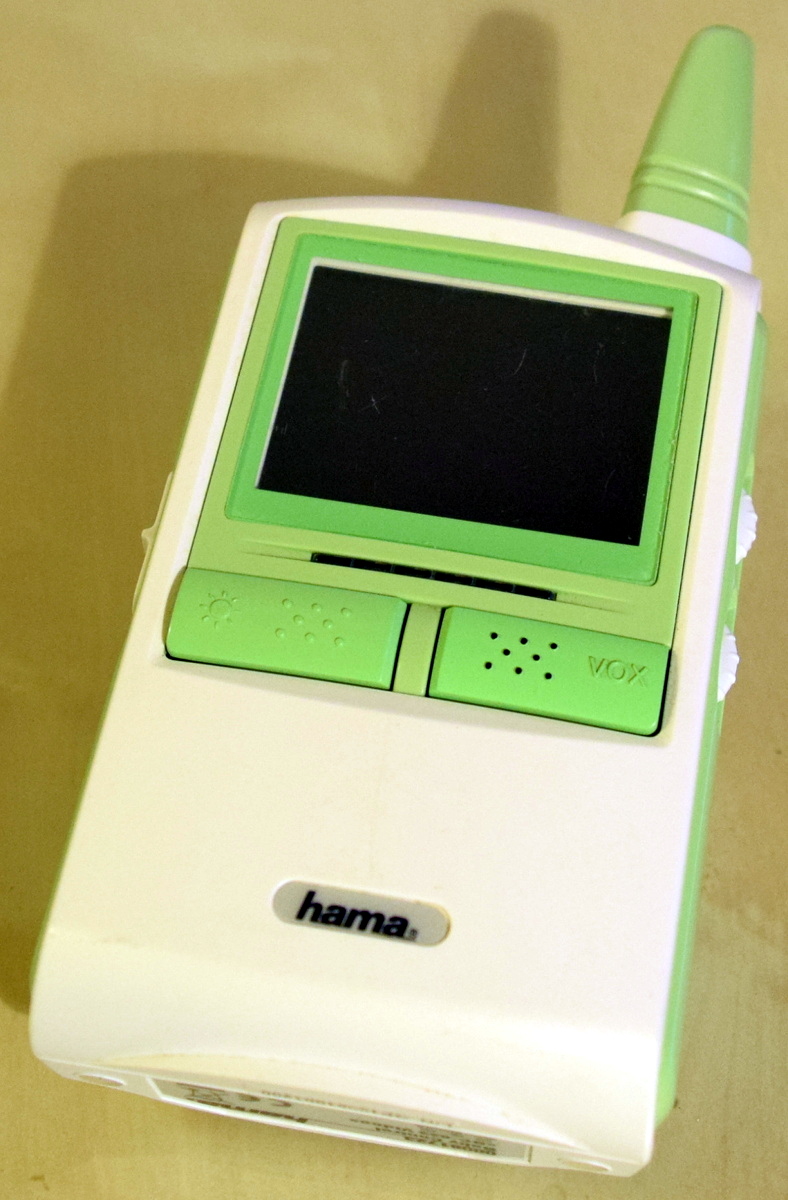
receiverThe original baby monitor had audio and video but was utterly useless for a number of reasons (French).  The range and quality were terrible, and the audio was full of static and interference that was just as loud as anything the microphone actually picked up from the room. The user is left with two choices: either have white noise constantly coming through the receiver, or be unable to hear your child because you turned the volume down to get rid of the constant static. Our favorite part is the VOX “feature”: if the baby is quiet, it turns off the receiver’s screen; it has no effect whatsoever on the audio! As icing on the cake, the analog 2.4GHz transmitter interferes with the household WiFi when it transmits – which is all the time, because it’s always-on.

Small wonder [Sven337] decided to go the DIY route. Instead of getting dumped in the trash, the unit got rebuilt almost from the ground-up.

Continue reading “Baby Monitor Rebuild Is Also ESP8266 Audio Streaming How-To” →

Highlights From Robotic Shipwreck Exploration

DIY Research Vessel in use, while ROV is busy below. [Source: NYT]
OpenROV shared the results of their June 2016 underwater expedition to locate and robotically explore the wreck of the S.S. Tahoe, currently sitting at a depth of 150m in Lake Tahoe. Back in 1940 the ship was intentionally scuttled in shallow water, but unexpectedly slid to a much deeper depth. OpenROV used a modified version of their new Trident design to dive all the way down to the wreck and take a good look at things, streaming it over the internet in the process.

We previously covered the DIY research vessel that was designed and created as a floating base station for the ROV while it located and explored the wreck, and now the results are in! The video highlights of the expedition are below, as is a video tour of the ROV used and the modifications required to enable it to operate at 150m.

Continue reading “Highlights From Robotic Shipwreck Exploration” →