We’re not sure that [Alec]’s dad actually requested remote-controlled eyebrows for his birthday, but it looks like it’s what he got! As [Alec] points out, his father does have very expressive eyebrows, and who knows, he could be tired of raising and lowering them by himself. So maybe this is a good thing? But to us, it still looks a tiny bit Clockwork Orange. But we’re not here to pass judgement or discuss matters of free will. On to the project. (And the video, below the break.)
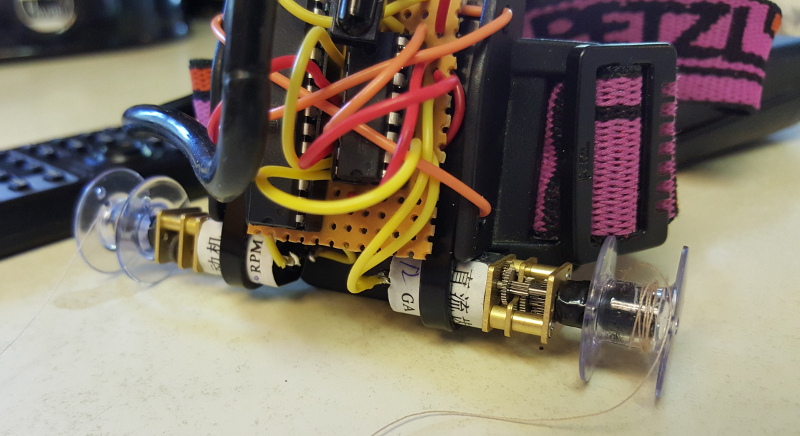
An ATmega328 (otherwise known as cheap Cloneduino Alec wrote that the 328 was from a real Arduino) is trained to run motors in response to IR signals. An L293D and a couple of gear motors take care of the rest. Sewing bobbins and thread connect the motors to the eyebrows. And while it’s not entirely visible in the photo, and veers back into not-sure-we’d-do-this-at-home, a toothpick serves as an anchor for the thread and tape, secured just underneath the ‘brows for maximum traction.
We have to say, we initially thought it was going to be a high-voltage muscle-control hack, and we were relieved that it wasn’t.
Continue reading “Remote-Controlled Eyebrows For Your Birthday”