If you paid a visit to France in the 1980s the chances are you’d have been surprised to see a little brown screen and keyboard sitting next to the telephones wherever you went. At the time, it was another reason apart from the food, wine, and super-fast trains to envy our Gallic cousins. This was Minitel, their take on the cutting-edge of online data services of the day.
Minitel stood apart from similar services of the day in most other countries, because of its business model. Unlike the UK’s Prestel or West Germany’s BTX for which you had to spend significant money on a terminal, the French Minitel terminals were free. Thus in the early 1980s everybody in France was busy using videotext while most of the rest of Europe was still excited by chipping bits of flint into arrow heads. Or at least, that’s how it seemed at the time to those of us who didn’t have Minitel.
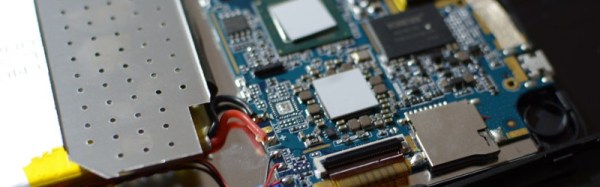
The Minitel service was finally shuttered in 2012, but the terminals can still be found. [Tony Pigram] bought one, an Alcatel Minitel 1, and made it into something useful by turning it into a USB serial terminal for his Raspberry Pi. Surprisingly the physical interface between the Minitel and the USB port is a relatively simple level shifter, but the configuration of both the Minitel and the Pi was anything but.
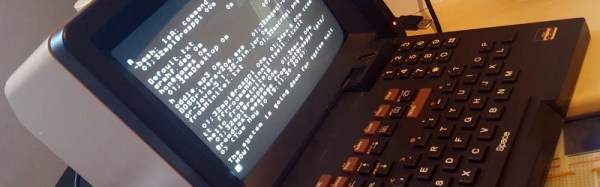
The problem was that Minitel terminals were meant to work with Minitel, and [Tony]’s difficulties were increased by his machine being an earlier model without the handy function key to access settings found on later terminals. A lot of research paid dividends though, and he now has what must be one of the most compact and stylish CRT serial terminals available. We can’t help noticing it has a QWERTY keyboard and English menus, it would be interesting to know which non-French market it was made for.
We’ve featured an RS-232 integration into a Minitel terminal before here at Hackaday, but if you are really interested in Gallic retro-tech take a look at our discussion of their 8-bit scene.