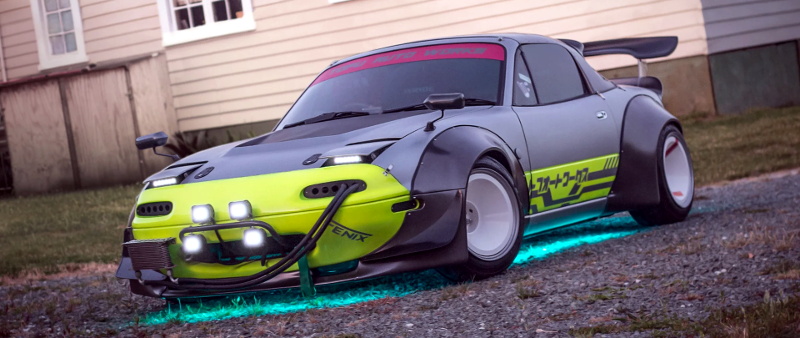
Back in April of 2019, inspired by iconic films such as Blade Runner and Akira, [Chris Watson] embarked on a journey to create his very own cyberpunk roadster from a 1991 Mazda MX-5. After pouring an incredible amount of blood, sweat, and fiberglass into the project, he now has a vehicle that wouldn’t look out of place cruising the streets of Neo Tokyo. Even if you’re not usually into car mods, his impeccably photographed build log is an absolutely fascinating journey.
 But as impressive as the car itself might be, what really caught our attention was the computer sitting on the dash. From early on, [Chris] wanted the vehicle to have a companion cyberdeck that would be used to control various onboard systems. At this point it’s just for show, but he says ultimately it will be integrated with the electric motor he plans to install in place of the MX-5’s original power plant. We can’t wait to see it.
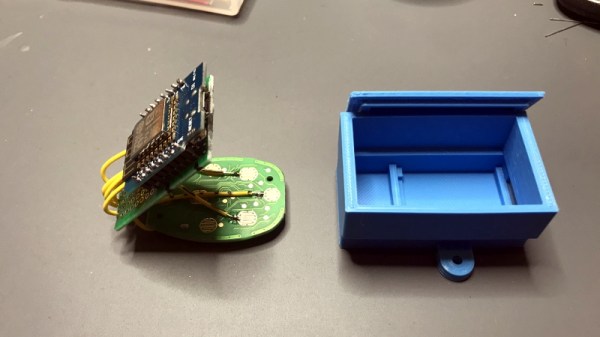
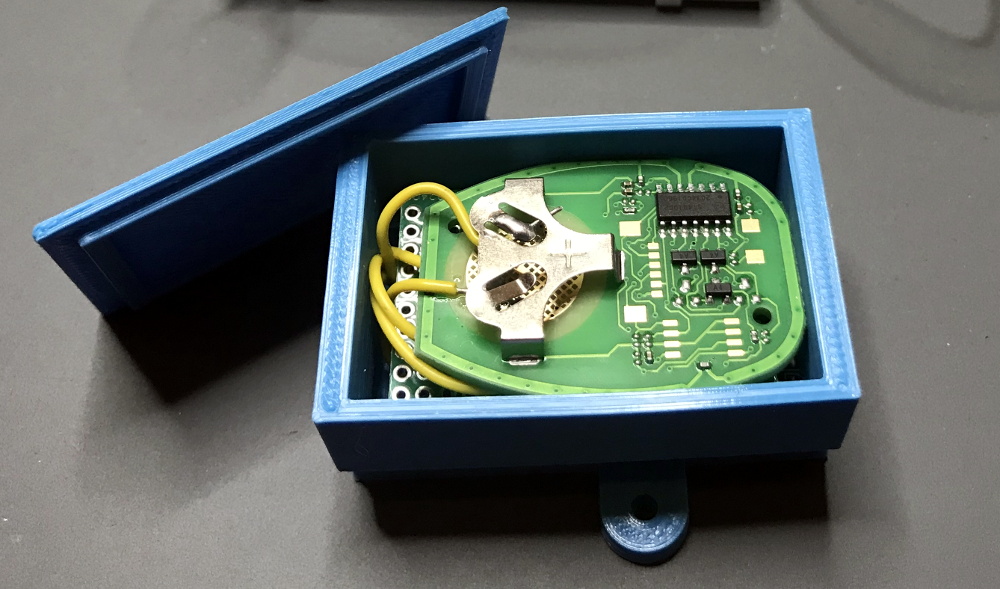
Of course, the lack of a practical application has hardly stopped us from admiring any of the other cyberdecks we’ve covered thus far. This one started out life as a laptop with a broken screen, which [Chris] beheaded and connected it to 15″ external display mounted in the top of a heavy-duty case. With a new SSD and a fresh copy of Linux Mint to verify all the hardware was still functional, he put together an MDF bezel for the display that includes some faux antennae and covered aircraft style switches.
When this futuristic roadster is making an appearance at a car show or contest, [Chris] makes sure to load up some suitably high-tech looking imagery on the display. It even shows some flashing technobabble error messages pulled from The Fast & The Furious.
Traditionally we haven’t covered many custom car projects, though to be fair, we traditionally haven’t seen many that looked like this either. But between ever more technologically advanced vehicles and the insightful car modding column helmed by our very own [Lewin Day], we expect tricked out rides may become an increasingly common sight on these pages.