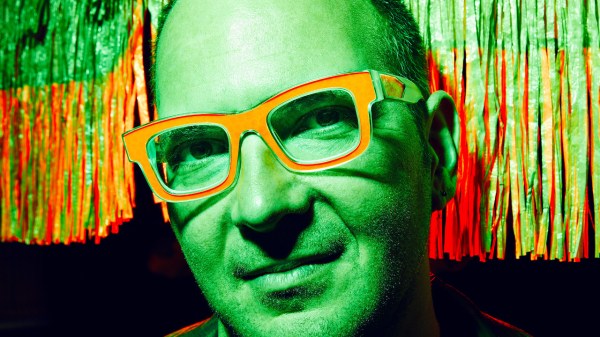
As if you weren’t already excited enough about the speakers and events that will be part of this year’s Hackaday Supercon, today we can finally reveal that journalist, activist, author, technologist, and all around geek Cory Doctorow will be presenting the keynote address on Saturday morning.
 Cory has always been an outspoken supporter of digital freedom, from helping develop OpenCola in 2001 as a way to explain the concepts behind free and open source software, to his more recent work at the Electronic Frontier Foundation. He’s made his novels available for purchase directly from his personal website in DRM-free file formats, and he’s even developed a habit of releasing some of them for free under the Creative Commons license. The hacker ethos is strong with this one.
Over the last year, he’s been particularly vocal about what he calls Enshittification — the inevitable decay of any online service where the users are, whether they realize it or not, the product. It’s a concept that’s perfectly exemplified by the ongoing slow-motion implosion of Twitter, and Reddit’s increasingly hostile treatment of its community. Cory explains that one of the signposts on this particular journey is when user-created tools, such as web scrapers or bots, are banned by the powers that be. Reverse engineering, especially when it can uncover a way out of the Walled Garden, is strictly forbidden.
Luckily, there’s a way out. Cory will be delivering his talk An Audacious Plan to Halt the Internet’s Enshittification and Throw It Into Reverse, not only to those who will be physically attending Supercon, but to the entire Hackaday community via our live YouTube stream of the event. It’s a presentation that’s critically important to an audience such as ours — while nearly anyone with an Internet connection can appreciate the problem he’s describing, hackers and makers are in a unique position to actually do something about it. Following the principles Cory will detail in his talk, we can build services and networks that actually respect their users rather than treating them like the enemy.
It Won’t Be Long Now
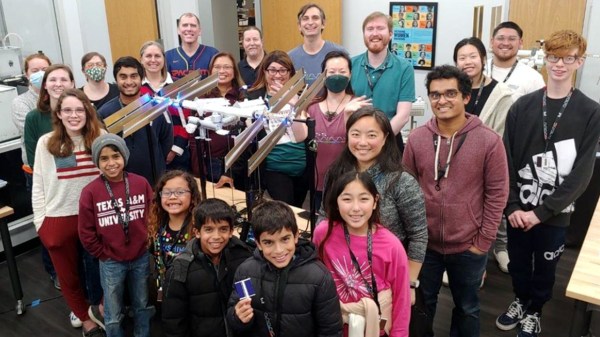
By the time this post hits the front page of Hackaday, there will be slightly more than a week to go before several hundred of our best friends descend on the city of Pasadena for Supercon. We recently unveiled the Vectorscope badge, dropped two posts listing off all of this year’s presenters, and offered up a list of fascinating workshops. The stage is now officially set for what we consider, as humbly as possible, to be the greatest gathering of hardware hackers, builders, engineers, and enthusiasts in the world. Check out the schedule and plan your Supercon ahead of time.
Tickets for the 2023 Hackaday Supercon are, perhaps unsurprisingly, completely sold out. But you can still add your name to the wait list on Eventbrite, which will put you in the running to grab any returned tickets should somebody have to back out at the last minute. Failing that, there’s always 2024.
Featured Image: Copyright Julia Galdo and Cody Cloud (JUCO), www.jucophoto.com/, CC BY-SA 2.0