There are few devices that better exemplify the breakneck pace of modern technical advancement than the mobile phone. In the span of just a decade, we went from flip phones and polyphonic ringtones to full-fledged mobile computers with quad-core processors and gigabytes of memory.
While rapid advancements in computational power are of course nothing new, the evolution of mobile devices is something altogether different. The Razr V3 of 2003 and the Nexus 5 of 2013 are so vastly different that it’s hard to reconcile the fact they were (at least ostensibly) designed to serve the same purpose — with everything from their basic physical layout to the way the user interacts with them having undergone dramatic changes in the intervening years. Even the network technology they use to facilitate voice and data communication are different.
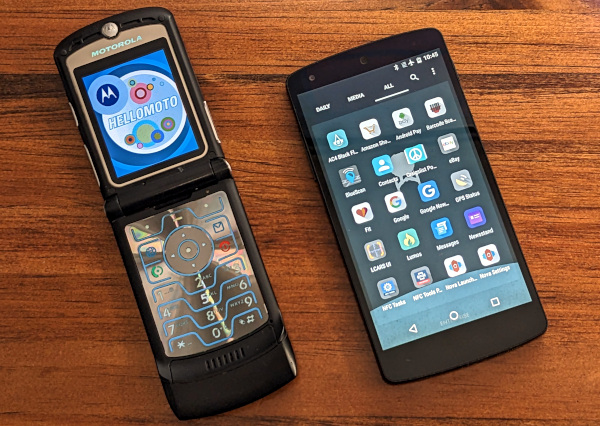
Yet, there’s at least one component they share: the lowly SIM card. In fact, if you don’t mind trimming a bit of unnecessary plastic away, you could pull the SIM out of the Razr and slap it into the Nexus 5 without a problem. It doesn’t matter that the latter phone wasn’t even a twinkling in Google’s eye when the card was made, the nature of the SIM card means compatibility is a given.
Indeed there’s every reason to believe that very same card, now 20 years old, could be installed in any number of phones on the market today. Although, once again, some minor surgery would be required to pare it down to size.
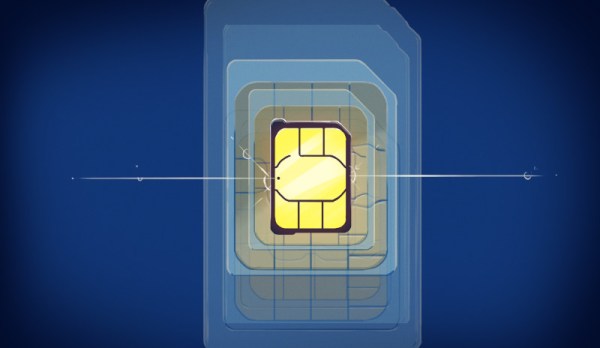
Such is the beauty of the SIM, or Subscriber Identity Module. It allows you to easily transfer your cellular service from one phone to another, with little regard to the age or manufacturer of the device, and generally without even having to inform your carrier of the swap. It’s a simple concept that has served us well for almost as long as cellular telephones have existed, and separates the phone from the phone contract.
So naturally, there’s mounting pressure in the industry to screw it up.
Continue reading “The Rise And (Eventual) Fall Of The SIM Card”