Here we are at the start of the new year, which for the Internet Archive means a note about what has just entered the public domain. 1927’s finest previously copyrighted materials are now up for grabs in the public domain, which means there’s a treasure trove of films, books, and music to freely copy and remix.
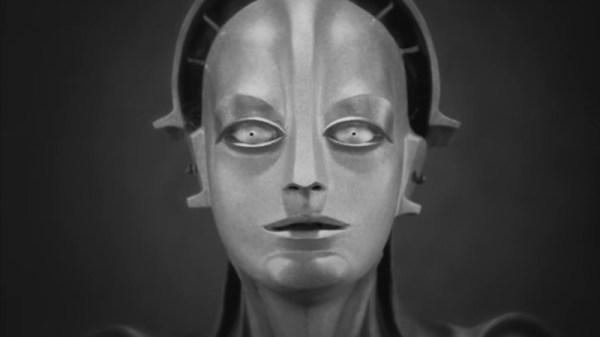
Their article highlights a few notable pieces of 1927’s popular culture , of which we suggest you should definitely take note of Fritz Lang’s Metropolis if you have any interest in sci-fi, but for Hackaday readers there’s not much else in the article itself relating to technology. Delving into the archive for 1927 is still a fascinating pastime though, because beyond the interest of seeing what’s now free it led onto what was the state of technology in the 1920s. And here we find ourselves as much navigating the English language as we do the library itself, because so much of what we do uses vocabulary from the decades since. Continue reading “What’s New, From 1927”