When you look at the mechanisms of antiquity, it’s hard not to wonder, “How did they ever do that?” Just a look around our own shops shows how many things are bought from suppliers that benefit from the latest in automated machinery, computer control, and clean, safe electrical power. And that’s not to mention the high-tech stuff like electronics, which were centuries in the future for the ancient master craftsmen.
And yet, they built. Granted, not every artifact was as complex as the Antikythera mechanism, but still, this ancient astronomical computer exists, and must have come from someone’s workshop. What did that place look like? That’s the question [Chris], aka [Clickspring], sets out to answer in his new video.
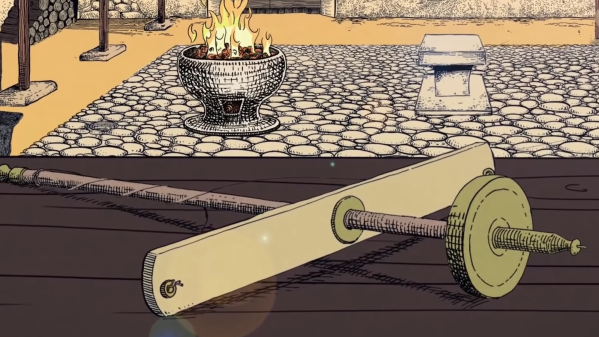
Like any good academician would, he relies on evidence locked in the device itself to provide clues as to how it was produced, and to make educated guesses as to the contents of the shop (or shops) that made it. For example, the intricacy of the work would have required ample lighting, so the shop was likely at least partially open-air. There must have been a source of heat for working the brass and bronze materials of the original. There had to be workbenches, storage for stock, and probably places for apprentices to turn their hands to simple tasks under their master’s watchful eye. In short, it probably would have been quite recognizable to our eyes, and probably would have been a model of ergonomic efficiency.
[Chris] kindly gave us a sneak peek at the video and a few hours of exclusivity before it goes live to the general public, and we really appreciate that. We’re really looking forward to more of the Antikythera build, and can’t wait to see the finished product.
Continue reading “Clickspring Imagines The Workshop That Built The Antikythera Mechanism”