The OpenStreetMap project is an excellent example of how powerful crowdsourced data can be, but that’s not to say the system is perfect. Invalid data, added intentionally or otherwise, can sometimes slip through the cracks and lead to some interesting problems. A fact that developers Asobo Studio are becoming keenly aware of as players explore their recently released Microsoft Flight Simulator 2020.
Like a Wiki, users can update OpenStreetMap and about a year ago, user nathanwright120 marked a 2 story building near Melbourne, Australia as having an incredible 212 floors (we think it’s this commit). The rest of his edits seem legitimate enough, so it’s a safe bet that it was simply a typo made in haste. The sort of thing that could happen to anyone. Not long after, thanks to the beauty of open source, another user picked up on the error and got it fixed up.
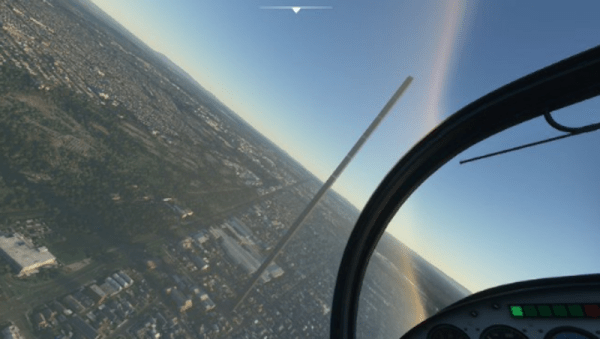
But not before some script written by Asobo Studio went through sucked up the OpenStreetMap data for Australia and implemented it into their virtual recreation of the planet. The result is that the hotly anticipated flight simulator now features a majestic structure in the Melbourne skyline that rises far above…everything.
The whole thing is great fun, and honestly, players probably wouldn’t even mind if it got left in as a Easter egg. It’s certainly providing them with some free publicity; in the video below you can see a player by the name of Conor O’Kane land his aircraft on the dizzying edifice, a feat which has earned him nearly 100,000 views in just a few days.
But it does have us thinking about filtering crowdsourced data. If you ask random people to, say, identify flying saucers in NASA footage, how do you filter that? You probably don’t want to take one person’s input as authoritative. What about 10 people? Or a hundred?