What do you do when you need to get data into an airgapped machine? Well, you might find yourself limited to basic input devices to interact with the computer in question. As [Nikolay Valentinovich Repnitskiy] demonstrates, though, you can do some fun stuff amidst such limitations.
[Nikolay] created what he calls a “unidirectional network” connection via a keyboard. Specifically, he took two Dell SK-8115 keyboards, and stripped them down to their controller PCBs. On one, he soldered photoresistors to a couple of the keyboard matrix pins, such that they’d fire a keypress when lit up. He then placed the other keyboard PCB such that the Num Lock and Caps Lock LEDs are lined up with the photoresistors. This made it possible to have one PC flash the keyboard LEDs in order to “type” on the other machine. This can be used to move data on to it, such as a little program which [Nikolay] prepared which can be made executable and used to further break into the machine and make it easier to pull data across more efficiently in future.
We looked at an earlier version of this hack some time ago. If you’ve been imagining creative ways to talk to airgapped computers, be sure to let us know on the tipsline!
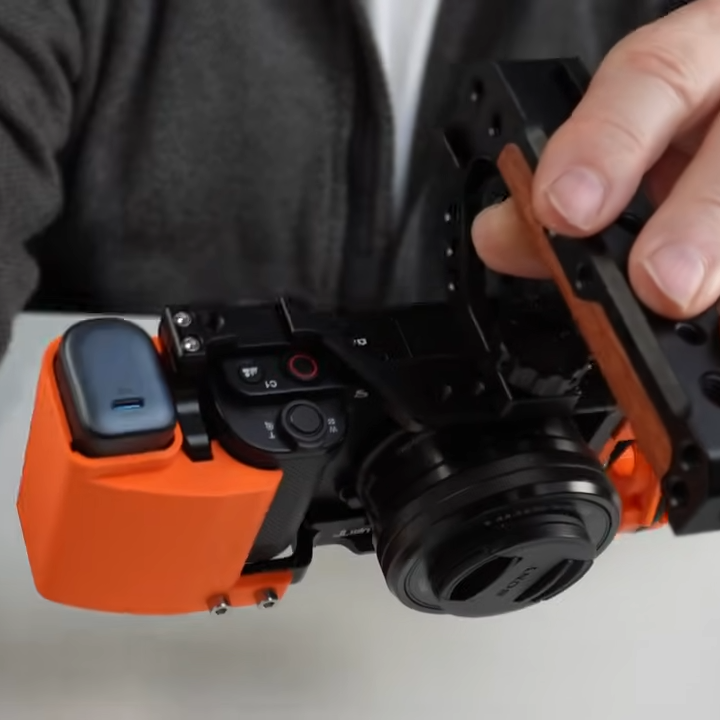
[John Dingley] has a Sony ZV-E10 camera that is excellent, but the design lacks a built-in electronic viewfinder. This means it relies entirely on its rear-mounted touchscreen for framing shots. This is troublesome because [John] often films in bright sunlight, and sometimes from a perspective other than normal eye level. His solution? Use a pair of XREAL video glasses as a handsfree viewfinder.
Cable management can be a real challenge, even if a project’s technical elements are solved.
The XREAL glasses look a bit unusual, but they can be worn and used like regular sunglasses. They accept external video and importantly, allow the wearer to see the video feed while still having awareness of their surroundings. Seems like a perfect match for the camera, but as [John] discovered, there are quite a few implementation hurdles involved.
For starters, the camera and glasses do not speak the same format. The camera outputs HDMI via a distressingly fragile micro-HDMI connector, but the glasses accept video over USB-C (aka DisplayPort altmode). Connectors and cables and a converter will be involved, as well as a power bank because the glasses and converter will require a power supply. As any hacker knows, wires and connectors can eat up space very quickly.
To solve all this, [John] carefully selected off-the-shelf components chosen to minimize bulk and designed a custom camera cage to hold things cleanly without obstructing the camera’s microphone port. The end result is very tidy package that presents a single USB-C connection point between the glasses and the camera, requires no hardware modifications or soldering, and even takes the strain off the fragile connector on the ZV-E10.
The finishing touch is putting a neck strap on the XREAL glasses, allowing them to be easily donned and doffed as needed while filming. Check it out the video, embedded just below the page break.
When it comes to filming vehicles it often makes sense to film from a low perspective. The camera has a handle for this purpose, but the process is much better now that the glasses can act as a viewfinder. [John] has a soft spot for vehicles, including self-balancing unicycles or monotracks of his own design.
[Hans Scharler] came into a neat find recently—the playfield from a 1970s Atari Superman game. It’s the sort of thing that’s too nice to throw away, but isn’t really enough to reassemble into a viable full machine without a great deal of effort. Thus, [Hans] went a different route—turning it into a beautiful piece of wall art.
The first step of the build was to collect missing parts; in particular, all the plastic inserts for the playfield that had been lost at some point. Everything was cleaned up and mounted, along with some modified flippers to complete the look. Custom pop bumpers were 3D printed to act as LED-lit light guides rather than as functional pinball components. [Hans] then set about dotting the board with plenty of WS2811 addressable LEDs in a bullet form factor. Everything was placed under the command of a WLED controller, and it’s synced up to [Hans’s] CheerLights MQTT server to boot. More build details are available on the Pinside post for those eager for a deeper dive.
This week Jonathan chats with Francois Proulx about SmokedMeat! That’s the third in a trio of Open Source security tools from Boost Security, and this one is the red team tool to demonstrate vulnerabilities. Why are Continuous Integration vulnerabilities such a persistent problem, and what’s on the horizon that may help? Watch to find out!
At the Hackaday Europe conference in Italy earlier in the year, we were shown a rather interesting device. The work of [Alun Morris], it was an ESP32-powered Cheap Black Display board, and it was running a web browser. Definitely an achievement.
Lest you imagine that it was sporting the latest and greatest in browser technology, we must disappoint you. The browser in question is a very basic text mode device, but it did happily retrieve Hackaday, which should be the only test a browser should need to pass.
Under the hood it’s running FreeRTOS, with separate HTML retrieval and tokenizing, and UI processes. It can fetch web pages directly, but there’s also a server-side proxy for difficult sites, and for creating image thumbnails.
An ESP32 is a powerful microcontroller, but it’s fair to say it’s not in the league of running a web browser and as far as we can remember this is the first one we’ve seen. We’re sure it’s a field with further progress to be made though, particularly with the more powerful recent chips in the series. This project however is a good start, and more importantly it can be yours for a few dollars on Ali to buy a dev board. What are you waiting for?
I recently found myself in the market for a few IP cameras to keep an eye on my Prusa 3D printers, and quickly found that the options on the market weren’t exactly ideal. Prusa does offer up an official camera, but the price for a pair of them was a bit more than I wanted to spend on the project. Conversely, there’s no shortage of cheap network-connected cameras available online, but they come with expenses of a different sort, namely proprietary software and cloud services I didn’t want or need.
Somewhere in the deep and dark recesses of this particular rabbit hole, I came across a Reddit post mentioning how a camera running the community-developed Thingino firmware could be plugged into Prusa’s remote printer monitoring scheme. It wasn’t a project I’d heard of previously, and sure enough, a search of the Hackaday back catalog showed we’d never come across it before.
My interest was already piqued, but the discovery that I already owned a supported camera sealed the deal. It was time to explore a new entry in one of my absolute favorite project categories: an open source replacement firmware that turns a cheap consumer device into something more than the sum of its parts.
[Kevin Kelm] created something wondrous: Halcyon Dawn, an utterly unique and desperately challenging game that is equal parts intricate starship simulator, imposing hardware console, video game, and love letter to John Scalzi’s Old Man’s War book series. Grab a beverage for this one, because it’s chock-full of detail.
First, how is it played? The simulator represents the ship Halcyon Dawn, a stolen and renamed vessel, and the player representing its sole crew member. The ship’s new mission is to establish a home for its payload of genetically-engineered unfortunates, escaping a cruel sort of indentured military servitude. The former masters of course have a very different view of the whole situation, throwing around terms like “treason” and “theft” and in general preferring the version of the desperate protagonist they had the most control over.
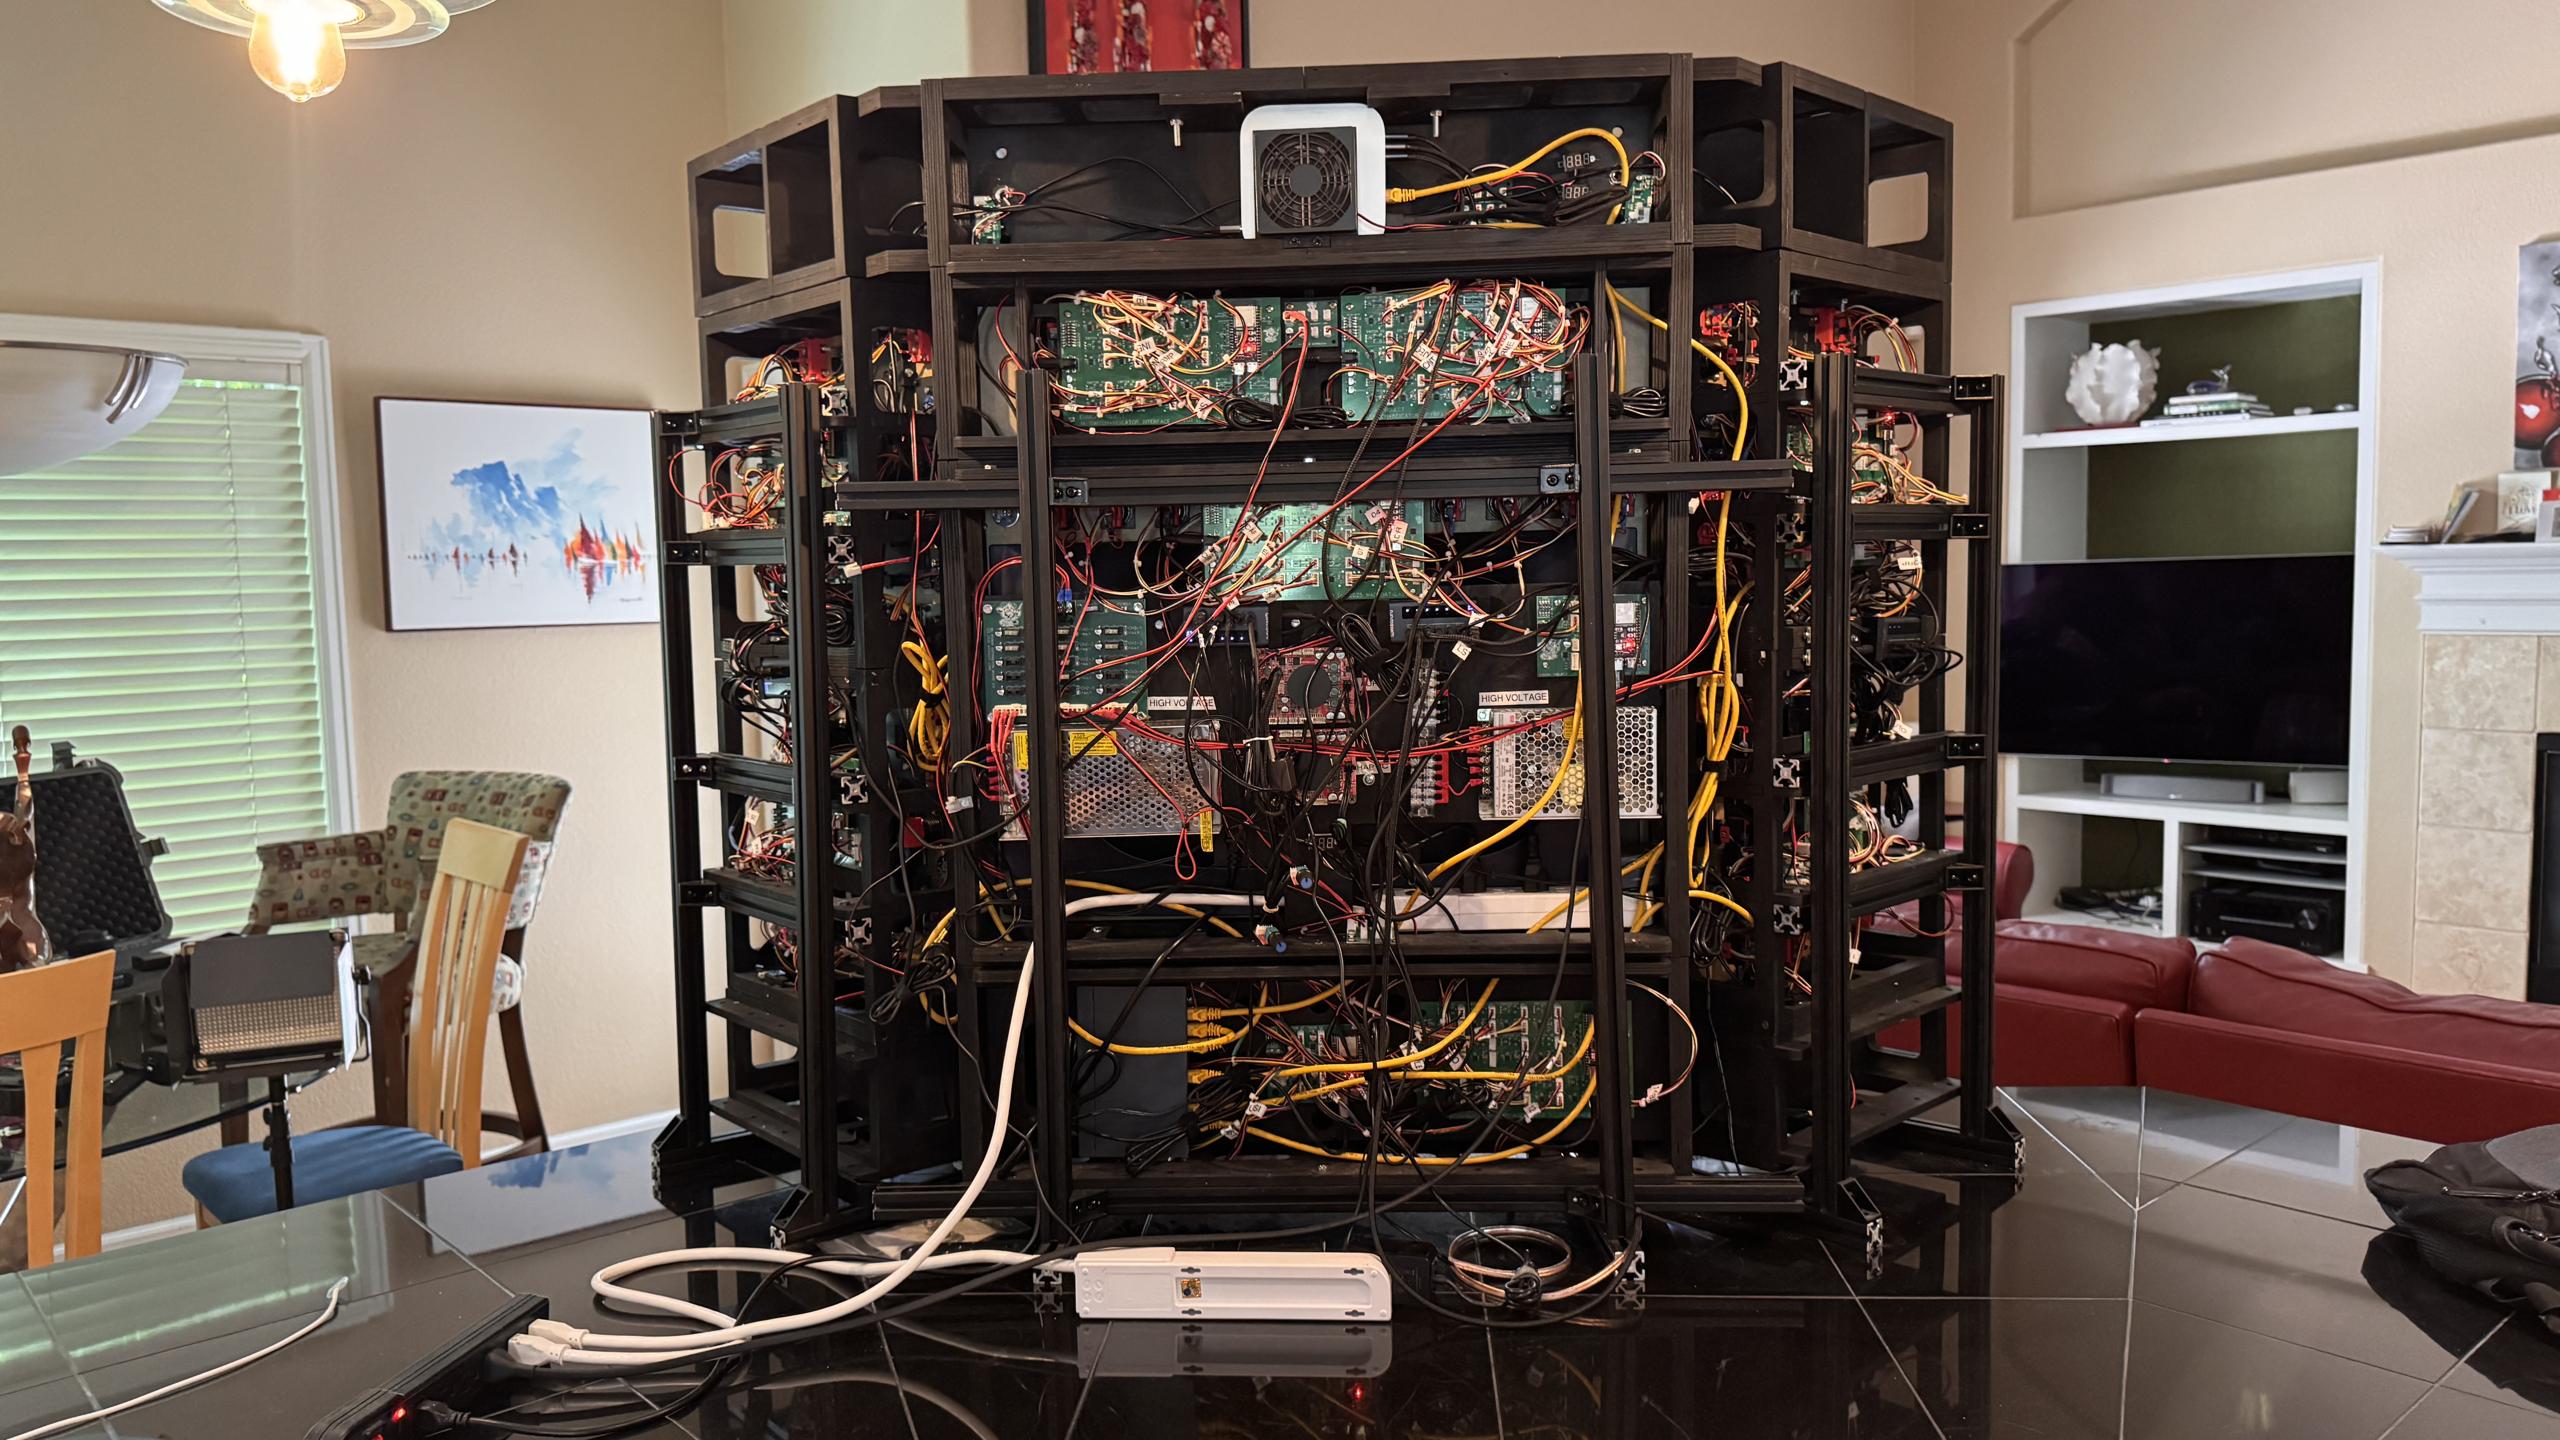
Aluminum extrusion, laser-cut panels, and custom PCBs for interfacing physical controls and displays make up the bulk of the build.
As the player is meant to be operating the ship on their own, the cockpit is imposing. All 152 controls and six screens are meaningful and will be needed to pilot the Halcyon Dawn, survive hostile actions, repel boarding attempts, mine and refine vast amounts of raw materials, and in general keep the ship running and intact until an autofactory can be deployed in orbit of a suitable planet to create a new home.
All easier said than done. It’s one thing to pilot and tweak a temperamental ship, but doing so while also performing damage control and thwarting a boarding attempt by manipulating life support is quite another. Want more details? Gameplay is documented here and the physical controls have their own library.
The product of a year of focused work, [Kevin] – now retired – pointed his decades of hardware and software experience at Halcyon Dawn after realizing one night that everything he needed to create it already existed. How this whole project came to be is also a tribute to the amazing tools and equipment that hobbyists and hackers of all kinds now have to turn an idea into something that actually exists in the world. Even so, it was a load of work he is not keen to repeat. Don’t miss the technical deep-dive and photo gallery of the build.
While the game itself — being a fan-made derivative of Scalzi’s work (and useless without the custom-made hardware console) — isn’t being released, [Kevin] has shared the underlying hardware framework it is built on. Enigma is an ESP32-based set of input and output PCBs made for integrating switches, knobs, displays, relays, and more with a Python library to make them easy to work with.
Starship simulators are a wonderful subset of projects, and every one is different from the last. Something about physical builds really works for them, and while we’ve seen a camper trailer converted to starship simulator [Kevin]’s project focuses the whole experience beautifully into the single-person console you see here. Watch a video of Halcyon Dawn running in an arcade-like “attract” mode embedded just below.