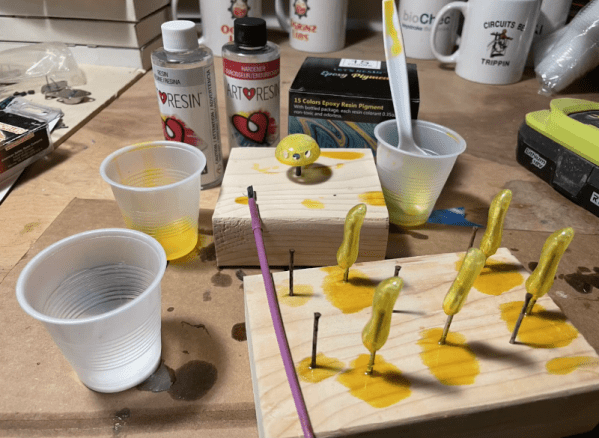
Glow-in-the-dark projects aren’t that uncommon. You can even get glow-in-the-dark PLA filament. However, those common glowing items require a charge from light, and the glow fades very quickly. [Ogrinz Labs] wasn’t satisfied with that. His “Night Blossom” 3D-printed flower glows using radioactive tritium and will continue to glow for decades.
Tritium vials are available and often show up in watches for nighttime visibility. The glow doesn’t actually come directly from the radioactive tritium (an isotope of hydrogen). Instead, the radioactive particles excite phosphor, which glows in the visible spectrum.
Once you have the vials, it is easy to understand how to finish off the project. The flower contains some long tubes inside each petal. There are also a few tiny vials in the center. The whole assembly goes together with glue.
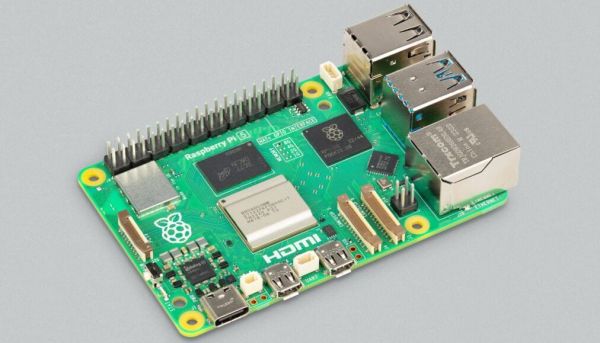
DietPi recently released version 9.1, which among other changes includes new images for the Raspberry Pi 5, Radxa Rock 4 SE and NanoPi R5S/R5C & 6. The Radxa Rock 4 SE image was necessary because the Rock 4’s RK3399 SoC is subtly different from the RK3399-T’s SoC in terms of memory support, which prevents a Rock 4 image from booting on the Rock 4 SE. Meanwhile the Raspberry Pi 5 image is all new and still a bit rough around the edges, with features like the changing of the resolution and camera module support not working yet. These new images are all available for testing.
We covered DietPi previously with their 8.12 release, along with the reasons why you might want to use DietPi over Armbian and Raspberry Pi OS. Essentially DietPi’s main focus is on performance combined with a small installed size, with the included configuration tools and the setup allowing for many more features to be tweaked than you usually find. If the performance improvements, lower RAM usage and faster boot times seen with the Raspberry Pi 4 holds up, then DietPi can just give the Raspberry Pi 5 a nice little boost, while saving power in the process.
The news doesn’t go long without some kind of superconductor announcement these days. Unfortunately, these come in several categories: materials that require warmer temperatures than previous materials but still require cryogenic cooling, materials that require very high pressures, or materials that, on closer examination, aren’t really superconductors. But it is clear the holy grail is a superconducting material that works at reasonable temperatures in ambient temperature. Most people call that a room-temperature superconductor, but the reality is you really want an “ordinary temperature and pressure superconductor,” but that’s a mouthful.
In the Hackaday bunker, we’ve been kicking around what we will do when the day comes that someone nails it. It isn’t like we have a bunch of unfinished projects that we need superconductors to complete. Other than making it easier to float magnets, what are we going to do with a room-temperature superconductor? Continue reading “Ask Hackaday: What If You Did Have A Room Temperature Superconductor?”→
Pinokio is billed as an autonomous virtual computer, which could mean anything really, but don’t click away just yet, because this is one heck of a project. AI enthusiast [cocktail peanut] (and other undisclosed contributors) has created a browser-style application which enables a virtual Unix-like environment to be embedded, regardless of the host architecture. A discover page loads up registered applications from GitHub, allowing a one-click install process, which is ‘simply’ a JSON file describing the dependencies and execution flow. The idea is rather than manually running commands and satisfying dependencies, it’s all wrapped up for you, enabling a one-click to download and install everything needed to run the application.
But what applications? we hear you ask, AI ones. Lots of them. The main driver seems to be to use the Pinokio hosting environment to enable easy deployment of AI applications, directly onto your machine. One click to install the app, then another one to download models, and whatever is needed, from the likes of HuggingFace and friends. A final click to launch the app, and a browser window opens, giving you a web UI to control the locally running AI backend. Continue reading “On-click Install local AI Applications Using Pinokio”→
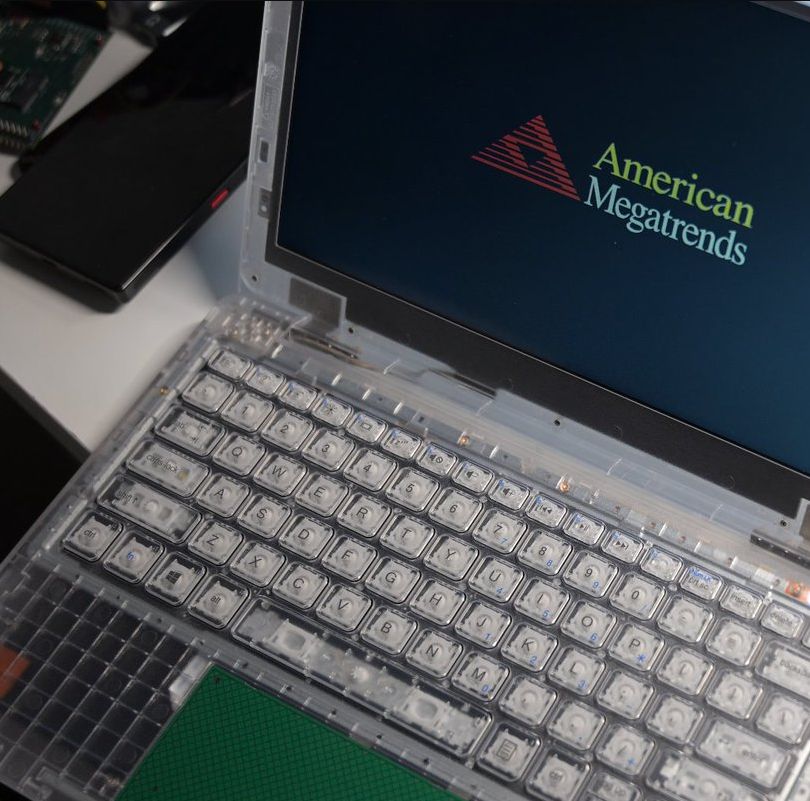
The phenomenon of prison electronics is by now relatively well-documented, with striking transparent radios, televisions, and kin easy to recognize. Yet what about prison laptops? As it turns out, these are a thing as well, and [Zephray Wenting] got one from eBay to investigate, as documented over at Twitter (ThreadReader single page). Much like their audiovisual brethren, these laptops lack basic features in the name of prison security, which in the case of this laptop means for example no USB ports. Even the spacebar stabilizer rod is missing. Weaponized keyboards are apparently a thing in corrections facilities.
The Justice Tech Solutions Securebook 5. (Credit: Zephray Wenting)
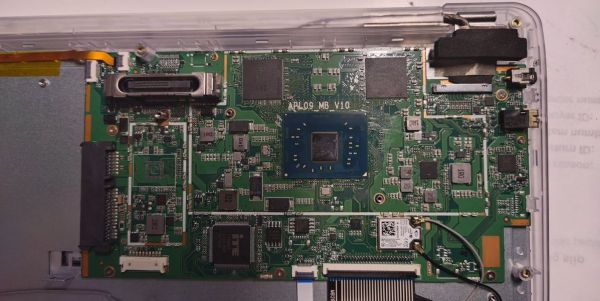
Called the Justice Tech Solutions Securebook 5, it has been superseded by the Securebook 6. Inside this earlier unit, you’ll find an Intel N3450 with 4 GB LPDDR3, with SATA for storage and a special dock connector. Some laptops come with WiFi hardware installed, others are unpopulated. It appears that these Securebooks by default have a BIOS password that cannot be erased, even by removing it from the NVRAM (‘CMOS’), as it’ll return on the next boot due to an automatic BIOS reset. This was temporarily bypassed through a hacky external SPI Flash adapter, but the reward for all this trouble was a BIOS setup screen with just the ‘Security’ tab.
It’s now been sleuthed out that the default password is N%(dU32p as reported by Hackaday’s own [Adam Fabio] on Twitter. It turns out the password was available on a (now private) YouTube video. [Techknight] on Twitter has delved into EFI BIOS hacking. He has an alternate BIOS image that does provide access to the full BIOS setup utility. With BIOS access not being necessary to boot the system, the question that [Zephray] went ahead with was how to boot it into an OS since the original HDD or SSD had been removed prior to being sold. The bad news here is that it turned out that the system has a HDD whitelist (which [Sark] found a way to bypass). The good news is that someone has probed the system before, with the storage device being reported as ‘China SATA3 240GB SSD’.
Rather than mess with this, it was attempted to boot from USB, by tapping into the USB lines for the touchpad, which turned out to allow booting into a live image of Ubuntu without fuss. As an ongoing project, it’ll be interesting to see what more functionality can be wrung out of this piece of prison kit, all hopefully from the right side of the prison bars.
Most MIDI controllers are modelled after traditional instruments, like pianos, flutes, or guitars. [Oliver Child] went in a different direction for the TuneShroom, instead modelling his DIY controller after the terrifying, unclassifiable living organism we call the mushroom.
The project was a fun way for [Oliver] to try creating a project with an artistic PCB design, and it worked out well in that regard. He penned a circuit board in the shape of a toadstool, with conductive pads serving as capacitive touch points to activate various notes.
The design is based around the Sparkfun Pro Micro, but it’s not programmed in Arduino. [Oliver] wanted to make full use of the ATmega32U4 microcontroller and have freedom to use the pins at will, so instead the project was programmed with a patched version of LUFA to handle the USB side of things. MIDI data is naturally piped out over this interface to an attached computer.
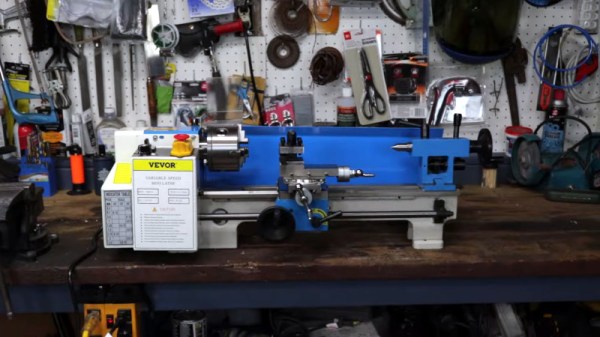
There may be few cases where the maxim that “you get what you pay for” rings true, than a lathe. The less you spend on a lathe, the closer you get to a lathe-shaped object and the further from, well, a lathe. [Camden Bowen] has bought a cheap lathe, and he’s not content with a lathe-shaped object, so he takes us in the video below through a set of upgrades for it. In the process he makes a much nicer lathe for an entirely reasonable sum.
First up are the bearings, in this case a set of ball races which aren’t really appropriate for taking lateral force. After a lot of effort and a tiny bit of damage he manages to remove the old bearings and get the new ones in place, though their slightly different dimensions means he has to replace a spacer with a temporary 3D printed item which he’ll turn in metal later. We learn quite a bit about cheap lathe tools and tool alignment along the way, and he ends up buying a better tool post to solve some of its problems. We were always not very good at grinding HSS edges, too.
At the end of it all he has a much better lathe, upping cost from $774 to $1062 which is still pretty good for what he has. Worth a look, if you too have a lathe-shaped object.