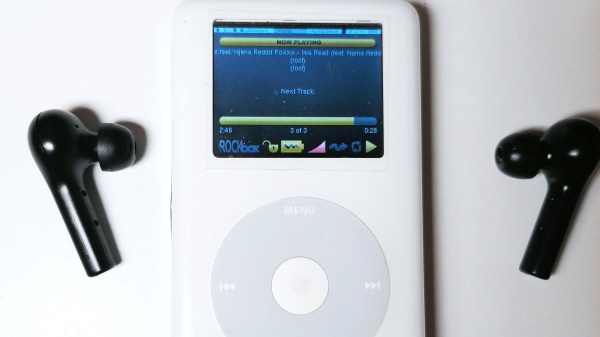
We sure love to see nicely designed products get a new lease on life. Just as the new Raspberry Pi Zero 2 was being announced, [production] was stuffing an original RPi Zero into an old iPod’s case.
[production] cites several previous, similar projects that showed how to interface with the click-wheel, a perfectly fitting color display from Waveshare, and open-source software called Rockbox to run on the pi. We all stand on the shoulders of giants.
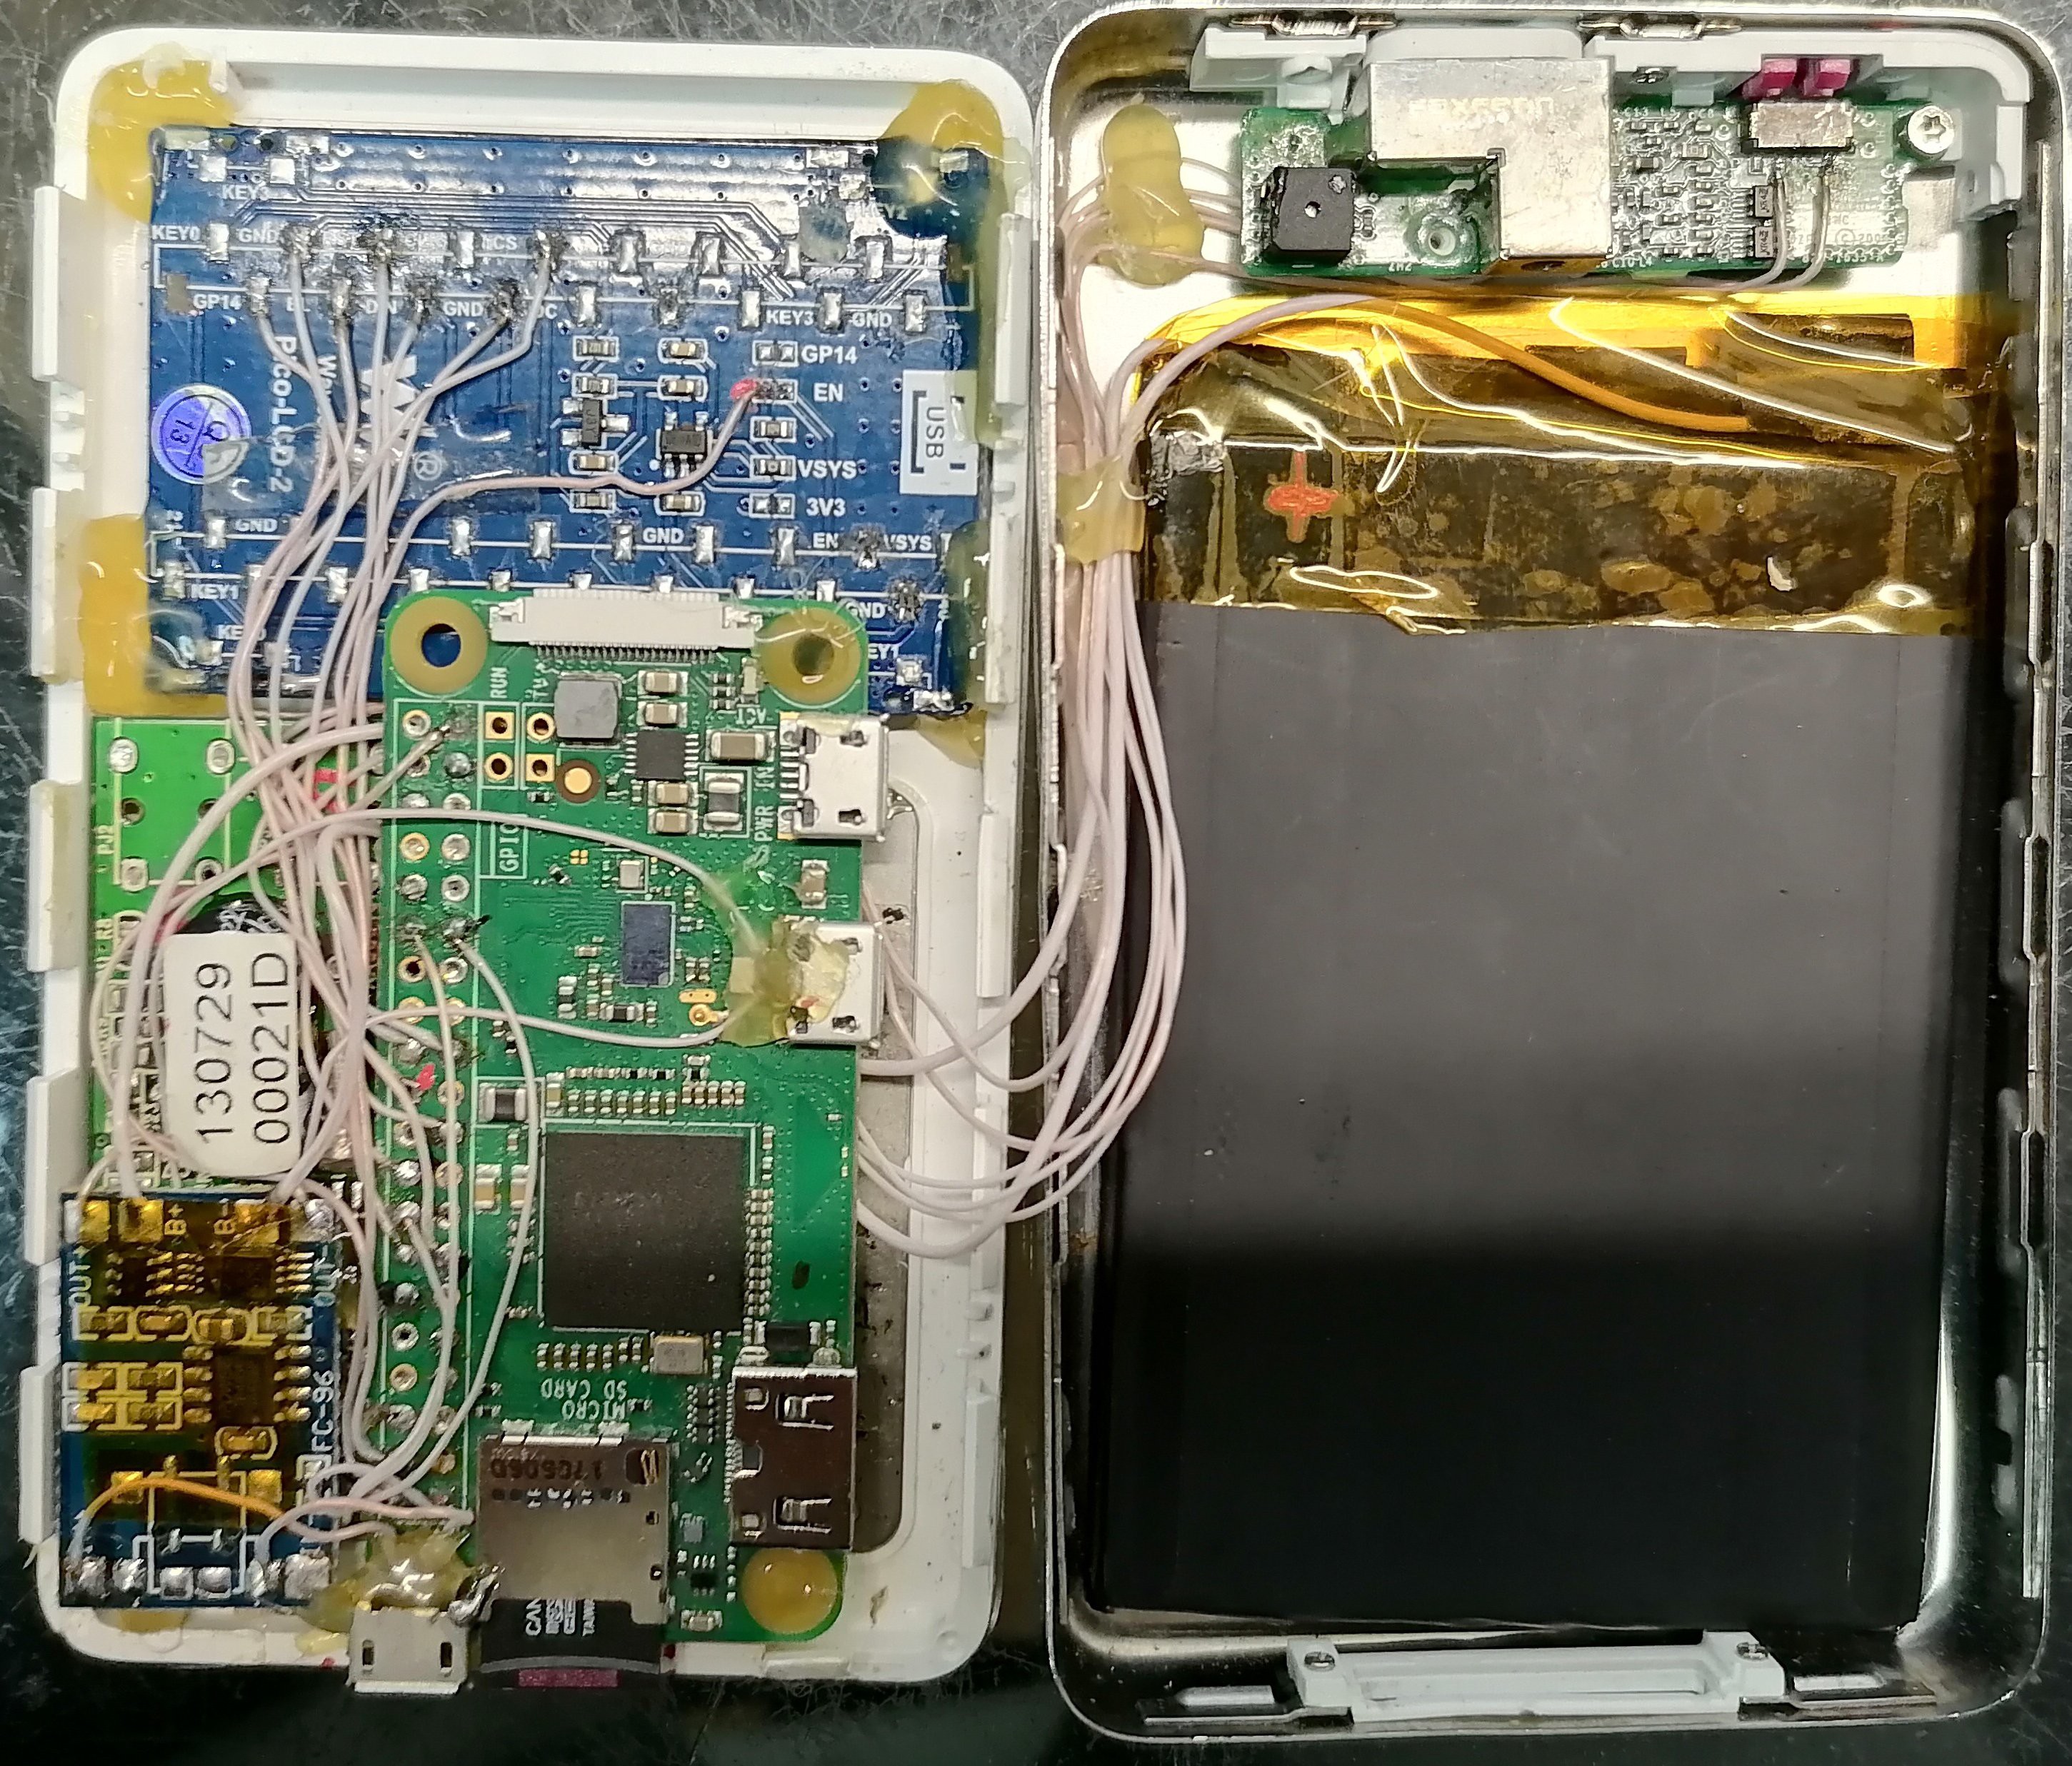
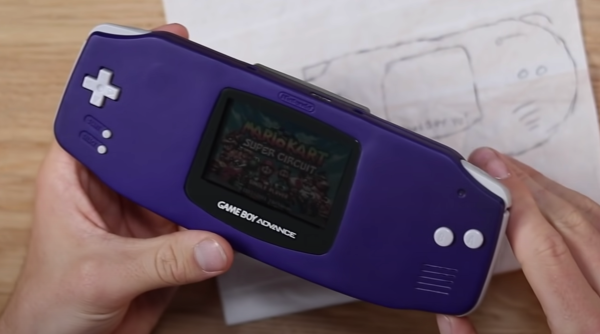
Some nice innovations to look for are the Pi Zero’s micro-SD card and a micro-USB charging port aligned to the large slot left from the iPod’s original 40 pin connector. Having access for charging and reflashing the card without opening the case seems quite handy. There’s a nice sized battery too, though we wonder if a smaller battery and a Qi charger could fit in the same space. Check the project’s Hackaday.io for the parts list, and GitHub for the software side of things, and all the reference links you’ll need to build your own. It looks like [production] has plans to turn old iPods into Gameboy clones, you may want to check back for progress on that.
If you just want to rock like it’s 2004, there are options to just upgrade the battery and capacity but keep your vintage iPod too.
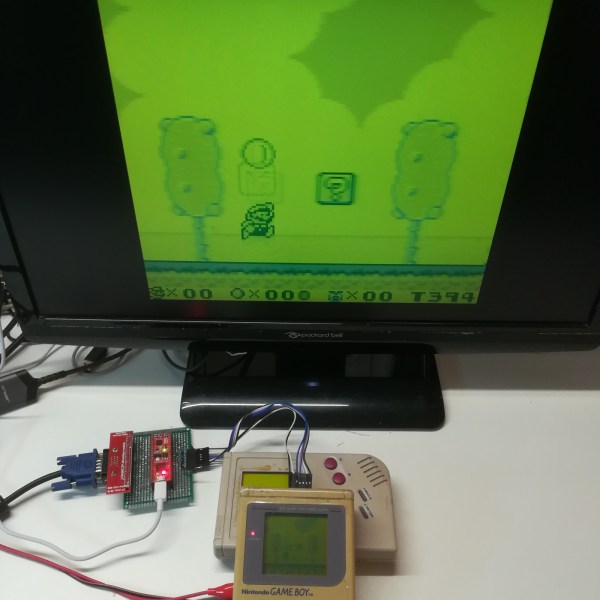
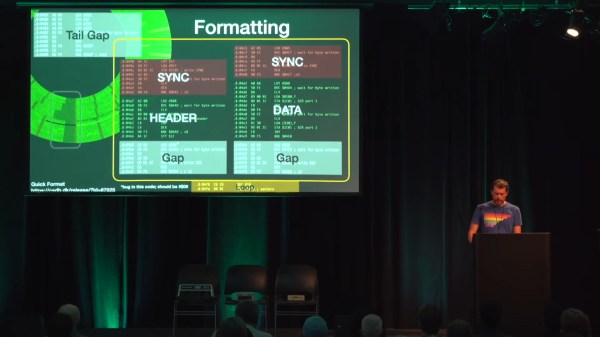
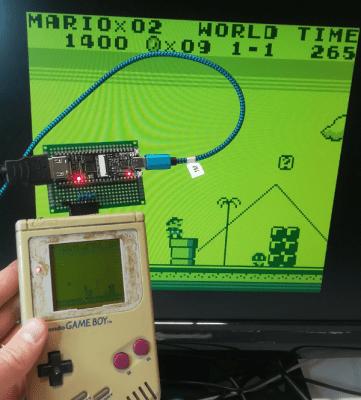 Getting the image data out of the Game Boy is surprisingly straightforward, and