If you don’t live on the command line, it can be easy to forget the exact syntax of commands. It often leaves you running to the “/?” or “–help” switches, or else a quick Google search to find the proper incantations. Shell-AI is a machine-learning assistant that could change all that by helping you find the proper command for the job, right on the command line!
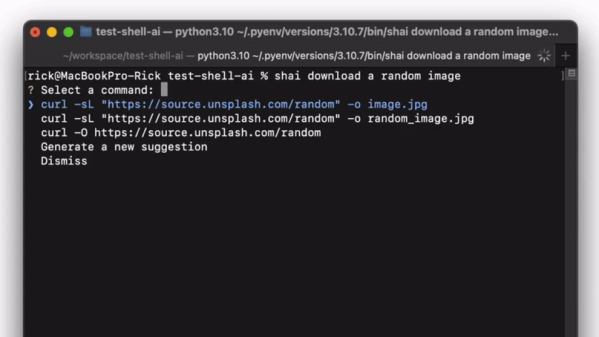
Shell-AI accepts natural-language inputs — simply type in “shai” followed by what you’re trying to do. It will then take in your request, run it through an OpenAI language model like GPT-3.5-Turbo, and then present you with three (or more) potential commands. You can then select which command to use and get on with your day.
As demonstrated, it’s more than capable of following commands like “download a random image” or “show only image files ls.” And, hilariously, it responds to the request “do something crazy” with just one suggestion: “rm -rf”. That seems rather fitting.
We wouldn’t blindly follow any commands coming out of a large language model, of course. But, if you know what you’re doing, it could prove a useful little tool to ease your regular duties on the command line.