Anyone who has ever made a living writing code has probably had some version of the following drilled into their head: “Always write your code so the next person can understand it.” Every single coder has then gone on to do exactly the opposite, using cryptic variables and bizarre structures that nobody else could possibly follow. And every single coder has also forgotten the next part of that saying — “Because the next person could be you” — and gone on to curse out an often anonymous predecessor when equally inscrutable code is thrust upon them to maintain. Cognitive dissonance be damned!
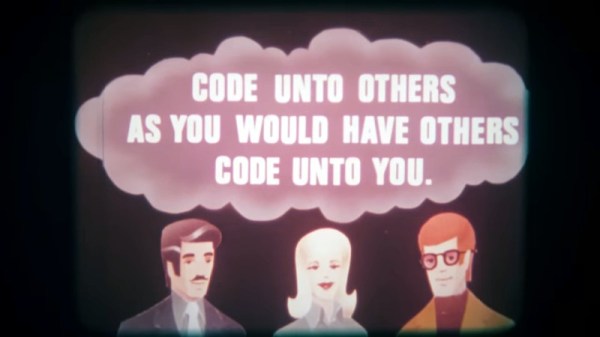
It’s a tale as old as time, or at least as old as programming has existed as a profession. And by 1975, poorly written code was enough of a problem that an outfit called Edutronics put together the animated gem Critical Program Reading: Structuring an Unstructured Program. It’s apparently Part 1 of a larger series on structured programming techniques, and comes to us by way of [Alec Watson], host of Technology Connections on YouTube, by way of his second channel, the delightfully named Technology Connextras.
 The film’s three minimally animated characters, each of whom could have been the villain in an episode of Scooby Doo, are tasked by a stern-sounding narrator to analyze a fragment of pseudocode that’s written in a concoction of COBOL, PL/1, and a bunch of other languages. The code is a hot mess, but our heroes muddle through it line by awful line, making it more readable by guessing at more descriptive variable names, adding structured elements, and making logical changes to improve the program’s flow. The example code is highly contrived, to be sure, but the business logic becomes much clearer as our team refactors the code and makes it far more approachable.
For as much as languages have changed since the 1970s, and with all the progress we’ve made in software engineering, the lessons presented in this film are still surprisingly relevant. We loved a lot of the little nuggets dropped along the way, like “Consistency aids understanding,” and “Use symbols in a natural way.” But we will take exception with the statement “Wrong means poor structure” — we’ve written seen plenty of properly structured code that didn’t work worth a damn. We also enjoyed the attempt at socially engineering a less toxic work environment: “Use tact in personal criticisms.” If only they could learn that lesson over at Stack Overflow.
It’s not clear where [Alec] found this 16-mm film — we’d sure like to hear that story — but it’s a beauty and we’re glad he took the time to digitize it. We’re consistently amazed at his ability to make even the most mundane aspects of technology endlessly fascinating, and while this film may be a bit off from his normal fare, it’s still a great find. Continue reading “Retrotechtacular: Critical Code Reading, 70s Style” →