Thanks to stints as an X-ray technician in my early 20s followed by work in various biology labs into my early 40s, I’ve been classified as an “occupationally exposed worker” with regard to ionizing radiation for a lot of my life. And while the jobs I’ve done under that umbrella have been vastly different, they’ve all had some common ground. One is the required annual radiation safety training classes. Since the physics never changed and the regulations rarely did, these sessions would inevitably bore everyone to tears, which was a pity because it always felt like something I should be paying very close attention to, like the safety briefings flight attendants give but everyone ignores.
The other thing in common was the need to keep track of how much radiation my colleagues and I were exposed to. Aside from the obvious health and safety implications for us personally, there were legal and regulatory considerations for the various institutions involved, which explained the ritual of finding your name on a printout and signing off on the dose measured by your dosimeter for the month.
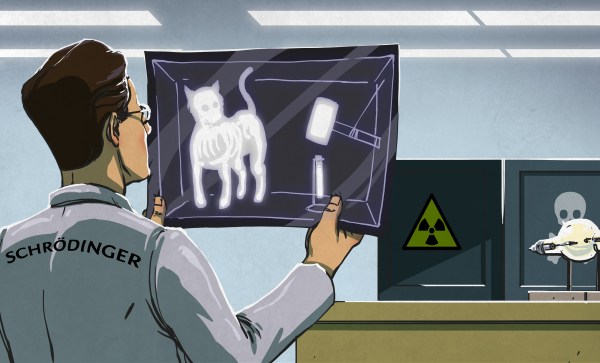
Dosimetry has come a long way since I was actively considered occupationally exposed, and even further from the times when very little was known about the effects of radiation on living tissue. What the early pioneers of radiochemistry learned about the dangers of exposure was hard-won indeed, but gave us the insights needed to develop dosimetric methods and tools that make working with radiation far safer than it ever was.