Long-term Raspberry Pi watchers will have seen a lot of OS upgrades in their time, from the first Debian Squeeze previews through the Raspbian years to the current Raspberry Pi OS. Their latest OS version is something different though, and could be one of the most important releases in the platform’s history so far, as finally there’s an official release of a 64-bit Raspberry Pi OS.
Would-be 64-bit Pi users have of course had the chance to run 64-bit GNU/Linux operating system builds from other distributions for nearly as long as there have been Pi models with 64-bit processors, but until now the official distribution has only been available as a 32-bit build. In their blog post they outline their reasons for this move in terms of compatibility and performance, and indeed we look forward to giving it a try.
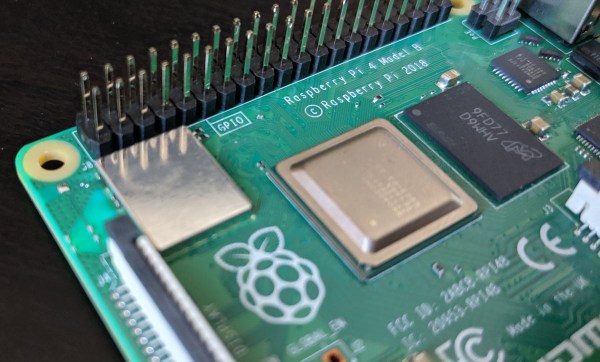
Aside from being a more appropriate OS for a 64-bit Pi, this marks an interesting moment for the folks from Cambridge in that it is the first distribution that won’t run on all Pi models. Instead it requires a Pi 3 or better, which is to say the Pi 3, Zero 2 W, Pi 4, Pi 400, and the more powerful Compute Modules. All models with earlier processors including the original Pi, Pi Zero, and we think the dual-core Pi 2 require a 32-bit version, and while the Pi Zero, B+ and A+ featuring the original CPU are still in production this marks an inevitable move to 64-bit in a similar fashion to that experienced by the PC industry a decade or more ago.
As far as we know the Zero is still flying off the shelves, but this move towards an OS that will leave it behind is the expected signal that eventually there will be a Pi line-up without the original chip being present. We’re sure the 32-bit Pi will be supported for years to come, but it should be clear that the Pi’s future lies firmly in the 64-bit arena. They’ve retained their position as the board to watch oddly not by always making the most impressive hardware but by having the most well-supported operating system, and this will help them retain that advantage by ensuring that OS stays relevant.
On the subject of the future course of the Pi ship, our analysis that the Compute Module 4 is their most exciting piece of hardware still stands.