Battery Swap Keeps Sansa Clip+ Chugging

You’d be forgiven for not realizing there’s still a diehard group of people out there carrying around dedicated MP3 players. While they were all the rage a decade or so back, most consumers have since moved over to using their handy dandy pocket supercomputer for playing their music. Plus controlling every other aspect of their personal life and finances, of course. Though that’s another story entirely.
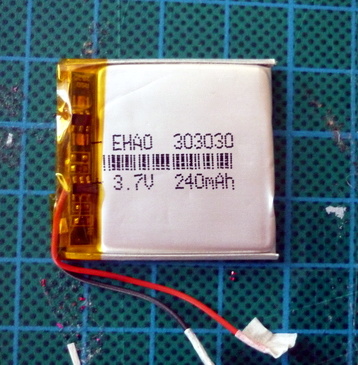
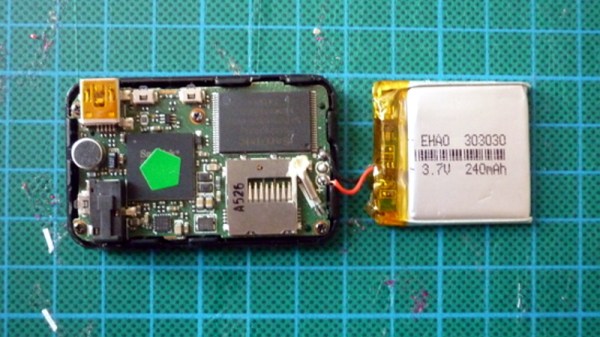
But as [Conno Brooks] explained to us, there’s a sizable group of open source fanatics who prefer to store their jams on devices running the Rockbox firmware. Only problem is, some of the desirable Rockbox-compatible players are from the Golden Age of dedicated players, and aren’t getting any younger. In a recent blog post, he briefly goes over his ultimately successful attempt to put a new-made battery into his Sansa Clip+, a particularly desirable player that was released in 2009.

There are a few problems with the procedure that has kept it from being very widespread, according to [Conno]. For one, the Sansa Clip+ is tiny and not easily disassembled without destroying it. Worse, the diminutive 30mm x 36mm x 3mm OEM battery is effectively unobtainium. But ironically he was able to find an even smaller battery which seemed like it should work, assuming he could get it wired up.

The OEM battery on the Clip+ uses three wires, which [Conno] presumed was part of some thermal protection system. He first tried to take the circuit board off the original dead battery and graft it onto the modern cell, but something must have tripped because the resulting Franken-pack didn’t output any voltage. On his second attempt he simply ignored the third wire, and luckily the Clip+ didn’t seem to complain and started up as expected.

[Conno] says there’s some careful flexing required to get the new pack installed and the Clip+ closed properly, and the device’s runtime is somewhat diminished by the new battery’s lower capacity. But if it means another few years of keeping Big Brother out of your digital media habits, he figures it’s a worthy trade.

We’ve actually seen a few hacks now for the Sansa Clip line of players at this point, thanks to its second lease on life as an open source darling; from a slightly less stock-looking battery replacement, to adding a line-in option. When you get sick of listening to Hanson’s discography, you can even boot up what is perhaps the world’s worst port of DOOM.

The Mighty D Battery Becomes A USB Powerbank

[Jan] is one of those people who’s always playing around with synthesizers, and in this day and age, that means a lot of USB cables supplying power. If you want to make a synth setup portable, your best option is looking at USB powerbanks with their fancy lithium cells. These will work just fine, but remember: you can buy D cells just about anywhere, and they actually hold a ridiculous amount of energy. They’re cheap albeit one-use and disposable, so why not build a USB power bank out of a massive pair of batteries?

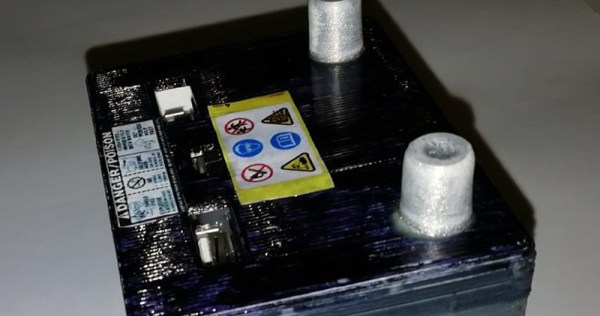
The build started off, naturally, with a pair of Energizer D cells that hold 20,000mAh. A battery holder for these cells is cheap and easy to source, leaving the only other needed component a cheap 5V boost converter. This was simply hot glued to the back of the battery holder in parallel, a simple switch was added, and the entire thing was fitted in a neat little 3D printed case that looks like a car (motorcycle?) battery.

Testing the with a phone revealed this thing will charge at 570mA from 3V, which is more than sufficient for [Jan]’s needs. Sure, using disposable batteries in 2018 is more than a little wasteful, but a project like this is meant to be a simple solution to the problem of providing power to USB devices anywhere. You can get D cell batteries everywhere, and what this build produces in damage to the environment is more than made up for in its convenience.

Flexible Battery Meter Bends Over Backward To Work

A lithium-ion battery tester seems like a simple project, at least electrically. But when you start thinking about the physical problem of dealing with a huge range of battery sizes, things get a little more complicated. Sure, you can 3D-print adapters and jigs to accommodate the different batteries, or you can cheat a bit and put the charger and tester circuit on a flexible PCB.

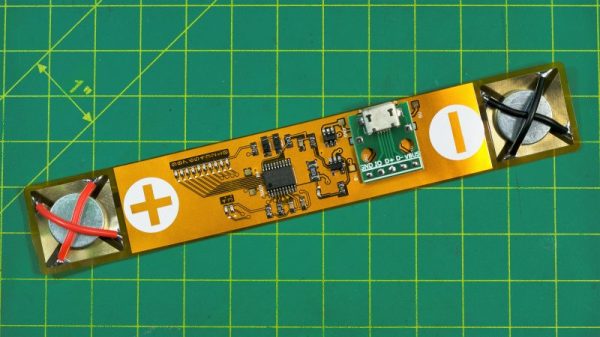
Maybe it’s the Kapton talking, but we really like the look of [Androkavo]’s project. The idea is simple – rather than use a rigid FR4 printed circuit board, a flexible polyimide film PCB a little longer than the biggest battery to be tested was fabricated. With large contacts on each end, the board can just be looped across the battery to take a reading. For charging, neodymium magnets on the other side of the board keep the charger in contact with the battery. The circuit itself is built around an STM8S003 8-bit microcontroller and a handful of discrete components. There’s a bar graph display for battery voltage that covers 2.0 to 4.9 volts, and a USB port for charging. The charger works with everything from the big 21700 cells down to the short 14500s. With the help of another magnet to keep the board from bending too sharply, even the diminutive 10180 can be charged. Check out the video below, which has some of the most relaxing music and best microscope shots of SMD soldering we’ve seen.

Flexible PCBs are versatile things. Not only can they make projects like this successful, but they can also wriggle around, swim, or even play music.

Continue reading “Flexible Battery Meter Bends Over Backward To Work”

The Bells! The Bells! One Battery Since 1840

It is good advice to change batteries in your fire alarms at least once a year. Even our low-power LCD calculators need new batteries from time to time. But at the University of Oxford, they have an electric bell that has been ringing essentially non-stop on one set of batteries for about 178 years! Is the energy crisis solved then? Perhaps not. The bells require a high voltage but very little current and the pair of batteries — piles in the parlance of 1840 — have kept the charge flowing for about 10 billion rings. As you can see in the video below, though, the ringing isn’t very vigorous.

How does it work? When you think of converting electrical power to mechanical motion you probably think of a motor, even though there are plenty of other transducers like speakers, muscle wires, and solenoids. Arguably the first device was electrostatic bells that were invented by a Scot named [Andrew Gordon] around 1742. [Ben Franklin] made them famous, though, so they are often called Franklin bells.

Continue reading “The Bells! The Bells! One Battery Since 1840”

Keep ‘Em Flying With This Monster DIY Battery

If you’ve spent an afternoon at the sticks of a remote-controlled aircraft, you’re probably well aware of the great limiter for such exploits: battery life. In the days when most RC aircraft were gas powered it was easy to cart along some extra fuel to keep the good times rolling, but now that everything except big scale models are using electric motors, RC pilots are looking for better ways to charge their batteries in the field.

Though it might seem counter-intuitive, [Adam Pyschny] is of the opinion that the best way to keep his quadcopter batteries charged is to simply use another, much bigger, battery. Rather than mess around with inverters or generators, he can simply use a DC-to-DC battery charger and his huge custom-built battery pack to keep flying.

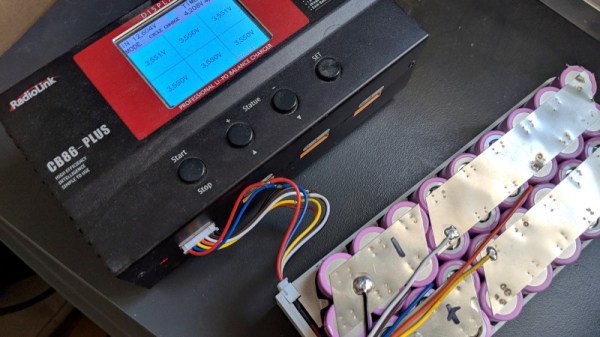
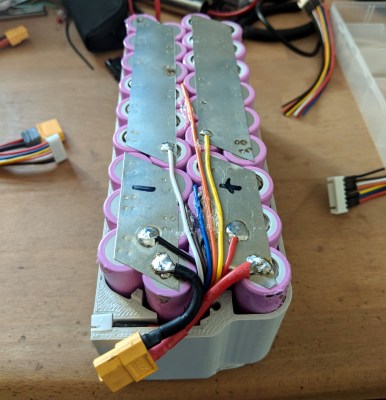
The pack contains 36 Samsung INR18650-35E 3500mAh cells, which gives it a total capacity of 454Wh. At 1965 grams (4.3 lbs) the pack isn’t exactly a featherweight, but it’s significantly lighter than carting a small generator or even a lead-acid battery to the field.

[Adam] designed a slick case in FreeCAD and printed it in Minadax ASA-X filament, which is specifically designed for outdoor use. A particularly nice detail in the case is that the balance connector (used to charge the cells) is cleanly integrated into the side of the pack, rather than just flapping around in the breeze; which annoyingly seems the norm even on commercially produced batteries.

An interesting next step for this project would be the addition of a solar panel and charge controller to help recover in-between charges. Beyond an automated platform to swap the batteries for you, a DIY pack like this might be the easiest way to maximize the amount of time your RC aircraft are in the air where they belong.

A Better Battery Arduino

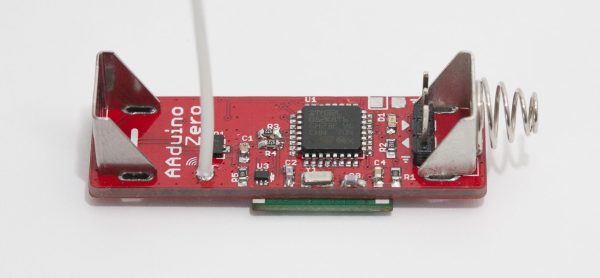
We’ve seen [Johan]’s AA-battery-sized Arduino/battery crossover before, but soon (we hope!) there will be a new version with more MIPS in the same unique form factor! The original Aarduino adhered to classic Arduino part choices and was designed to run as the third “cell” in a 3 cell battery holder to relay temperature readings via a HopeRF RFM69CW. But as [Johan] noticed, it turns out that ARM development tools are cheap now. In some cases very cheap and very open source. So why not update an outstanding design to something with a little more horsepower?

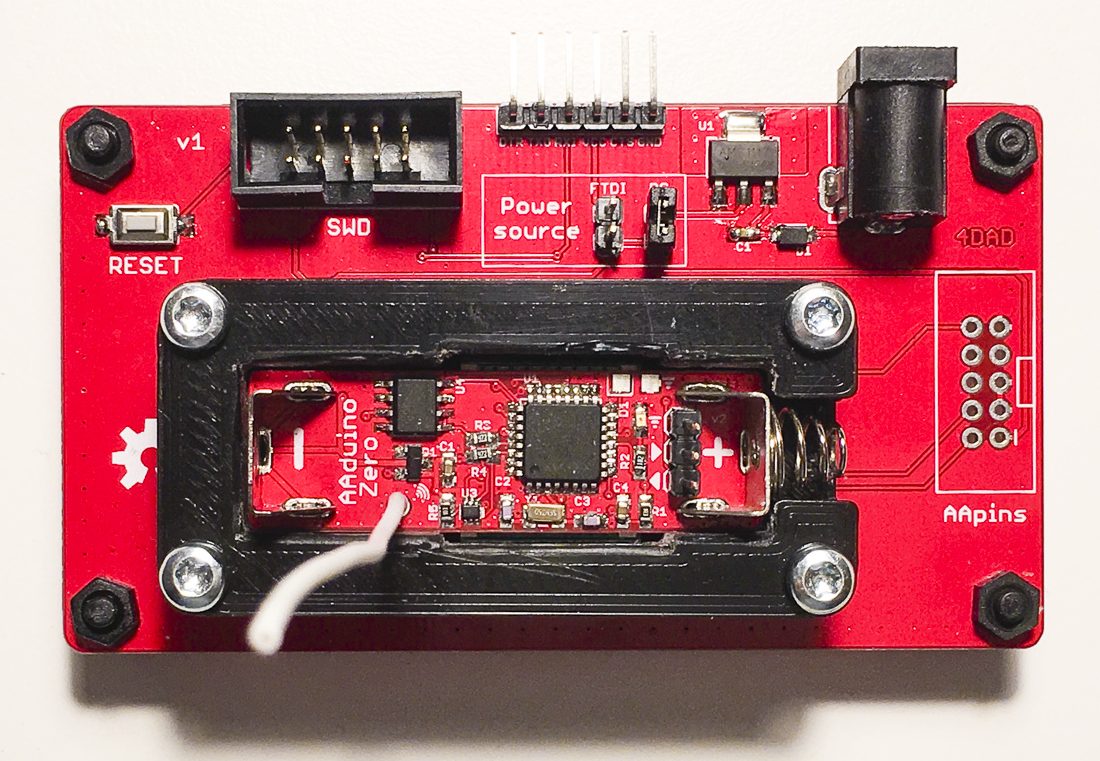
The Aarduino Zero uses the same big PTH battery terminals and follows the same pattern as the original design; the user sticks it in a battery holder for power and it uses an RFM69CW for wireless communication. But now the core is an STM32L052, a neat low power Cortex-M0+ with a little EEPROM onboard. [Johan] has also added a medium size serial flash to facilitate offline data logging or OTA firmware update. Plus there’s a slick new test fixture to go along with it all.

So how do you get one? Well… that’s the rub. It looks like when this was originally posted at the end of 2017 [Johan] was planning to launch a Crowd Supply campaign that hasn’t quite materialized yet. Until that launches the software sources for the Zero are available, and there are always the sources from the original Aarduino to check out.

Show That Sega Saturn Save Battery Who’s Boss

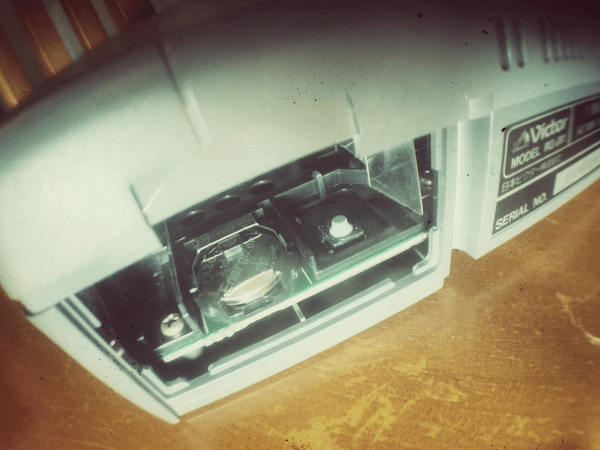
Breaking out the Sega Saturn out of the closet for a hit of 90’s nostalgia comes with its own set of compromises: the wired controllers, the composite video, and worst of all that dead CR2032 battery behind the backdoor. Along with the death of that battery went your clock and all those precious hours put into your game save files. While the bulk of us kept feeding the insatiable SRAM, a friendly Canadian engineer named [René] decided to fix the problem for good with FRAM.

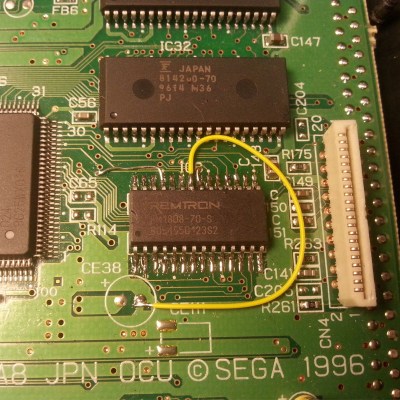
The issue with the battery-backed memory in the Saturn stems from the particularly power-hungry factory installed SRAM chip. Normally when the console is plugged-in to a main power source the CR2032 battery is not in use, though after several weeks in storage the battery slowly discharges. [René’s] proposed solution was to use a non-volatile form of RAM chip that would match the pinout of the factory SRAM as close as possible. This would allow for easier install with the minimum number of jumper wires.

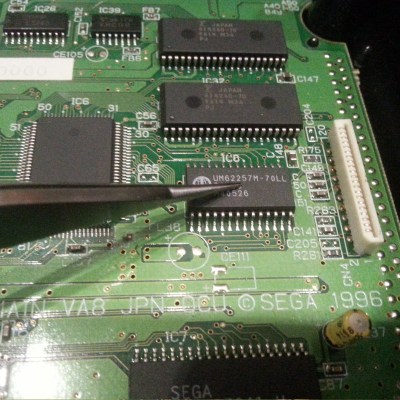
Enter the FM1808 FRAM chip complete with a whopping 256 kb of addressable memory. The ferroelectric chip operates at the same voltage as the Saturn’s factory SRAM, and has the added benefit of being able to use a read/write mode similar to that of the Saturn’s original memory chip. Both chips conform to a DIP-28 footprint, and only a single jumper wire on pin 22 was required to hold the FM1808 chip’s output-enable signal active-low as opposed to the active-high enable signal on the Saturn’s factory memory chip. The before and after motherboard photos are below:

After a quick test run of multiple successful read and writes to memory, [René] unplugged his Saturn for a couple days and found that his save files had been maintained. According to the FM1808 datasheet, they should be there for the next 45 years or so. The only downside to the upgrade is that the clock & calendar settings were not maintained upon boot-up and reset to the year 1996. But that’s nothing a bit of button-mashing through couldn’t solve, because after all wasn’t the point of all this to relive a piece of the 90s?

For more Sega Saturn goodness, check out how the Sega Saturn was finally cracked after 20 years.