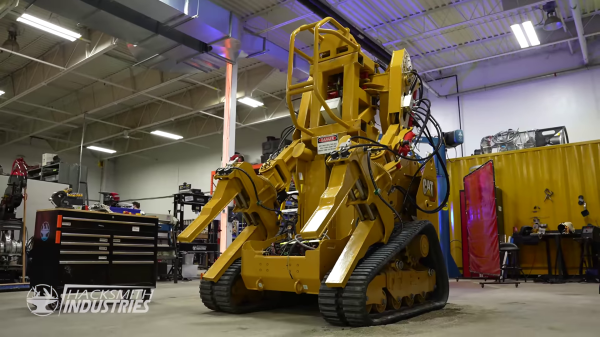
Exoskeletons, power suits, and iron suits in science fiction have served as the inspiration for many engineers and engineering projects over the years. This is certainly the case at [Hacksmith Industries], where Hackaday alum [James Hobson] has been building a massive mechanical exoskeleton since January 2019, inspired by the P-5000 Power Loader from the Alien movies. (Video, embedded below.)
Unlike the movie version, the [Hacksmith] power loader is not bipedal but built on top of the chassis of a small tracked skid-steer loader. Its existing hydraulic power unit also feeds all the upper body hydraulic cylinders. The upper body maintains the basic look of the movie version and was built from plasma-cut steel sections that fit together with a tab and slot system before being welded. Each arm has five degrees of freedom, controlled by proportional hydraulic valves. The power loader is controlled by an industrial grade control system based on the Raspberry Pi, running ROS.
Every single actuator is capable of applying enough force to kill, so safety is an important consideration in the design. It has emergency stop buttons mounted in several locations, including on a wireless remote. The ROS controller monitors the position of every cylinder using string potentiometers for closed-loop control, and to trigger the emergency stop if an actuator goes out of bounds. The power loader can be controlled by the onboard pilot using a pair of simulator flight controller joysticks, or remotely using a PS4 controller.
[Hacksmith Industries] is clear about the fact that they are building multi-ton power loaded for fun and entertainment, not because it’s necessarily practical or a commercially viable product. However, other exoskeletons have proven that they are a viable solution for reducing fatigue and risk of injury for industrial workers, and carrying heavy loads in rough terrain.
Continue reading “Building A Multi-Ton Power Loader For Fun”
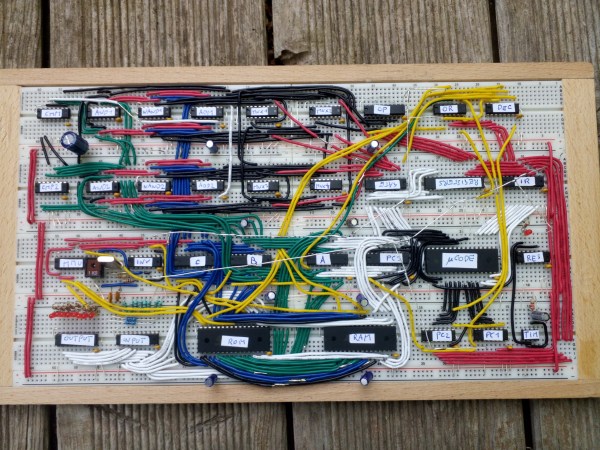
 The total circuit is incredibly compact for a complete CPU, using just 33 chips. This includes 64 KB of flash to store programs as well as a 555 timer to generate a clock signal. I/Os are limited to simple eight-bit input and output buses, but a sixteen-bit address bus gives it plenty of space to add ROM, RAM or fancier interfaces.