If there is one thing that Sir Clive SInclair was famous for, it was producing electronic devices that somehow managed to squeeze near-impossible performance out of relatively meagre components. This gave us some impressive products, but it’s fair to say that sometimes this philosophy pushed the envelope a little too far. Thus even some of the most fondly remembered Sinclair products concealed significant flaws, and this extended to both their hardware and their software.
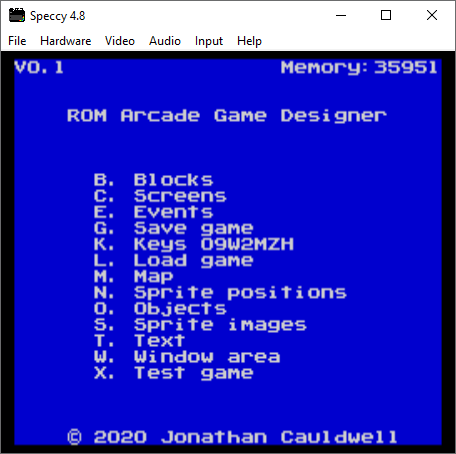
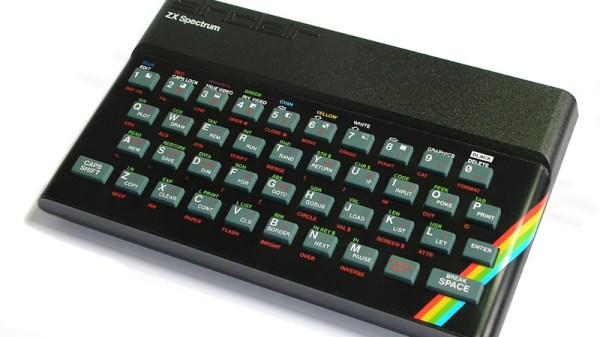
The SInclair ZX spectrum’s ROM for example had more than its fair share of bugs, and its BASIC programming experience with single keypress was unique but also slow to run. It’s something [Jonathan Cauldwell] has addressed with his Arcade Game Designer ROM, a complete and ready to run replacement for the original Spectrum ROM that contains a scripting language, a compiler, editors for in-game assets, and a game engine upon which to run your games. It’s the ROM you wanted back in 1983, when you were struggling to fit a bit of Z80 code in a Sinclair Basic REM statement.
If you’re a Spectrum enthusiast and think this sounds a little familiar then you are of course correct. It builds upon his past work with his Arcade Game Designer, with the distribution by ROM allowing the developer to use the full 48k available on all but a very few early 16k machines. You’ll need your own EPROM on which to burn it, but we suspect that if you’re the kind of person who has a Spectrum and has writing these games in mind, you already have access to the relevant equipment.
If you’re new to all this Spectrum stuff and where its ROM came from, then maybe it’s time for a trip down memory lane.