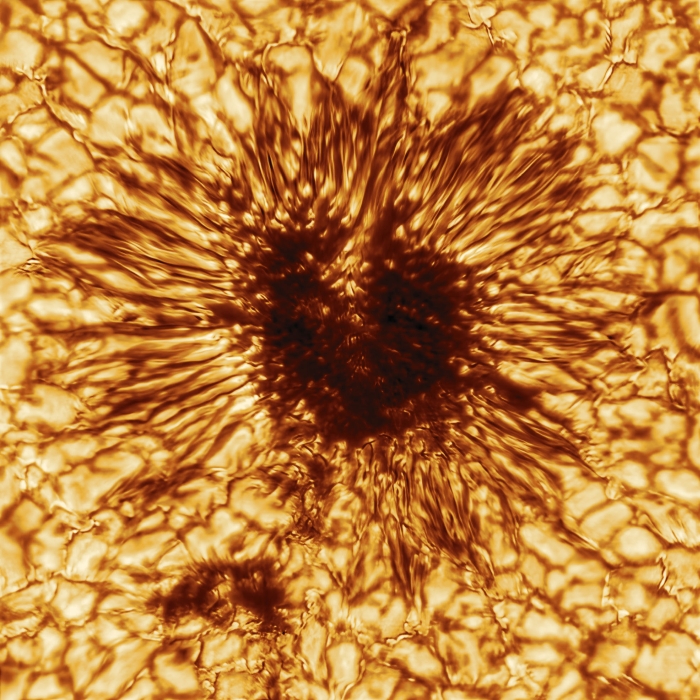
 Our Sun is getting a bit frisky these days, and has rewarded us with perhaps the best screensaver image ever taken. The incredibly detailed photo of a sunspot was actually taken back in January by the Daniel K. Inouye Solar Telescope, a 4-meter instrument with adaptive optics that can image the sun from the near-infrared to visible wavelengths and resolve surface details down to 20 km. The photo, with a distinct “Eye of Sauron” look, shows the massive convection cells surrounding the dark sunspot; an accompanying animation shows the movement of plasmas along the tortured lines of magnetic flux that cause the sunspot to form. It’s fascinating to watch, and even more interesting to mull over the technology that went into capturing it.
With the dustup surrounding the youtube-dl DCMA takedown by GitHub fresh on the open-source community’s minds, GitHub Universe 2020 had an interesting discussion about maintaining open-source software projects that’s worth watching. They focused on the challenges that youtube-dl maintainers face in keeping the tool working, and the impact their effort has on the people and groups that rely on them. To underscore that point, they featured a researcher with Human Rights Watch who depends on youtube-dl in her work, and made it quite clear that keeping up with all the API changes that constantly break open source tools like youtube-dl make the role of the maintainers that much more critical.
Speaking of GitHub, here’s a frightening and fascinating new tool: Depix, the password de-pixelizer. Developer Sipke Mellema noticed that his company often used pixelization to obscure passwords in documentation, and wondered if he could undo the process. He wrote up an article describing the pixelization process using a linear box filter and his method for attacking it, which involves generating a De Bruijn sequence in the same font, text size, and colors as the original document and feeding a screenshot of that and the pixellated password into the tool. We suspect it’ll only work for a subset of obfuscated passwords, but it’s still pretty clever.
‘Tis the season for Advent calendars, and the folks at QEMU have posted theirs. Open each of 24 doors on the calendar and you’re rewarded with a downloadable QEMU disk image that implements something fun. Minesweeper, a ray tracer that fits into a boot loader, and of course Conway’s Game of Life. The GW-BASIC image on Day 3 caught our eye — brings back some memories.
For anyone who has ever watched a Pixar film and wondered how all that animation actually works, here’s a great lesson in making art with math. The video is by Inigo Quilez and goes through the basics of rendering images using raymarching SDFs, or signed distance functions. In the beginning, it seemed like it was going to be a little bit like drawing an owl, but his descriptions of the math involved and how each element of the animation is just another formula is fascinating. What’s more, there’s a real-time rendering tool where you can inspect the code and edit it. Alas, my changes only made things worse, but it was still fun and instructive to play with. Check out the video after the break!
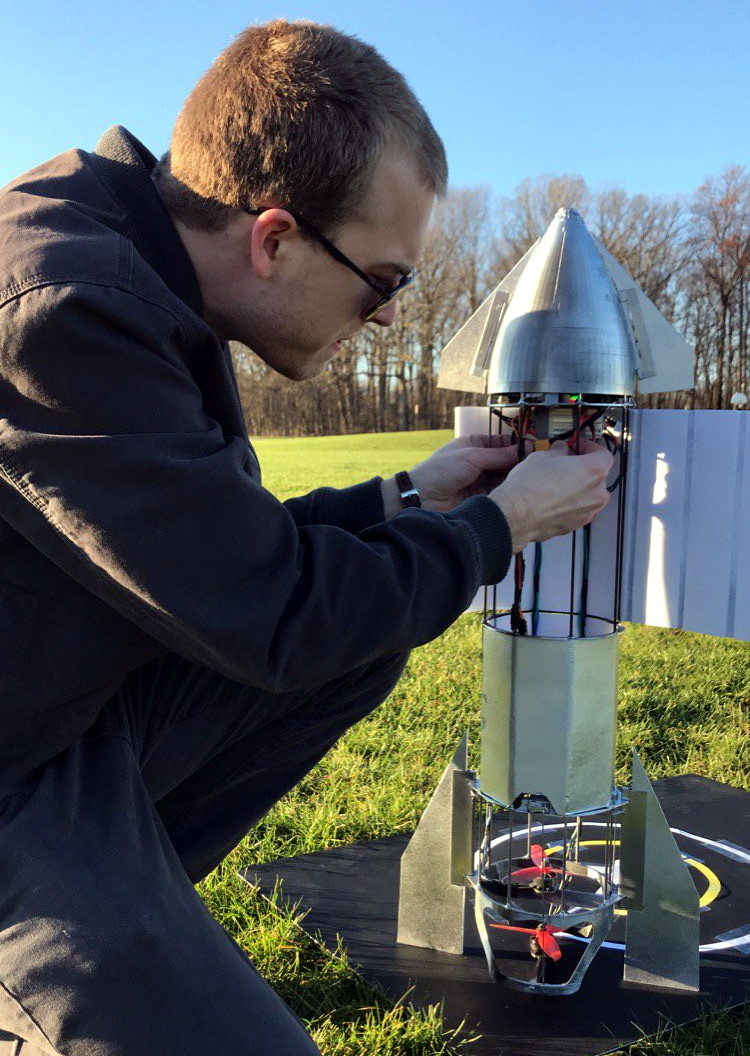
Continue reading “Hackaday Links: December 13, 2020” →