We can recall a book from our youth that cataloged some of the most interesting airplanes in the world. One particularly interesting beast was dubbed “The Super Guppy”, a hilariously distended cargo plane purpose-built for ferrying Saturn rocket sections around the US in the 1960s. We though the Guppies were long gone, victims like so many other fascinating machines of the demise of the Apollo program. It turns out we were only 4/5 right about that, since one of the original five Super Guppies is still in service, and was spotted hauling an Orion capsule from Florida to Ohio for vacuum testing. The almost 60-year-old plane, a highly modified C-97 Stratofreighter, still has a big enough fan-base to attract 1500 people to brave the Ohio cold and watch it land.
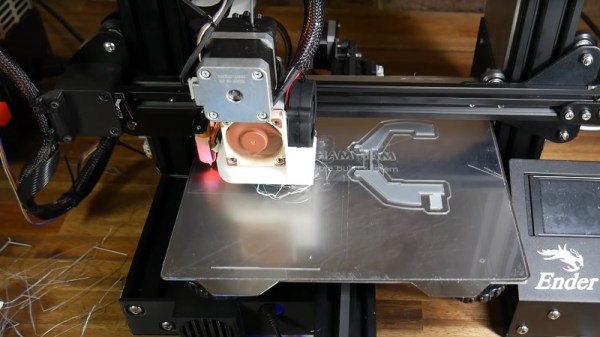
The news this week was filled with reports from Texas of a massive chemical plant explosion that forced the evacuation of 50,000 people from their homes the day before Thanksgiving. The explosion and ensuing fire at the TPC Group petrochemical plant were spectacular; thankfully, there were no deaths and only two injuries reported from the incident. The tie-in to the hacker community lies in what this plant made: butadiene, or synthetic rubber. The plant produced about 16% of the North American market’s supply of butadiene, which we know from previous coverage is one of the polymers in acrylonitrile butadiene styrene, or ABS. It remains to be seen if this will put a crimp in ABS printer filament supplies, or any of the hundreds of products that butadiene is in, including automotive tires and hoses.
Remember when “Cyber Monday” became a thing? We sure do; in the USA, it was supposed to be the first workday back from the Thanksgiving break which would afford those lacking a fast Internet connection at home the opportunity to do online shopping on company time. The idea seems so year 2000 now, but the name stuck, and all kinds of sales and bargains are now competing for your virtual attention and cyber dollars. That includes Tindie, of course, where the Cyber Monday Sale is running through December 6. There’s tons to chose from, including products that got started as Hackaday.io projects and certified open-source hardware products. Be sure to check out the Tindie Twitter feed and blog for extra discount codes, too.
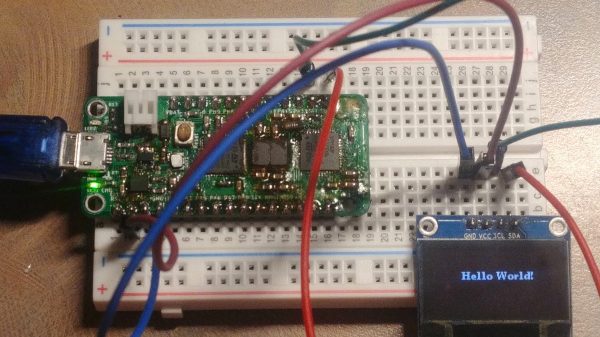
Speaking of gift-giving, we got an interesting tip about a product we never knew we needed. Called “WorkBench”, it’s a modular development system that takes care of an oft-neglected side of prototyping: the physical and mechanical layout. Too often we just start with a breadboard on the bench, and while that’ll do for lots of smaller projects, as the build keeps growing and the breadboards keep coming, things can get out of hand. WorkBench aims to tidy things up by providing a basal platen onto which breadboards, microcontrollers, perfboards, or just about anything else can be snapped. Handles make the whole thing portable, and a clear acrylic cover protects your hard work.